Sagem D50H Owner's manual

Category
Telephones
Type
Owner's manual

This manual is also suitable for

INTRODUCTION
Dear client,
You have purchased a SAGEM D50H handset and we thank you for your trust. All the functionalities of
your handset are compatible with SAGEM D70T/V and SAGEM D50T/V products.
Furthermore, the SAGEM D50H handset can also be registered to other compatible base stations for
simple telephone operations, within the European GAP standard.
For further information we suggest that you refer to the Sagem web site: http://www.sagem.com/faq or
to the user guide of your main DECT terminal.
For your comfort and safety, we ask that you read the following paragraph carefully:
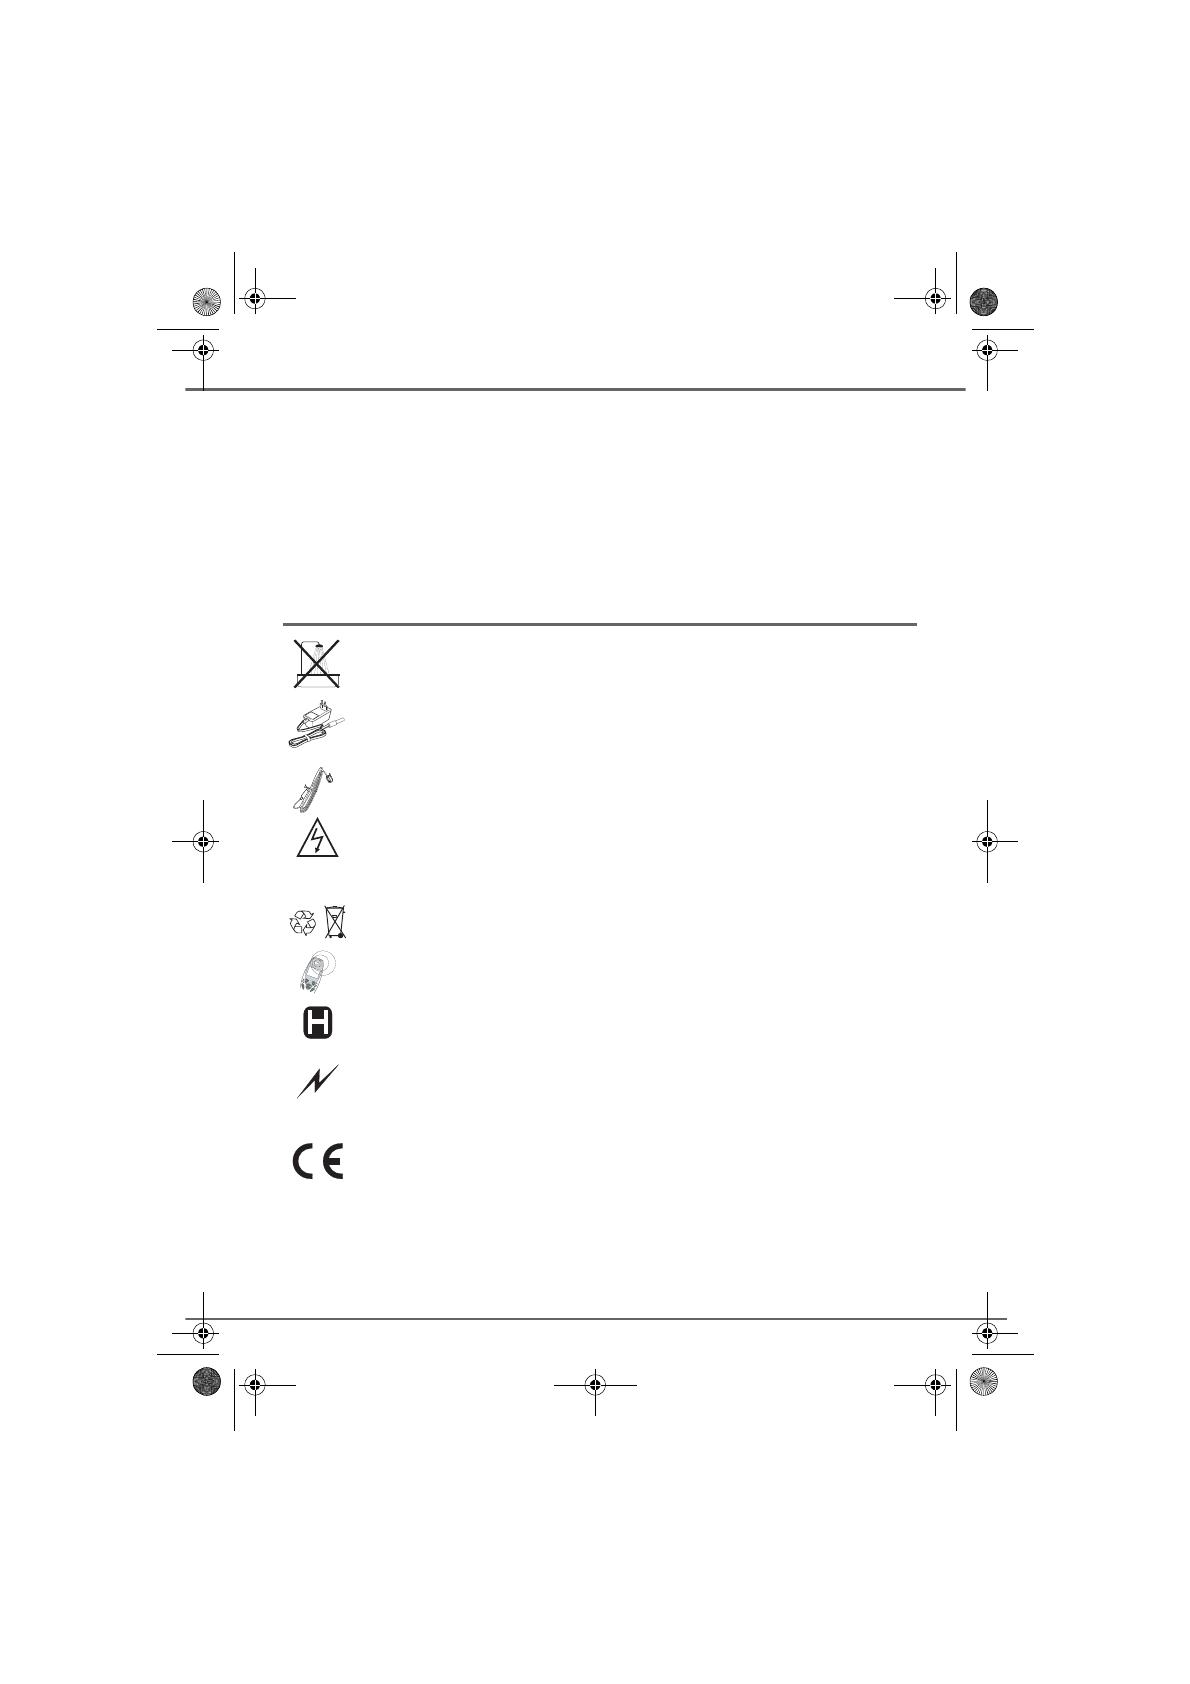
Recommendations and safety instructions
Your DECT telephone must not be installed in a humid room (wash room, bathroom, laundry
room, kitchen, etc.) unless it is 1.50 m away from a water point, or outside. Your telephone
must be operated at temperatures ranging from 5°C to 45°C.
Only use the supplied power adapter, connect it to the base socket according to the
installation instructions provided in this booklet and the indications on the identification label
affixed to it (voltage, current, electric network frequency)
(1)
. Your unit must be connected to a
mains outlet located nearby, the mains outlet must remain easily accessible.
This telephone was designed for use on the public switched telephone network (PSTN). In
case of a problem you must first contact your reseller. Only use the supplied telephone cord.
To avoid damaging your handset, only use certified rechargeable AAA batteries, never use
non rechargeable batteries. Insert the batteries in the handset battery compartment
respecting polarity.
For your personal safety, never place your handset on the base without the batteries, or
without the battery cover, you could get an electric shock.
At the end of their useful life, batteries must be disposed of according to the recycling
instructions presented in this booklet.
Your DECT telephone has an inside radio range of about 50 metres and up to 300 metres in
open space. The immediate presence of metal parts (of a television for example), or of any
electric appliance may result in range reduction.
Some sensitive medical equipment and safety equipment may be affected by the radio-
frequency transmissions of your telephone. In all cases, we ask that you respect the safety
recommendations.
In areas where storms are frequent, we recommend that you protect your telephone line using
a surge protection device.
This equipment does not function in the case of an electric network shutdown: for
emergency calls, it is recommended to use another unit during power cuts
(2)
.
The CE marking certifies that the product meets the essential requirements of Directive 1999/
5/CE of the European Parliament and of the Council pertaining to microwave radio equipment
and telecommunication terminal equipment, for the safety and health of users, for
electromagnetic interference. Furthermore, it efficiently uses the frequency spectrum
attributed to ground and spatial communication to prevent damaging interference.
The manufacturer declares that the products have been produced in compliance with
APPENDIX III of Directive R&TTE 1999/5/CE.
(1) : With the exception of IT scheme installations defined in the EN60950 standard.
(2) : In that case, use a self-contained cord telephone.
Livre D50H EN.book Page i Vendredi, 12. septembre 2003 4:34 16
I
Your Hand set 1
Unpacking 1
Your desk charger 1
Your handset 2
Connection 4
Getting started 6
Making a call 7
Receiving a call 7
During a call 7
Handsfree 8
Call transfer 8
Ending a call 9
Register your new hand set on a base 9
Your phonebook 10
Viewing the phonebook 10
Creating an entry 11
Using a phonebook entry to place a call 12
Searching for a contact 12
Performing a quick search 12
Performing a refined search 13
Editing an entry 13
Deleting an entry 14
Call log 15
Viewing the received and dialed call log 15
Calling the last number dialed (Redial) 16
Calling a number listed in the dialed and
received call log 16
Viewing the events log 17
Other Functions 18
Browse through menus 18
Register your other hand set on a base 18
SMS service - Mini-messages 19
SMS settings 19
Accessories 20
Security 20
Settings 20
Answering machine (depending on model) 20
Appendix 21
Care and Maintenance 21
Problems 21
Features 22
Environment 23
CONTENTS
Livre D50H EN.book Page I Vendredi, 12. septembre 2003 4:34 16
1
YOUR HAND SET
Information in this user brochure concerns units from the D50T/V SAGEM range. Information
will or will not be displayed on your screen depending on your type of base and your operator.
The SAGEM D50H hand set can also be registered with other compatible bases for simple
telephone functions in compliance with the European GAP standard.
Unpacking
Place the box in front of you, open it and make sure it contains the following items:
• a desk charger fitted with its power supply unit,
• one handset,
• one battery compartment cover,
• three rechargeable batteries,
• this user guide.
Your desk charger
Handset location
Livre D50H EN.book Page 1 Vendredi, 12. septembre 2003 4:34 16
2
YOUR TELEPHONE
Your handset
With its user-friendly design, you will appreciate how easy it is to hold and its quality during
conversations.
The navigator key, a rapid selection tool.
Display
Program keys
Phonebook key
Hang up
Alphanumeric
keypad
Mark for the
visually impaired
Pick up
Handsfree
Redial (long press)
Direct SMS
access
Speaker
Microphone
Navigator
LED
Incoming message
warning beeps
R key
To cancel, delete or go to the
previous menu
Navigating
To confirm or to access a sub-menu
Livre D50H EN.book Page 2 Vendredi, 12. septembre 2003 4:34 16
3
YOUR TELEPHONE
The visual display of your handset
01/01 12:00
Mute Alarm
I
Battery indicator Number of handset
Date and time
Name of programmed functions in
and keys.
R
Livre D50H EN.book Page 3 Vendredi, 12. septembre 2003 4:34 16
4
YOUR TELEPHONE
Connection
Starting your desk charger
Put the support where you want it and connect the power lead to the mains plug.
Handset set-up
Insert the batteries making sure to respect
the polarity. Place the cover back on the
handset by pushing upwards until it is
completely closed.
Remove the protective film on the screen,
place the handset on the base to fully charge
the batteries.
The charging icon appears on the screen, it
indicates the charging status. Once the icon
is full, your batteries are charged.
Before making any connections, please refer to the safety instructions presented at
the beginning of this user guide.
Only use certified rechargeable batteries. For optimal battery charge, leave the
handset on the base for at least 12 hours during initial use. During charging, the
batteries may heat up, this is quite normal and without risk.
Livre D50H EN.book Page 4 Vendredi, 12. septembre 2003 4:34 16
5
YOUR TELEPHONE
Replacing the batteries
Rechargeable batteries must be used with
your handset. Proceed as follows:
Take the handset and turn it around so that
the battery compartment is accessible.
Insert a sharp object (pen, paper clip...)
perpendicularly in hole 1 as shown in the
illustration and lift it upwards, slide it
downwards as shown by marker 2 and do
exactly what is explained in the previous
paragraph.
1
2
Livre D50H EN.book Page 5 Vendredi, 12. septembre 2003 4:34 16
6
ë
GETTING STARTED
To use your SAGEM D50H hand set on the public telephone network from
your base, you must register and match it with a base compatible with the
European GAP standard.
Get the user brochure on the base to which you want to register, match
your SAGEM D50H hand set and find the paragraph concerning the
registering or matching of an additional hand set.
You have just put the batteries in your hand set and closed the flap.
The language selection screen is displayed. Press  or  until the
desired language is displayed. Validate with Valid .
When the message "PLEASE REGISTER" is displayed, turn your base to
matching mode, then from the navigateur , press  or  until the
screen displays SETTINGS, confirm with OK.
Select ADVANCED SET. using keys  or . Press Valid .
Select SET HANDSET using keys  or . Press Valid .
Select REGISTRATION. Press Valid .
Press Yes , the hand set switches to registering mode.
"HANDSET IN REGISTR.MODE" is displayed on the screen to tell you
that the base search procedure has started.
At the end of the procedure, the message "REGISTERED" is displayed on
the screen.
If an error occurs, the message "REGISTRATION FAILED" is displayed
and the message "REGISTRATION" is again displayed on the screen.
Press Valid and press Yes to restart registration.
Return
Valid
ENGLISH
Mute
Alarm
PLEASE REGISTER
Return
Valid
SET HANDSET
Return
Valid
REGISTRATION
No
Yes
REGISTER HS?
HANDSET IN
REGISTR.MODE
REGISTERED
GETTING STARTED
Livre D50H EN.book Page 6 Vendredi, 12. septembre 2003 4:34 16
7
Making a call
Enter the name of your contact using the keypad keys.
If you enter an invalid digit, press C on the navigator key to erase the
incorrect digit. Press the green key on your handset to make the call.
Receiving a call
When you receive a call your telephone rings. If you have subscribed to a
"Caller display" service, the caller's information appears on the screen
(unless your caller has enabled the anonymous mode), otherwise the
"CALLER UNKNOWN" screen is displayed.
Pick up by pressing the green key or . To turn off the ringer, press
the red key or .
At the end of the conversation, press the red key .
During a call
During a call, numerous options are accessible by pressing Menu .
Select the desired option in the following list:
- HANDSFREE: to activate the handset speaker.
- LOUDSPEAK.BASE:to activate the base loudspeaker (
model with
answering machine
).
- CALL TRANSFER: to transfer the call to another handset.
- SECOND CALL: to make a second call.
- PHONEBOOK: to access the phonebook.
- CALLS: to access the call log.
- SECRET: to mute the handset microphone.
- RECORD:
to record the conversation in progress (depending
on model).
You can also make a call by:
- Pressing the green key
to access the line.
- Dialing your contact's number.
0033771234
Record
Call
CALLER UNKNOWN
R
GETTING STARTED
Livre D50H EN.book Page 7 Vendredi, 12. septembre 2003 4:34 16
8
Handsfree
While having a conversation with your contact, you can enable the
handset or base loudspeaker
(depending on model)
. Press Menu .
Select HANDSFREE or LOUDSPEAK.BASE (model with answering
machine). Press Activ. .
The message HANDSFREE ACTIVATED appears on the screen.
Increase or decrease the audio volume using  or .
Call transfer
You can now transfer the call in progress to another hand set.
During communication, press Menu .
Using the  or  arrow, select CALL TRANSFER. Press Valid .
The list of handsets registered to the base appears.
Select the handset you want to call using  or . Press Call .
The handset called rings, once someone picks up transfer the call by
pressing the red key .
To retake the call before it is picked up by the handset called, press
Return .
Using the  or  arrow, select HANGING UP. Press Valid .
When pressing the green key while engaged in a conversation
you automatically activate the handsfree mode of the handset, by
pressing it again you deactivate the handsfree mode.
HANDSFREE
Return
Activ.
HANDSFREE
ACTIVATED
CALL TRANSFER
Return
Valid
HANDSET2
Return
Call
R
HANGING UP
Return
Valid
GETTING STARTED
Livre D50H EN.book Page 8 Vendredi, 12. septembre 2003 4:34 16
9
Ending a call
At the end of the conversation, press the red key .
Register your new hand set on a base
To register a new hand set on a base it is necessary to:
• put the hand set to registration mode,
• put the base to matching mode.
Then matching (mutual recognition of the base and the new hand set) will
be done automatically (registration may take several seconds).
Get hold of the hand set to register:
On the navigator key , press  or  until the screen displays
SETTINGS, confirm with OK.
Select ADVANCED SET. using keys  or . Press Valid .
Select SET HANDSET using keys  or . Press Valid .
Select REGISTRATION. Press Valid .
Press Yes , the hand set switches to registering mode.
On the base:
Set the base with which you want to link the hand set to matching mode:
• If you have a base incorporating an answering machine, simulta-
neously press the two top pushbuttons of the base for seve-
ral seconds.
• If you have a base that does not incorporate an answering machine,
press the push button on the base for several seconds.
The green light of the base quickly flashes. The base is in matching mode.
The second hand set and the base both try to hook up. Matching may take
several seconds.
Once the hand set is registered, the hand set automatically exits from the
matching mode and indicates end of registration.
You can also put your base in matching mode using a hand set
already registered by selecting the matching function in the SET-
TINGS/ADVANCED SET./SET BASE menu.
Return
Valid
SET HANDSET
Return
Valid
REGISTRATION
No
Yes
REGISTER HS?
G
ETTING
STARTED
Livre D50H EN.book Page 9 Vendredi, 12. septembre 2003 4:34 16
10
YOUR PHONEBOOK
You can store 40 phonebook entries in your phonebook.
Each phonebook entry can contain the name of your contact which can be
a maximum of 12 characters long (spaces included), your contact's
telephone number up to 24 digits and an icon identifying the type of
number (work, home, mobile...).
You can associate a unique ring tone to each entry and thus create your
own call groups. (To do so, you must activate the call display service on
your handset; contact your service provider to find out about this service.)
Viewing the phonebook
On the navigator key , press  or  until the Phonebook screen is
displayed, press OK to confirm (you can also use to directly access
your phonebook).
The list of phonebook entries organised in alphabetical order appears.
Select the entry you want to view using  or . Once you have selected
it, press OK to confirm.
Once the entry appears on the screen, press Option to display all of the
available actions that can be executed via the phonebook entry:
- VIEW to view the entry data.
- CALL: to call the number associated to the entry.
- EDIT: to edit the entry (name, number, icon).
- SEARCH: to search for another entry.
- RING TONE: to assign a unique ring tone to your handset that
will be used each time this number calls you (caller
display service mandatory)
- SEND SMS: to send an SMS to a number associated to the
entry.
- ADD NUMBER: to enter a new number for the same name.
The first time you access your phonebook, only the New element
appears in the list.
You can call the number that is associated to the entry directly by
pressing the green key .
Return
Option
Avenin paul
0033771234
Avenin paul
YOUR PHONEBOOK
Livre D50H EN.book Page 10 Vendredi, 12. septembre 2003 4:34 16
11
- NEW ENTRY: to create a new entry in the phonebook.
- DELETE: to delete the entry from your phonebook.
Select the action you wish to perform using or . Press Valid .
To exit the phonebook, press the red key .
Creating an entry
Alphanumeric keypad key correspondence.
1 A, B, C, a, b, c, 2
D, E, F, d, e, f, 3 G, H, I, g, h, i, 4
J, K, L, j, k, l, 5 M, N, O, m, n, o, 6
P, Q, R, S, p, q, r, s, 7 T, U, V, t, u, v, 8
W, X, Y, Z, w, x, y, z, 9 caractères spéciaux
espace, 0, /, +, @, -, $, &, % # , " . : ; ! ? ’ ( ) _
To enter text press successively on the desired key until the letter is
displayed on the screen.
On the navigator key , press  or  until the PHONEBOOK screen
is displayed, press OK to confirm.
Select New. Press Valid .
The name input screen appears.
Using the keypad keys, enter the name of your contact by pressing
successively on the corresponding keys. In case of a mistake, press C to
erase one character at a time.
Once you are done making your changes, press Valid .
The number input screen appears.
Now, enter the name of your contact using the keypad keys. In case of a
mistake, press C to delete one character at a time.
Once you are done making your changes, press Valid .
Return
Valid
<New>
<Enter name>
NEW NAME?
Return
0033771234
Valid
YOUR PHONEBOOK
Livre D50H EN.book Page 11 Vendredi, 12. septembre 2003 4:34 16
12
Select an icon for this number, using or  to specify the type of number:
- For a home telephone number .
- For a work telephone number .
- For a mobile telephone number ,
- For a FAX number .
Once the icon is selected, press Valid .
A new entry is created. It appears in the phonebook list. The name of this
entry corresponds to the beginning of your contact's name which is
preceded by a type icon.
Using a phonebook entry to place a call
On the navigator key , press  or  until the PHONEBOOK screen
is displayed, press OK to confirm.
The list of alphabetiscal phonebook entries appears.
Select your contact using  or .
Press the green key to make the call.
Your telephone displays the number called and automatically dials it.
Searching for a contact
When refering to your phonebook, you can search for a contact by:
• navigating through the list using

,

,
• using quick search,
• using refined search.
Performing a quick search
Access your phonebook list, press successively on the keypad key which
corresponds to the first letter of the name you are searching for so as to
make it appear at the top of the screen.
Once the first letter of the name is displayed, wait a moment.
The phonebook selects the first name in the list that starts with the
selected letter.
Return
Valid
HOME
Return
Option
Avenin paul
Return
Option
Mozart
YOUR PHONEBOOK
Livre D50H EN.book Page 12 Vendredi, 12. septembre 2003 4:34 16
13
Press  or  to select the specific entry that you wish to view or call,
press OK to confirm.
Performing a refined search
In the phonebook menu, press Option .
Select SEARCH. Press Valid .
Using the keypad, enter the first two letters of the contact you are
searching for.
The phonebook positions itself to the entry which comes closest to those
two characters.
Press  or  to select the specific entry that you wish to view or call,
press OK to confirm.
Editing an entry
To edit a phonebook entry (change the name, the number and/or the
number type icon), enter the phonebook, select the entry you want to edit
and confirm using OK to display it on the screen.
Once the entry is displayed on the screen, press Option .
Select EDIT using  or . Press Valid .
You enter the name input screen. The cursor is at the end of the name.
• The information is accurate. Press Valid .
• To correct the name, press C on the navigator key to delete
characters. Make your corrections using the keypad keys by pressing
successively on the corresponding keys. Once you are finished, press
Valid
You enter the name input screen. The cursor is at the end of the number.
• The information is accurate. Press Valid .
• To correct the number, press C on the navigator key to delete
the numbers. Enter the new number and press Valid .
Return
Valid
SEARCH
<Enter char.>
SEARCH ALPHA?
Return
Valid
EDIT
Return
Valid
Avenin paul
Return
Valid
0033771234
YOUR PHONEBOOK
Livre D50H EN.book Page 13 Vendredi, 12. septembre 2003 4:34 16
14
Select the icon according to the type of number entered using  or .
Press Confirm .
To exit the menu, press the red key .
Deleting an entry
To delete an entry, enter the phonebook, select the entry, confirm using
OK to display it on the screen. Press Option .
Select DELETE using  or . Press Valid .
A confirmation screen asks you if you wish to delete the entry.
• If you do not wish to delete the entry, press No .
• To delete the entry, press Yes . The entry is deleted from the
phonebook.
To exit the menu, press the red key .
Return
Valid
HOME
Return
Valid
DELETE
No
Yes
DELETE ?
R
YOUR PHONEBOOK
Livre D50H EN.book Page 14 Vendredi, 12. septembre 2003 4:34 16
15
CALL LOG
This menu enables you to view the call or event lists of your telephone.
The dialed call log presents the calls you made.
The received call log presents the calls you received.
The event log groups together all the new events that took place in your
absence:
• reception of an SMS,
• the new messages on the answering machine (depending on the
model),
• calls received during your absence,
• messages from a messaging service.
Viewing the received and dialed call log
On the navigator key , press  or  until the CALLS screen is
displayed, press OK to confirm.
Choose INCOMING CALLS or OUTGOING CALLS, using  or . Press
Valid .
The presentation screen for the last call received or dialed appears.
This screen presents the following information (depending on the service
provider and subscription):
• the full name of your contact,
• the telephone number, date, time and duration of the call.
To view the previous calls, use  or . The calls are organized in
chronological order, from the most recent call to the oldest call.
By pressing Option , a list of various executable actions appears:
- VIEW: To view the selected call again.
- CALL: To call the number.
- DELETE: To delete the call currently viewed.
- STORE NUMBER: To store the name and number in the
phonebook.
- SEND SMS: To send an SMS to your contact.
- DELETE ALL: To delete all calls.
To return to the call view screen, press Return .
To exit the menu, press the red key .
Return
Valid
INCOMING CALLS
Return
Option
10:20 Durand
R
CALL LOG
Livre D50H EN.book Page 15 Vendredi, 12. septembre 2003 4:34 16
16
Calling the last number dialed (Redial)
Your telephone has a shortcut key that can be used to automatically redial
the last number dialed.
From the idle screen, press and hold the green key until the Call log
screen appears. Release , the last dialed number appears. Press the
green key again. The number is dialed automatically.
Calling a number listed in the dialed and received call
log
On the navigator key , press  or  until the CALLS screen is
displayed, press OK to confirm.
Select OUTGOING CALLS or INCOMING CALLS, using  or . Press
Valid .
The presentation screen for the last call received or dialed appears.
Use  or  to locate the contact you wish to call. The calls are organized
in chronological order, from the most recent call to the oldest call.
Once the call is displayed on the screen, press the green key .
The number is dialed automatically.
You can view the other dialed calls by pressing

or

on the
navigator key .
Return
Option
10:20 Durand
CALL LOG
Livre D50H EN.book Page 16 Vendredi, 12. septembre 2003 4:34 16
17
Viewing the events log
If one or more new events occurred during your absence, the information
screen "NEW EVENTS" appears.
• If you do not wish to view the event log at this time, press .
• To view the event log, press .
A summary screen appears. It informs you as to the various events that
took place during your absence:
• the new SMS received,
• the new messages on the answering machine (depending on the
model),
• the calls received during your absence,
• the messages from a messaging service.
Choose the event using  or . Press Valid .
The event appears on the screen.
Once the event log has been viewed, the information screen
disappears. You can however view it again via the "Call log"
menu
NEW EVENTS !
R
Return
Valid
2 NEW MESS.
CALL LOG
Livre D50H EN.book Page 17 Vendredi, 12. septembre 2003 4:34 16
18
OTHER FUNCTIONS
Browse through menus
Menus are organized in a hierarchical tree structure. Using the menu
block diagram, identify the path giving access to the selected function and
follow the instructions below:
On the navigator key , press  or  until the required path or function
is displayed; confirm with OK. Repeat the operation until the function is
displayed on the screen and confirm with OK.
For any further information concerning the functions above, refer to the
base user brochure.
Register your other hand set on a base
To use your SAGEM D50H hand set on the public telephone network from
your base, you must register and match it with a base compatible with the
European GAP standard.
Get the user brochure on the base on which you want to register it, match
your SAGEM D50H hand set and find the paragraph corresponding to the
registration or matching of an additional hand set.
To register a new hand set on a base it is necessary to:
• put the hand set to registration mode,
• put the base to matching mode.
Then matching (mutual recognition of the base and the new hand set) will
be done automatically (registration may take several seconds).
Get hold of the hand set to register:
On the navigator key , press  or  until the screen displays
SETTINGS, confirm with OK.
Select ADVANCED SET. using keys  or . Press Valid .
Select SET HANDSET using keys  or . Press Valid .
Return
Valid
SET HANDSET
OTHER FUNCTIONS
Livre D50H EN.book Page 18 Vendredi, 12. septembre 2003 4:34 16
  • Page 1 1
  • Page 2 2
  • Page 3 3
  • Page 4 4
  • Page 5 5
  • Page 6 6
  • Page 7 7
  • Page 8 8
  • Page 9 9
  • Page 10 10
  • Page 11 11
  • Page 12 12
  • Page 13 13
  • Page 14 14
  • Page 15 15
  • Page 16 16
  • Page 17 17
  • Page 18 18
  • Page 19 19
  • Page 20 20
  • Page 21 21
  • Page 22 22
  • Page 23 23
  • Page 24 24
  • Page 25 25
  • Page 26 26
  • Page 27 27
  • Page 28 28
  • Page 29 29
  • Page 30 30
  • Page 31 31
  • Page 32 32
  • Page 33 33
  • Page 34 34
  • Page 35 35
  • Page 36 36
  • Page 37 37
  • Page 38 38
  • Page 39 39
  • Page 40 40
  • Page 41 41
  • Page 42 42
  • Page 43 43
  • Page 44 44
  • Page 45 45
  • Page 46 46
  • Page 47 47
  • Page 48 48
  • Page 49 49
  • Page 50 50
  • Page 51 51
  • Page 52 52
  • Page 53 53
  • Page 54 54
  • Page 55 55
  • Page 56 56
  • Page 57 57
  • Page 58 58
  • Page 59 59
  • Page 60 60
  • Page 61 61
  • Page 62 62
  • Page 63 63
  • Page 64 64
  • Page 65 65
  • Page 66 66
  • Page 67 67
  • Page 68 68
  • Page 69 69
  • Page 70 70
  • Page 71 71
  • Page 72 72
  • Page 73 73
  • Page 74 74
  • Page 75 75
  • Page 76 76
  • Page 77 77
  • Page 78 78
  • Page 79 79
  • Page 80 80
  • Page 81 81
  • Page 82 82
  • Page 83 83
  • Page 84 84
  • Page 85 85
  • Page 86 86
  • Page 87 87
  • Page 88 88
  • Page 89 89
  • Page 90 90
  • Page 91 91
  • Page 92 92
  • Page 93 93
  • Page 94 94
  • Page 95 95
  • Page 96 96
  • Page 97 97
  • Page 98 98
  • Page 99 99
  • Page 100 100
  • Page 101 101
  • Page 102 102
  • Page 103 103
  • Page 104 104
  • Page 105 105
  • Page 106 106
  • Page 107 107
  • Page 108 108
  • Page 109 109
  • Page 110 110
  • Page 111 111
  • Page 112 112
  • Page 113 113
  • Page 114 114
  • Page 115 115
  • Page 116 116
  • Page 117 117
  • Page 118 118
  • Page 119 119
  • Page 120 120
  • Page 121 121
  • Page 122 122
  • Page 123 123
  • Page 124 124
  • Page 125 125
  • Page 126 126
  • Page 127 127
  • Page 128 128
  • Page 129 129
  • Page 130 130
  • Page 131 131
  • Page 132 132
  • Page 133 133
  • Page 134 134
  • Page 135 135
  • Page 136 136
  • Page 137 137
  • Page 138 138
  • Page 139 139
  • Page 140 140
  • Page 141 141
  • Page 142 142
  • Page 143 143
  • Page 144 144
  • Page 145 145
  • Page 146 146
  • Page 147 147
  • Page 148 148
  • Page 149 149
  • Page 150 150
  • Page 151 151
  • Page 152 152
  • Page 153 153
  • Page 154 154
  • Page 155 155
  • Page 156 156
  • Page 157 157
  • Page 158 158
  • Page 159 159
  • Page 160 160
  • Page 161 161
  • Page 162 162
  • Page 163 163
  • Page 164 164
  • Page 165 165
  • Page 166 166

Sagem D50H Owner's manual

Category
Telephones
Type
Owner's manual
This manual is also suitable for

Ask a question and I''ll find the answer in the document

Finding information in a document is now easier with AI