TRIOBIKE TAXI Amsterdam Air User manual
- Category
- Bicycles
- Type
- User manual
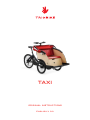
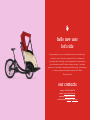
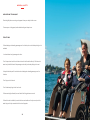
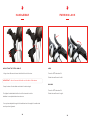
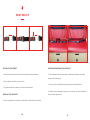
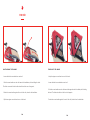
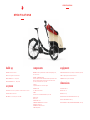
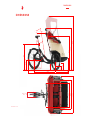
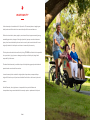
TRIOBIKE TAXI Amsterdam Air is an electric bike designed for transporting passengers and cargo in urban environments. It features a powerful mid-drive electric motor, a removable bottom plate for easy loading and unloading, a comfortable blanket for passengers, and a spacious front box for cargo. With its sturdy construction and long range, the TRIOBIKE TAXI Amsterdam Air is a versatile and practical choice for businesses and individuals alike.
TRIOBIKE TAXI Amsterdam Air is an electric bike designed for transporting passengers and cargo in urban environments. It features a powerful mid-drive electric motor, a removable bottom plate for easy loading and unloading, a comfortable blanket for passengers, and a spacious front box for cargo. With its sturdy construction and long range, the TRIOBIKE TAXI Amsterdam Air is a versatile and practical choice for businesses and individuals alike.


-
 1
1
-
 2
2
-
 3
3
-
 4
4
-
 5
5
-
 6
6
-
 7
7
-
 8
8
-
 9
9
-
 10
10
-
 11
11
-
 12
12
-
 13
13
-
 14
14
-
 15
15
-
 16
16
-
 17
17
-
 18
18
-
 19
19
-
 20
20
-
 21
21


TRIOBIKE TAXI Amsterdam Air User manual
- Category
- Bicycles
- Type
- User manual
TRIOBIKE TAXI Amsterdam Air is an electric bike designed for transporting passengers and cargo in urban environments. It features a powerful mid-drive electric motor, a removable bottom plate for easy loading and unloading, a comfortable blanket for passengers, and a spacious front box for cargo. With its sturdy construction and long range, the TRIOBIKE TAXI Amsterdam Air is a versatile and practical choice for businesses and individuals alike.
Ask a question and I''ll find the answer in the document
Finding information in a document is now easier with AI
Related papers


Other documents
-
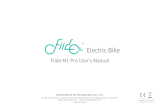 Fiido M1 Pro Fat Tire Electric Bike User manual
-
Fiido M1 User manual
-
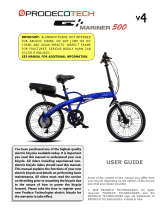 Prodeco Technologies Mariner 500 v4 User manual
-
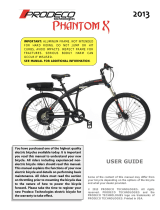
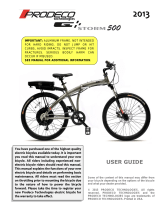 Prodeco Technologies G Storm User manual
-
 Prodeco Technologies Genesis 500 User manual
-
 Prodeco Technologies Genesis 500 User manual
-
 BULLS Bosch Remote - 2022 Models Owner's manual
-
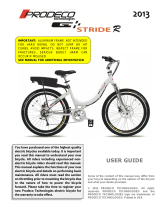 Prodeco Technologies Stride 500 User manual
-
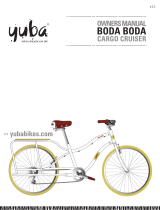 Yuba Bicycles Boda Boda Owner's manual
-
Currier Tech Ezip Owner's manual


