Memory Stick Micro
*4
*1
Use the special "SD Card Adapter".
*2
Requires purchase of a separate compact flash card adapter for xD-Picture Card.
*3
Use the special card adapter.
*4
Use the special "Memory Stick Micro Duo size Adapter".
Printable Image Data
This machine supports images created by DCF (Design rule for Camera File system) ver. 1.0/2.0
standard compliant digital cameras (Exif ver. 2.2/2.21 compliant, including TIFF etc.). Other image or
movie types such as RAW images cannot be printed.
Inserting the Memory Card
Caution
When a memory card is inserted into the Card Slot, the
Access
lamp is lit. When the
Access
lamp
is flashing, the machine is accessing to the memory card. In this case, do not touch the area around
the Card Slot.
Note
When the read/write attribute of the Card Slot is set to Writable from PC under Device settings, you
cannot print photos on a memory card by using the operation panel on the machine. After using the
Card Slot as the memory card drive of a computer, remove the memory card and be sure to set
Read/write attribute to Not writable from PC. For details, refer to the on-screen manual:
dvanced
Guide
.
When you use a computer to edit or enhance photos saved on a memory card, be sure to print them
from the computer. If you print the photos with the Operation Panel, they may not be printed
properly.
1.
Prepare your memory card.
ttach a special card adapter if your memory card requires one.
See
Memory Cards that Require a Card Adapter
.
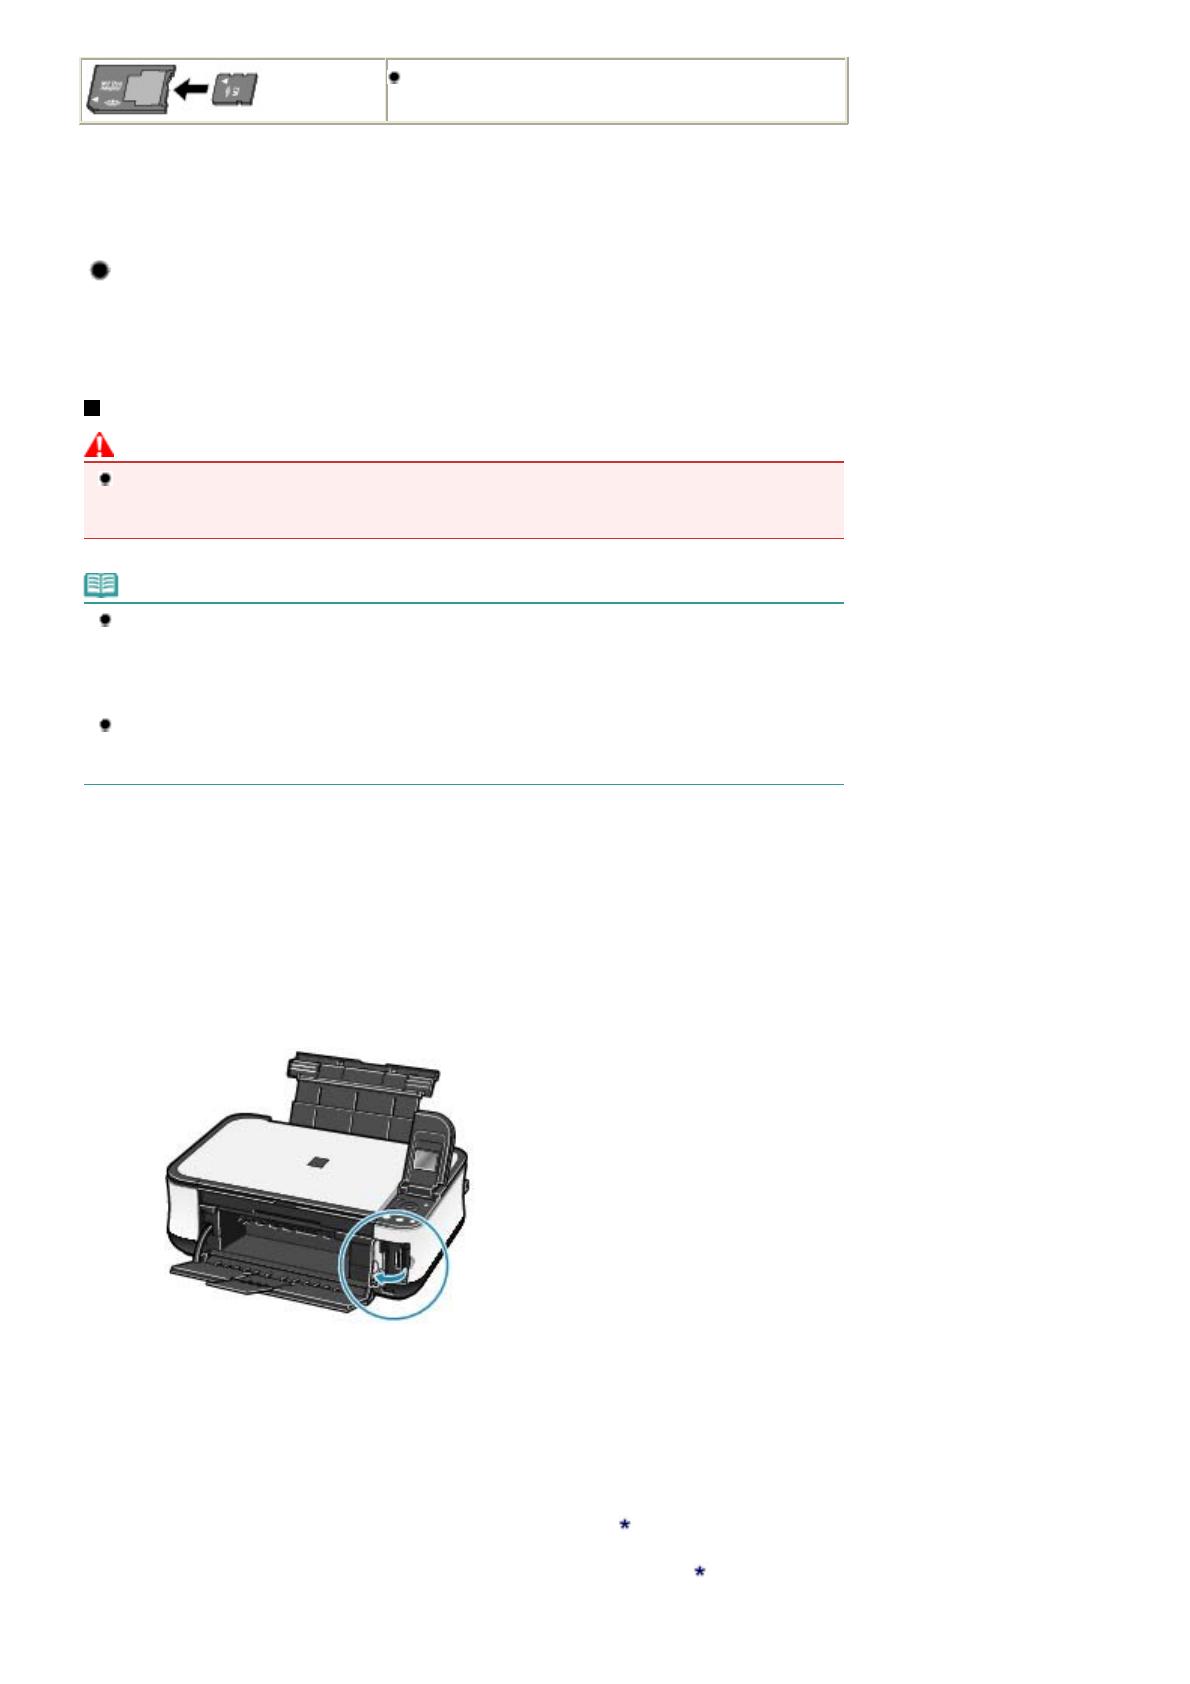
2.
Turn on the power, and open the Card Slot Cover.
3.
Insert only one memory card into the Card Slot.
The location to insert a memory card varies depending on each type of memory card. Insert your memory card
straightforward WITH THE LABELED SIDE FACING TO THE LEFT into the Card Slot, according to the insert
location in the figure below.
When the memory card is inserted properly, the
Access
lamp (A) will light up.
Be sure to attach the card adapter to the memory card with the mark (asterisk) below, and then insert it into
the Card Slot.
For Memory Stick Duo, Memory Stick PRO Duo, or Memory Stick Micro
:
Page 18 of 681 pagesInserting the Memory Card


