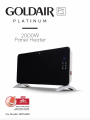
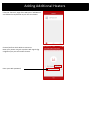
Goldair GPPH220 offers efficient heating for small to medium-sized rooms. It features two heat settings, adjustable thermostat, a timer, and a child lock for added safety. Mount it on a wall or use it freestanding for flexible placement. Safe to use around children and pets, the heater includes a tip-over safety switch and overheat protection. With its simple controls and portable design, Goldair GPPH220 is an ideal choice for keeping your personal space warm and comfortable.
Goldair GPPH220 offers efficient heating for small to medium-sized rooms. It features two heat settings, adjustable thermostat, a timer, and a child lock for added safety. Mount it on a wall or use it freestanding for flexible placement. Safe to use around children and pets, the heater includes a tip-over safety switch and overheat protection. With its simple controls and portable design, Goldair GPPH220 is an ideal choice for keeping your personal space warm and comfortable.


-
 1
1
-
 2
2
-
 3
3
-
 4
4
-
 5
5
-
 6
6
-
 7
7
-
 8
8
-
 9
9
-
 10
10
-
 11
11
-
 12
12
-
 13
13
-
 14
14
-
 15
15
-
 16
16
-
 17
17
-
 18
18
-
 19
19
-
 20
20


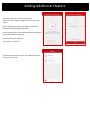
Goldair GPPH220 offers efficient heating for small to medium-sized rooms. It features two heat settings, adjustable thermostat, a timer, and a child lock for added safety. Mount it on a wall or use it freestanding for flexible placement. Safe to use around children and pets, the heater includes a tip-over safety switch and overheat protection. With its simple controls and portable design, Goldair GPPH220 is an ideal choice for keeping your personal space warm and comfortable.
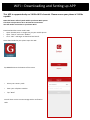
Ask a question and I''ll find the answer in the document
Finding information in a document is now easier with AI
Related papers
-
Goldair GMH230 Operating Instructions Manual
-
Goldair GPCV340 User manual
-
Goldair GPCV330 User manual
-
-
-
Goldair GMH211 Operating Instructions Manual
-
-
Goldair GPMH225 User manual
-
Goldair GIR450 User manual
-
Goldair GMH295 User manual
Other documents
-
HELLER HPH20 2000W Aluminium WiFi Panel Heater User manual
-
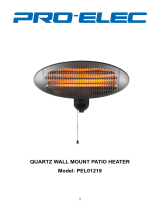 PRO ELEC PEL01219 Operating instructions
-
Celsius CELCH130 Operating Instructions Manual
-
Kmart ABH100 User manual
-
-
 Argos Simple Value 0.45kW Panel Heater User manual
-
-
-
 Excelair EOHA22GR User manual
-
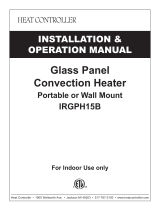 Heat Controller IRGPH15B User manual


