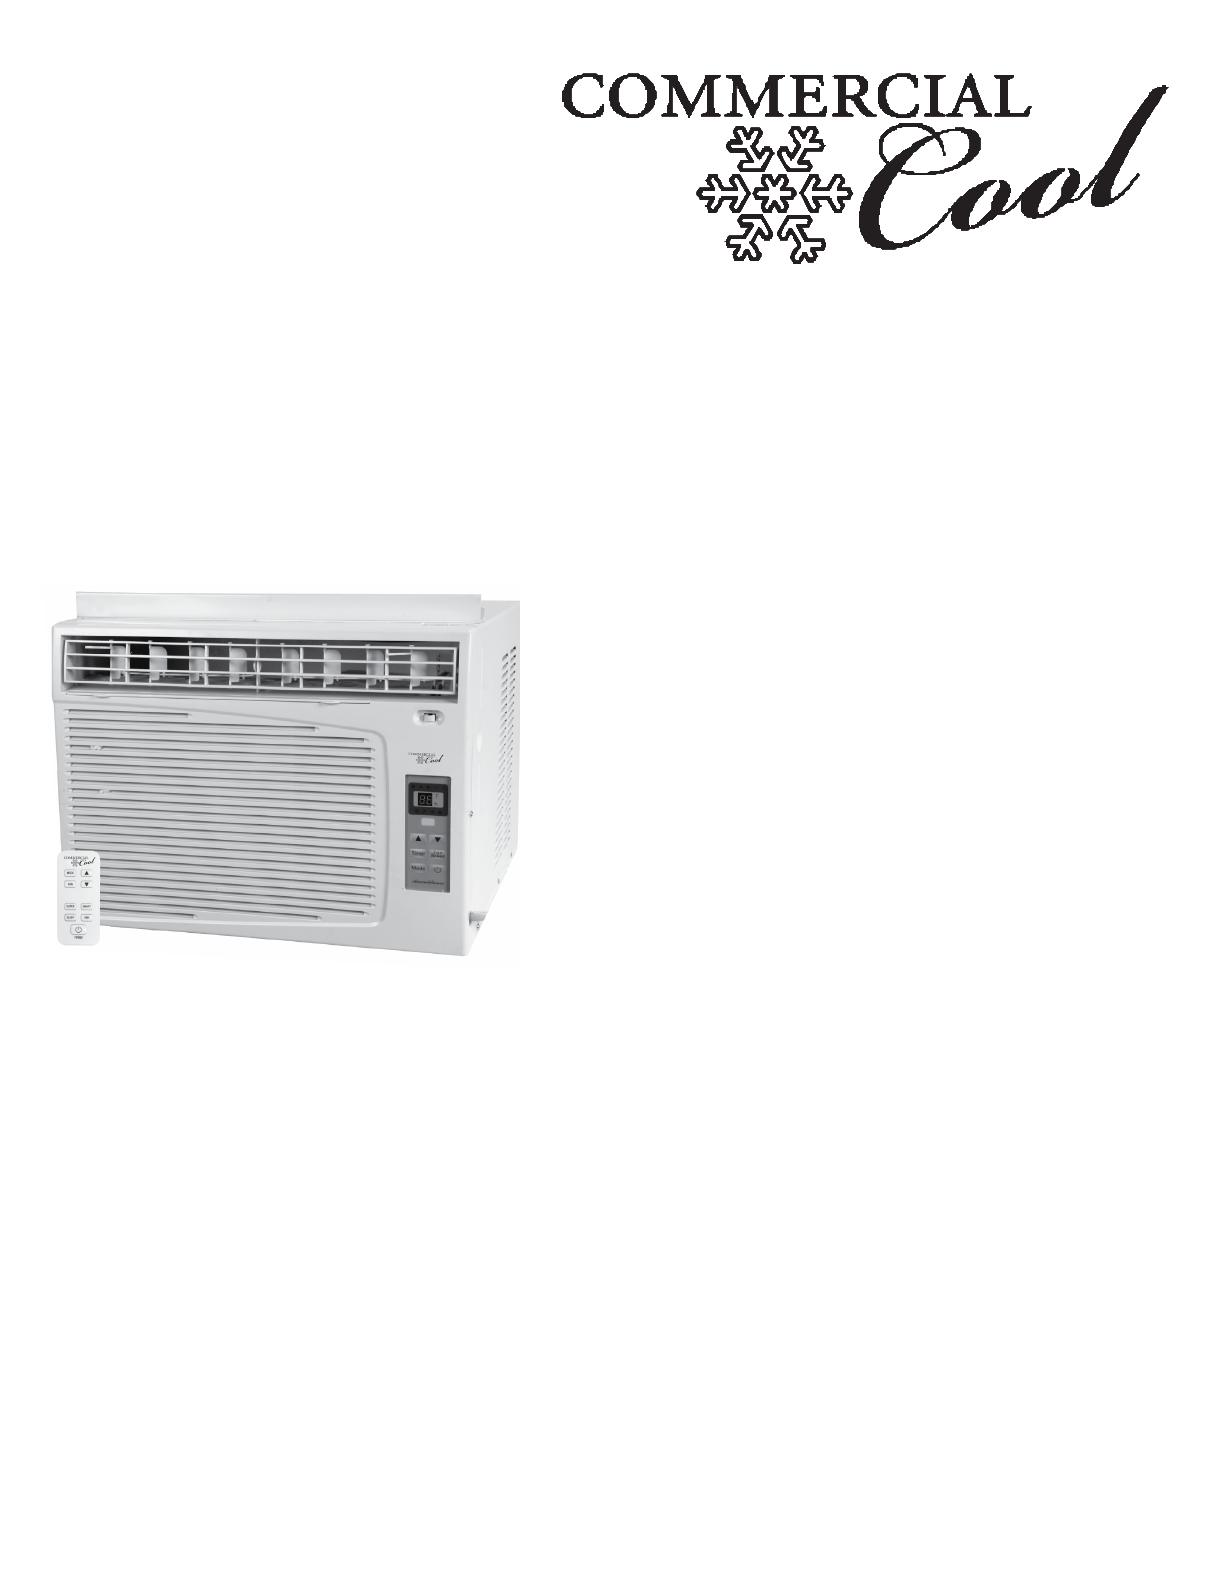
ROOM AIR CONDITIONER
Use & Care Guide
CLIMATISEUR DE PIÈCE
Guide d’utilisation et d’entretien
Model: CWH08A
For questions about features, operation/performance, parts,
accessories or service call: 1-877-337-3639
Au Canada, pour assistance, installation ou service,
composez le : 1-877-337-3639
NOTE: Your model may differ from the one shown.


