4
Swipe the screen for additional data pages.
You can swipe down from the top of the data pages to view
the connections page.
5
If necessary, tap the screen to view the timer overlay.
6
Select to stop the timer.
7
Select Save Ride.
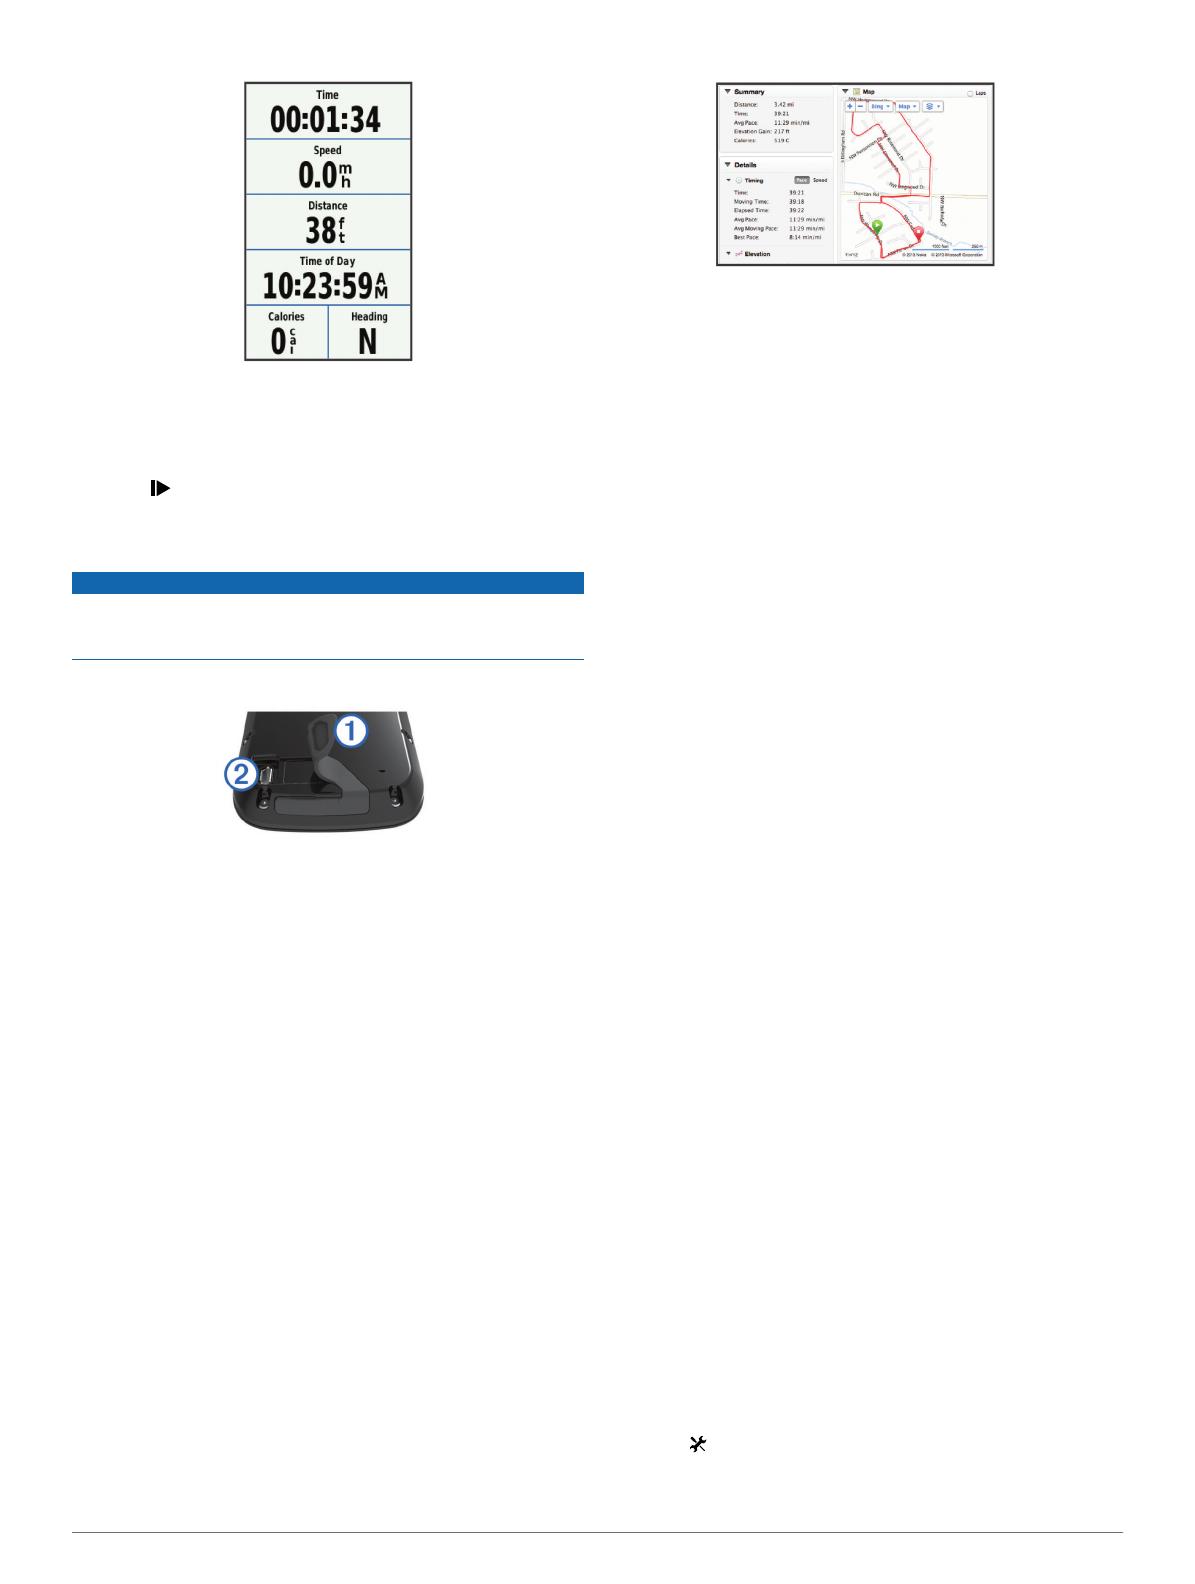
Sending Your Ride to Garmin Connect
NOTICE
To prevent corrosion, thoroughly dry the USB port, the weather
cap, and the surrounding area before charging or connecting to
a computer.
1
Pull up the weather cap
À
from the USB port
Á
.
2
Plug the small end of the USB cable into the USB port on the
device.
3
Plug the large end of the USB cable into a computer USB
port.
4
Go to www.garminconnect.com/start.
5
Follow the on-screen instructions.
Garmin Connect
You can connect with your friends on Garmin Connect. Garmin
Connect gives you the tools to track, analyze, share, and
encourage each other. Record the events of your active lifestyle
including runs, walks, rides, swims, hikes, triathlons, and more.
To sign up for a free account, go to www.garminconnect.com
/start.
Store your activities: After you complete and save an activity
with your device, you can upload that activity to Garmin
Connect and keep it as long as you want.
Analyze your data: You can view more detailed information
about your activity, including time, distance, elevation, heart
rate, calories burned, cadence, an overhead map view, pace
and speed charts, and customizable reports.
NOTE: Some data requires an optional accessory such as a
heart rate monitor.
Plan your training: You can choose a fitness goal and load
one of the day-by-day training plans.
Share your activities: You can connect with friends to follow
each other's activities or post links to your activities on your
favorite social networking sites.
Bluetooth
®
Connected Features
The Edge device has Bluetooth connected features for your
compatible smartphone or fitness device. Some features require
you to install Garmin Connect mobile on your smartphone. Go
to www.garmin.com/intosports/apps for more information.
NOTE: Your device must be connected to your Bluetooth
enabled smartphone to take advantage of some features.
LiveTrack: Allows friends and family to follow your races and
training activities in real time. You can invite followers using
email or social media, allowing them to view your live data on
a Garmin Connect tracking page.
Activity uploads to Garmin Connect: Automatically sends
your activity to Garmin Connect as soon as you finish
recording the activity.
Course and workout downloads from Garmin Connect:
Allows you to search for activities on Garmin Connect using
your smartphone and send them to your device.
Device to device transfers: Allows you to wirelessly transfer
files to another compatible Edge device.
Social media interactions: Allows you to post an update to
your favorite social media website when you upload an
activity to Garmin Connect.
Weather updates: Sends real-time weather conditions and
alerts to your device.
Notifications: Displays phone notifications and messages on
your device.
Wi
‑
Fi
®
Connected Features
The Edge device has Wi‑Fi connected features. The Garmin
Connect Mobile application is not required for you to use Wi‑Fi
connectivity.
NOTE: Your device must be connected to a wireless network to
take advantage of these features.
Activity uploads to Garmin Connect: Automatically sends
your activity to Garmin Connect as soon as you finish
recording.
Courses, workouts, and training plans: Activities previously
selected from Garmin Connect are sent wirelessly to your
device.
Software updates: Your device wirelessly downloads the latest
software update. The next time you turn on the device, you
can follow the on-screen instructions to update the software.
Setting Up Wi‑Fi Connectivity
1
Go to www.garminconnect.com/start, and download the
Garmin Express™ application.
2
Follow the on-screen instructions to set up Wi‑Fi connectivity
with Garmin Express.
Connecting to a Wireless Network
1
Select > Wi-Fi.
2
If necessary, select Wi-Fi to turn on wireless technology.
3
Select Add Network to scan for available networks.
4


