15
OPERATION
ENGLISH
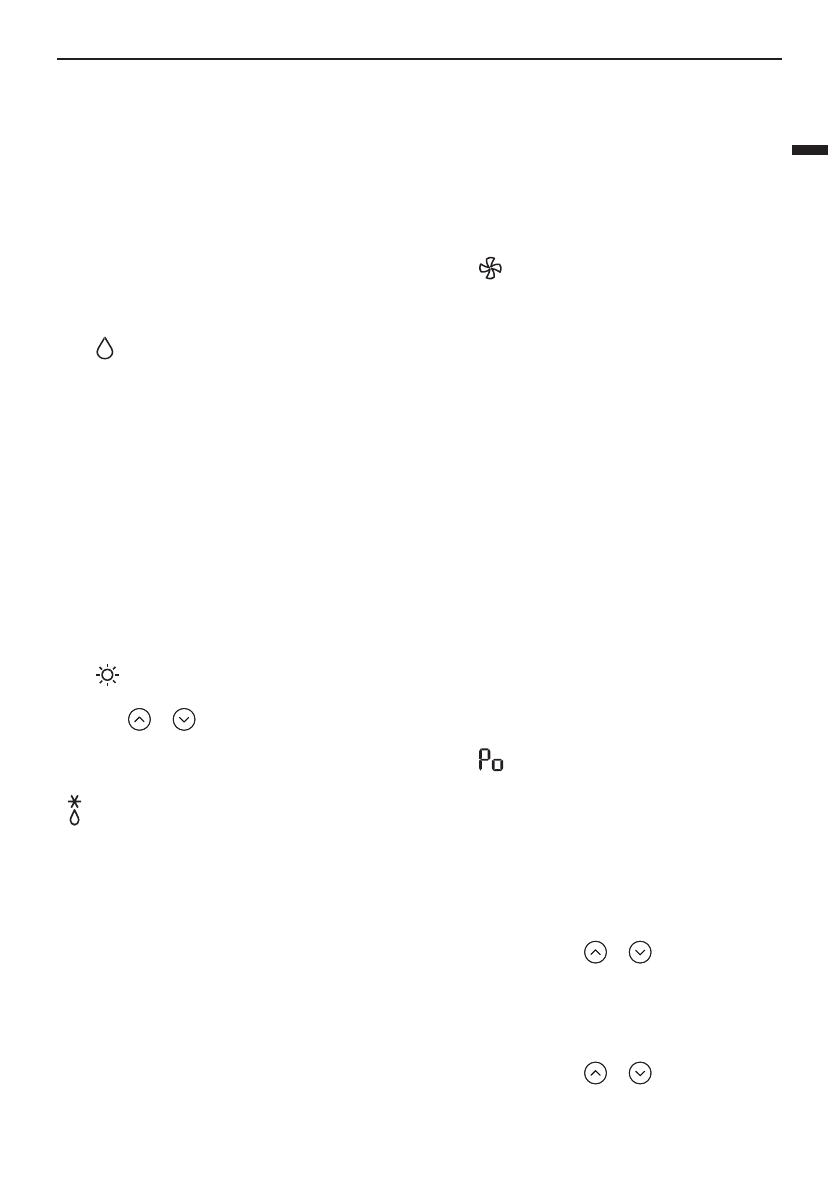
Dehumidification Mode
This mode removes excess moisture from a highly
humid environment or during the rainy season,
in order to prevent mildew from setting in. This
mode adjusts the room temperature and the fan
speed automatically to maintain the optimal level
of humidity.
1
Turn the appliance on.
2
Press MODE button repeatedly to select the
Dehumidification Mode.
• is displayed on the display screen.
NOTE
• In this mode you cannot adjust the room
temperature, it is adjusted automatically.
• The room temperature is not displayed on the
display screen.
Heating Mode
1
Turn the appliance on.
2
Press MODE button repeatedly to select the
Heating Mode.
• is displayed on the display screen.
3
Press or button to set the desired
temperature.
NOTE
• will be displayed on the indoor unit when
defrosting is operating.
• Furthermore, this indication will be displayed on
the indoor unit:
− When preheating is operating.
− When the room temperature has been reached
to the set temperature.
Fan Mode
This mode only circulates the indoor air without
changing the room temperature.
1
Turn the appliance on.
2
Press MODE button repeatedly to select the
Fan Mode.
• is displayed on the display screen.
3
Press FAN SPEED button to adjust the fan
speed.
Using the Jet Mode
Function
Changing Room Temperature
Quickly
This function allows you to cool indoor air quickly
during the summer or warm it quickly during winter.
• The Jet Mode function is available with Cooling,
Heating and Dehumidification Mode.
1
Turn the appliance on.
2
Press MODE button repeatedly to select the
desired mode.
3
Press JET MODE button.
• is displayed on the display screen.
NOTE
• Jet Heating Mode is not available on some
models.
• In Jet Cooling Mode, strong air blows out for 30
minutes.
• After 30 minutes later, setting temperature is
maintaining 18 °C If you want to change the
temperature, Press or button to set the
desired temperature.
• In Jet Heating Mode, strong air blows out for 30
minutes.
• After 30 minutes later, setting temperature is
maintaining 30 °C If you want to change the
temperature, Press or button to set the
desired temperature.
• This function may operate differently from the
remote control display.


