GHP6xx Series - PNP Provisioning Guide
Overview
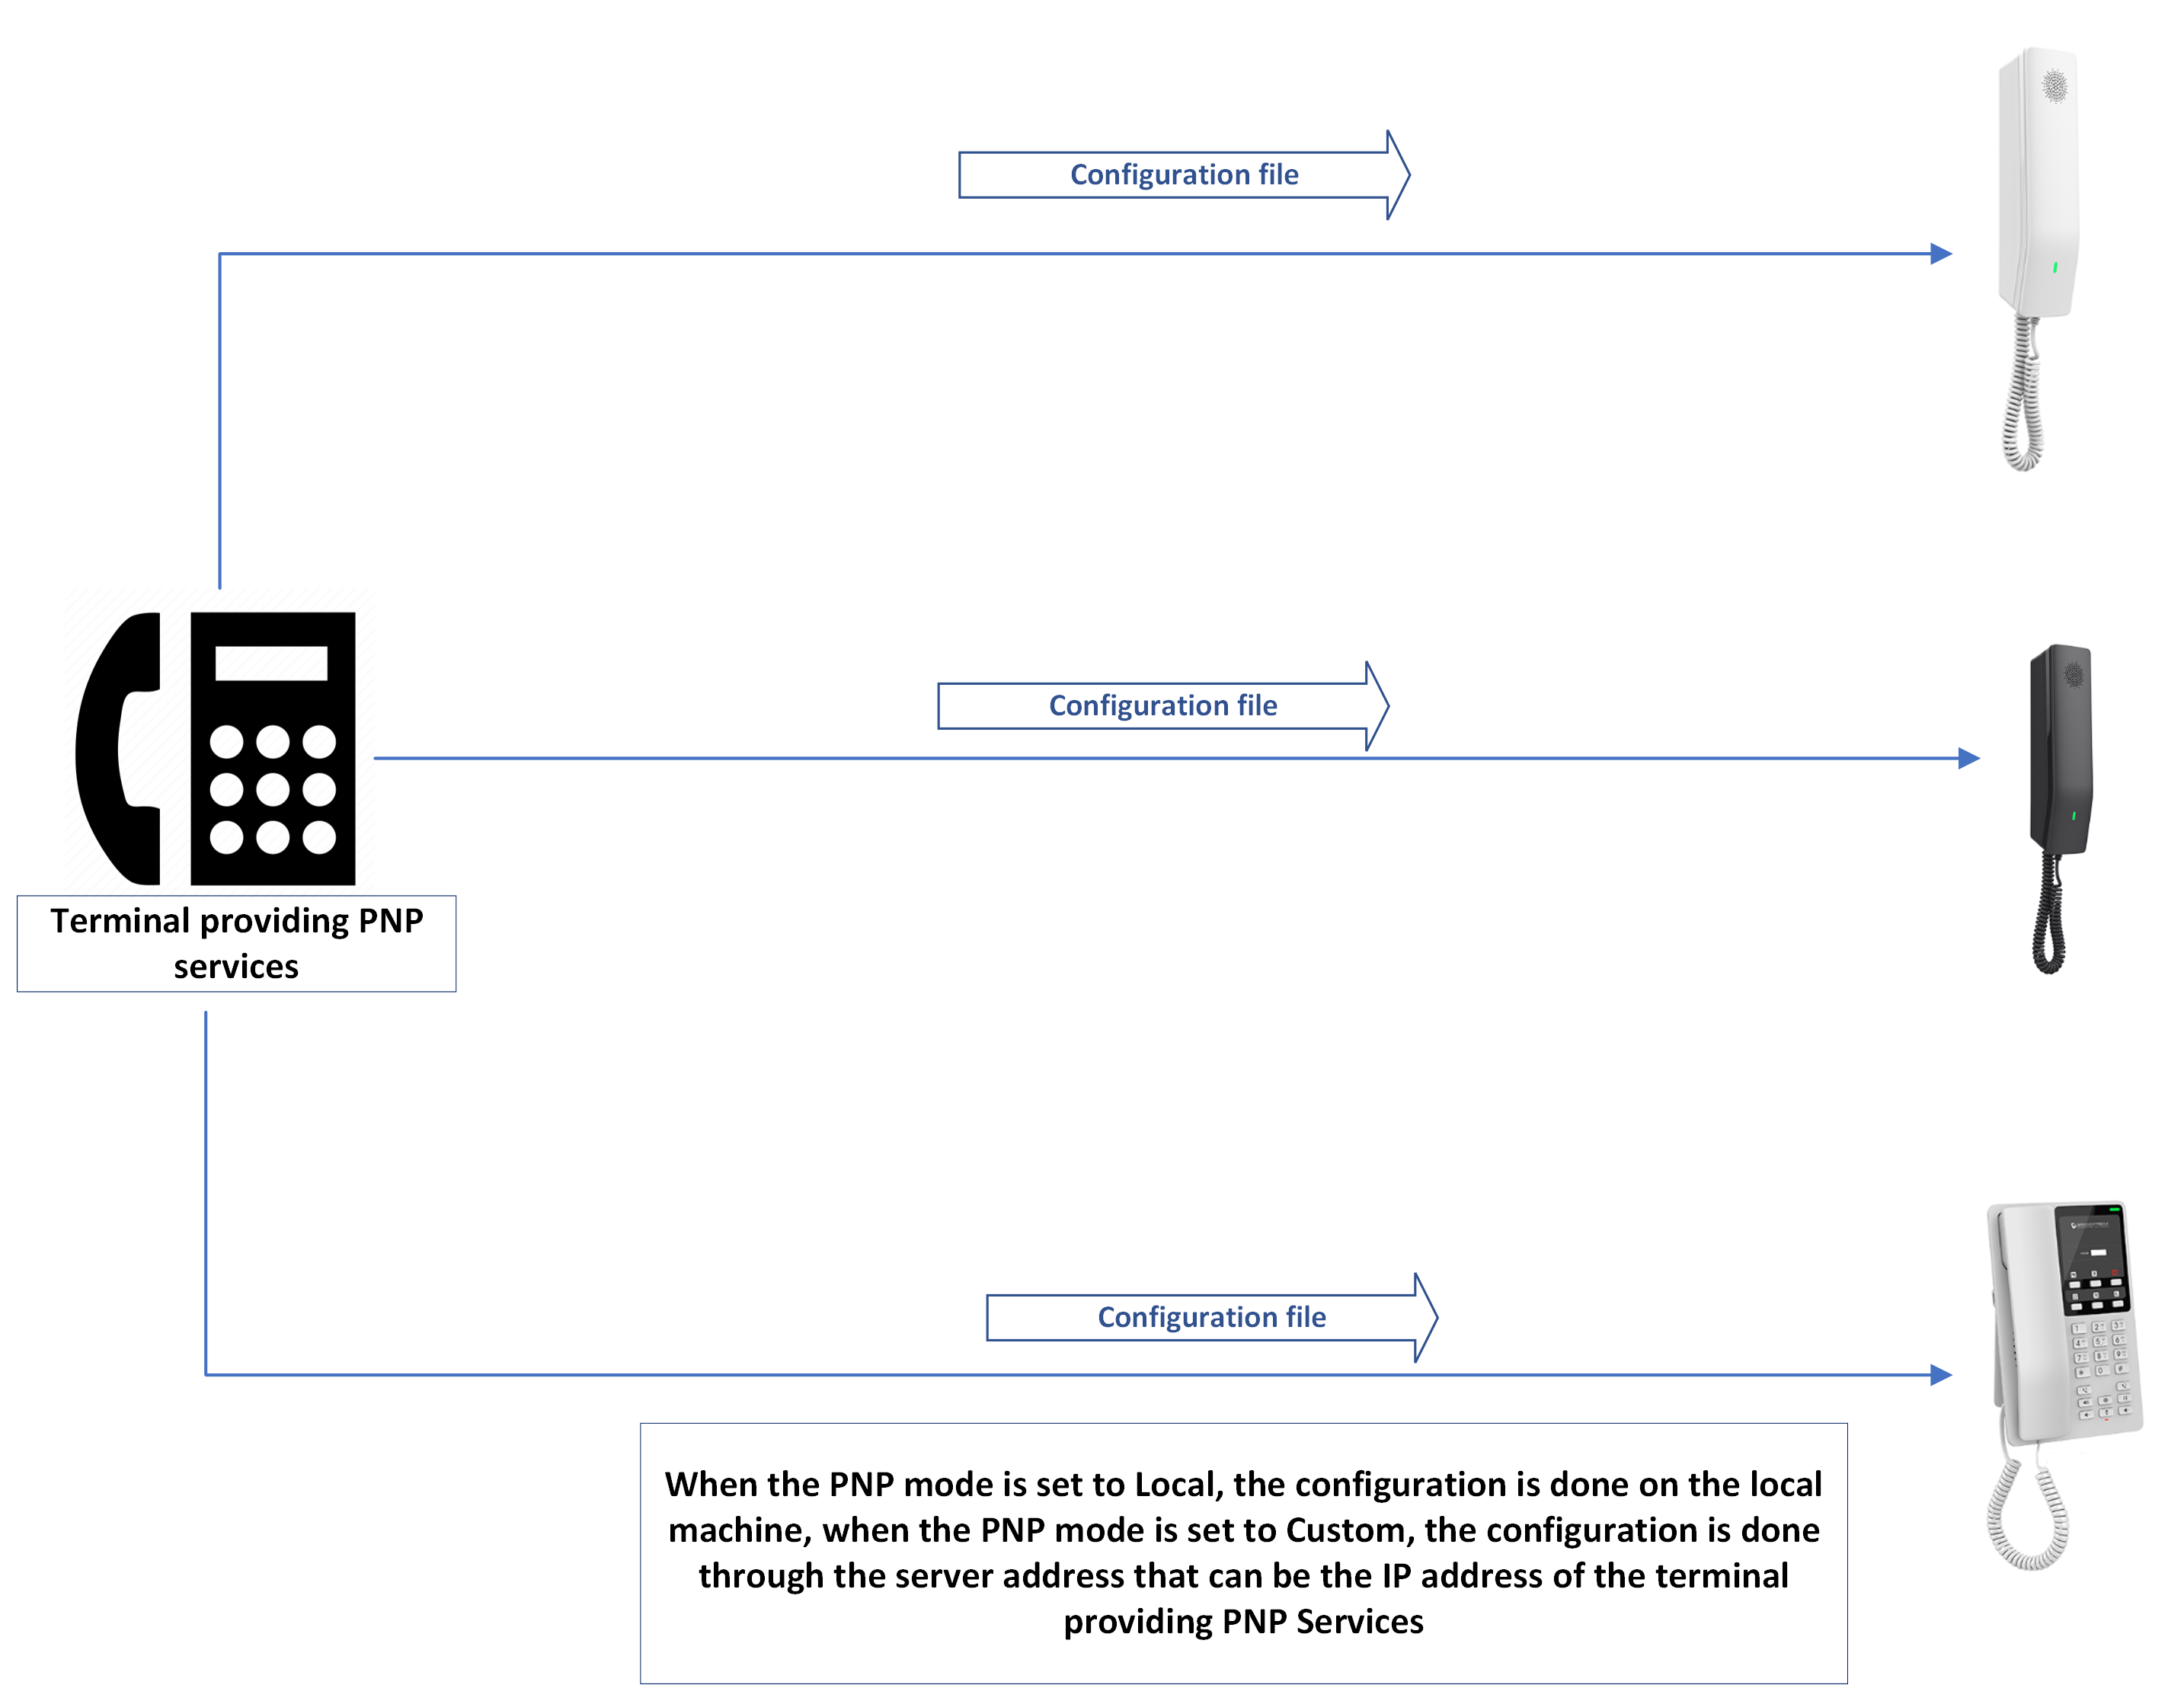
Plug and Play (PnP) Service is a feature available on the GHP6xx that allows it to be set as a server terminal for provisioning
other IP phones remotely, on the GHP6xx PNP centralized platform, either by setting the configuration locally by uploading
local configuration files, or by obtaining the configuration files from a third party HTTP server.
PnP Service
Local vs Custom PNP Service
Two types of PNP (Plug-and-Play) services are available on the GHP6xx PNP Server, namely Local PNP and Custom PNP. The
primary distinction between these services can be outlined as follows:
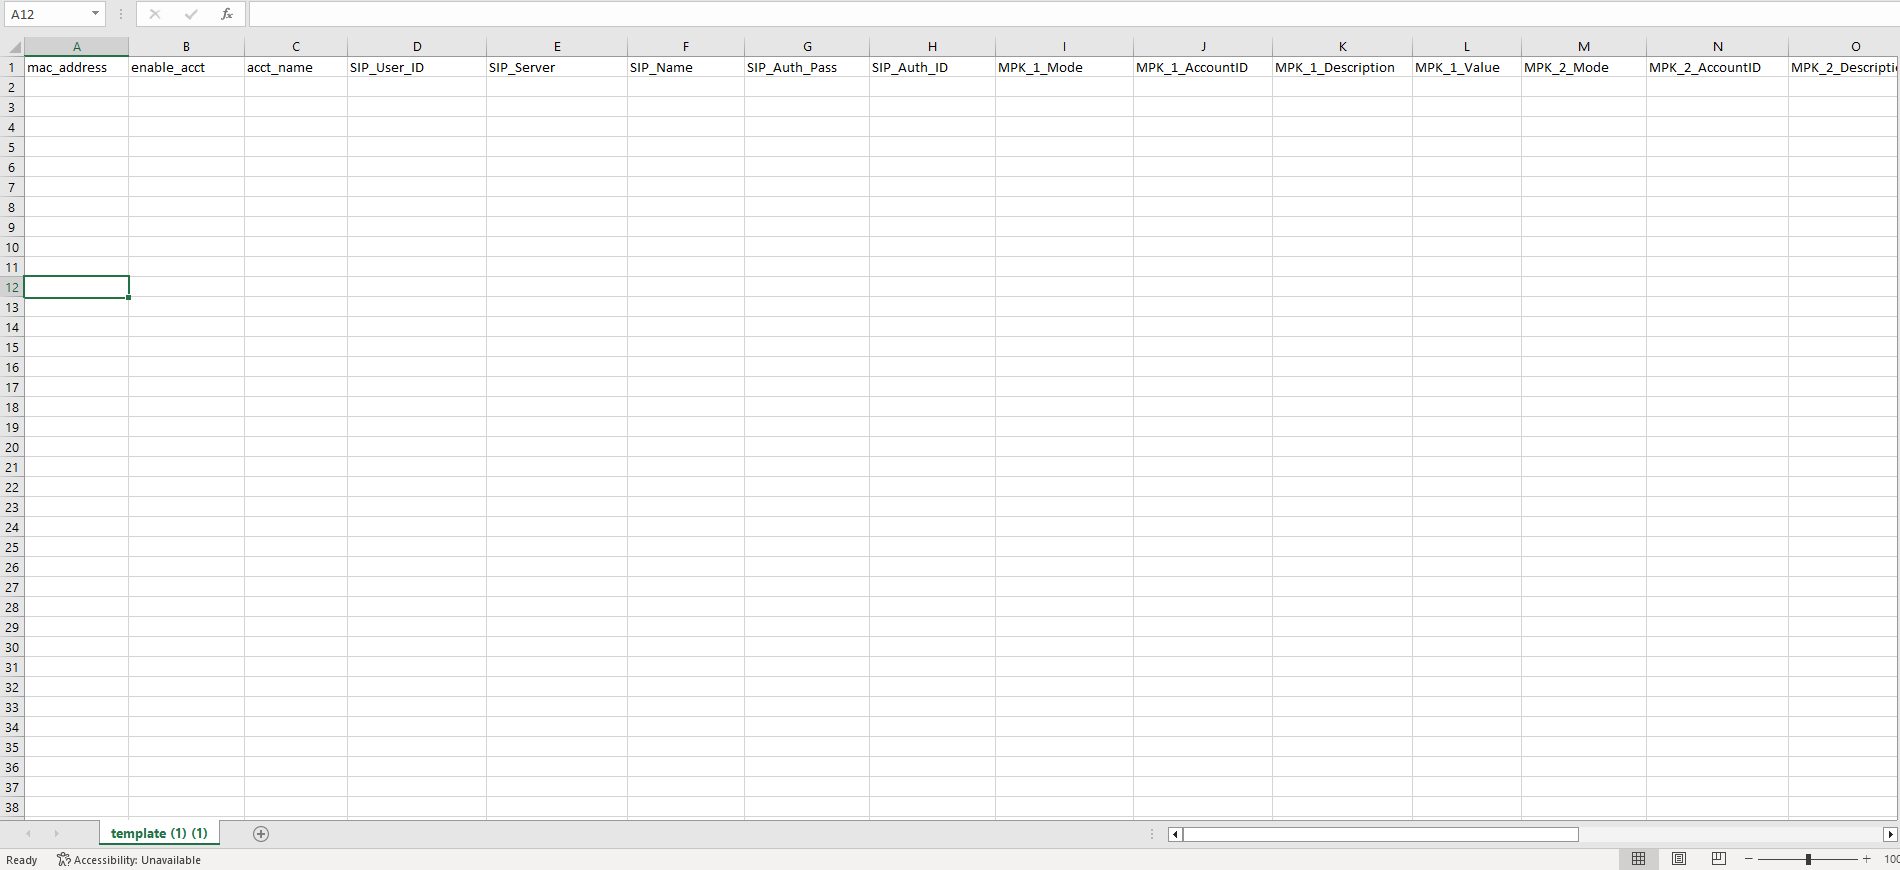
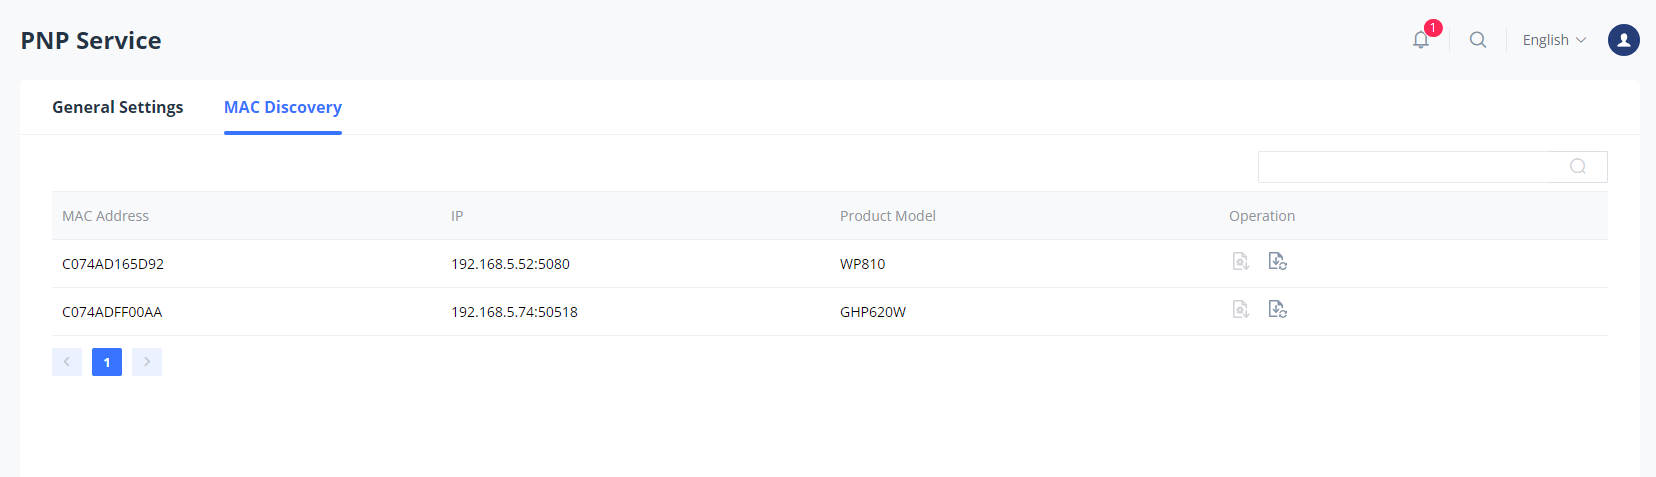
1. Local PNP: Local PNP is a built-in PNP service on the GHP6xx that offers basic functionality. It can manually configure a
list of IP phones from the same model specified in a CSV file by using their MAC addresses.
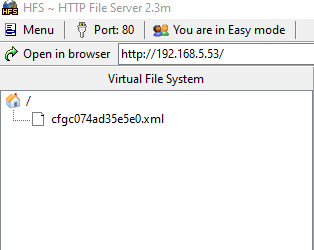
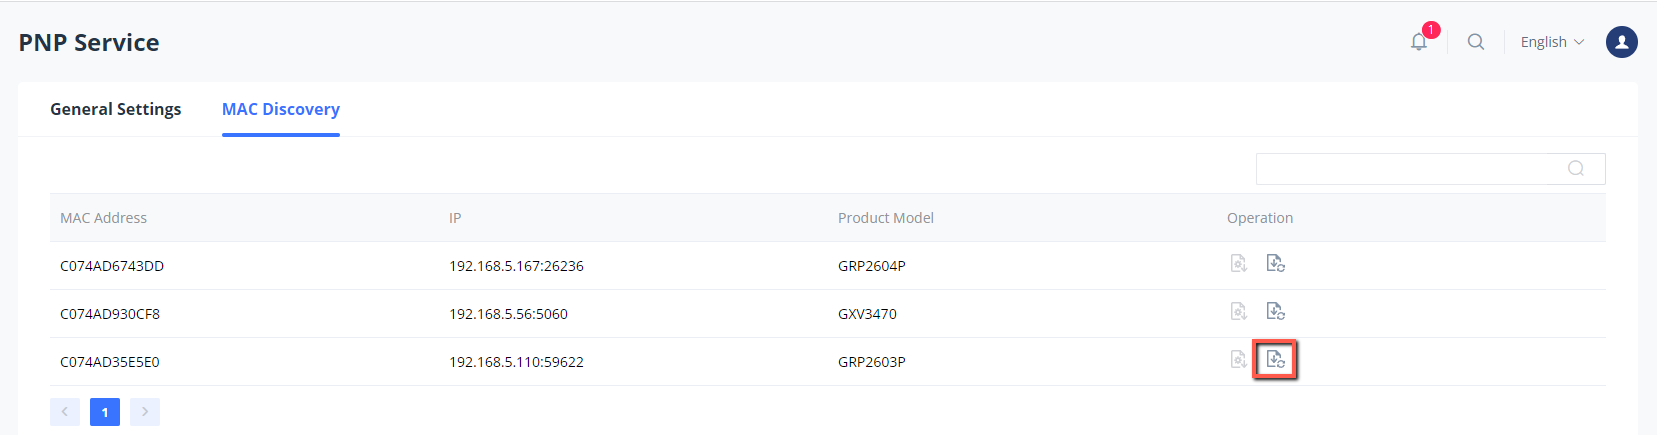
2. Custom PNP: Custom PNP can discover and connect to devices on the local network and can also retrieve configuration
files from a remote server, for example from an HTTP server.
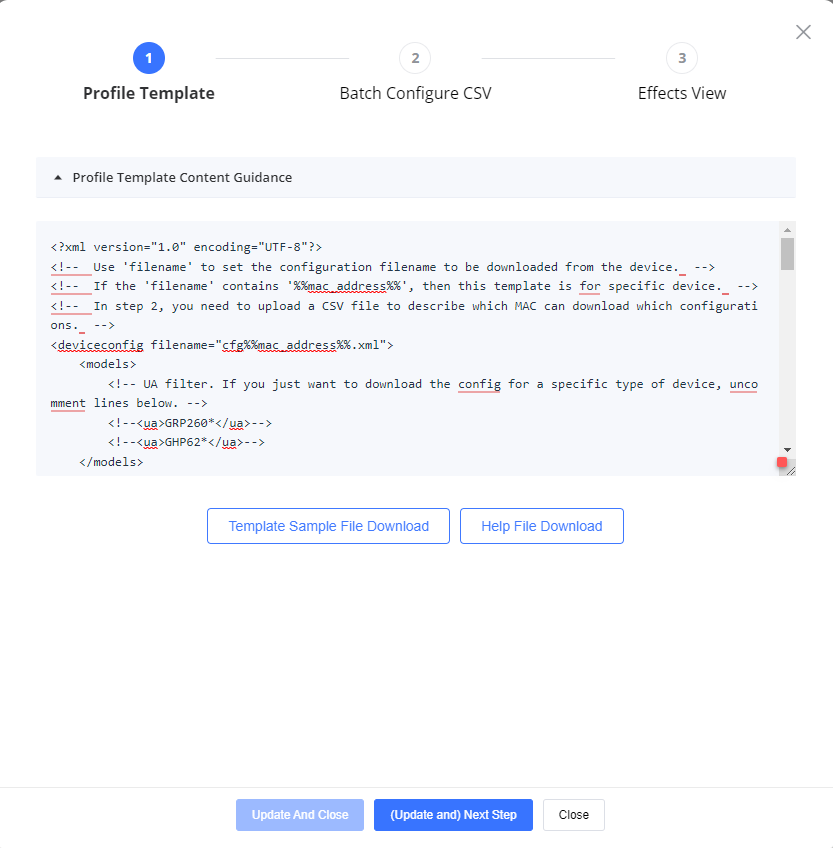
Custom PNP Configuration
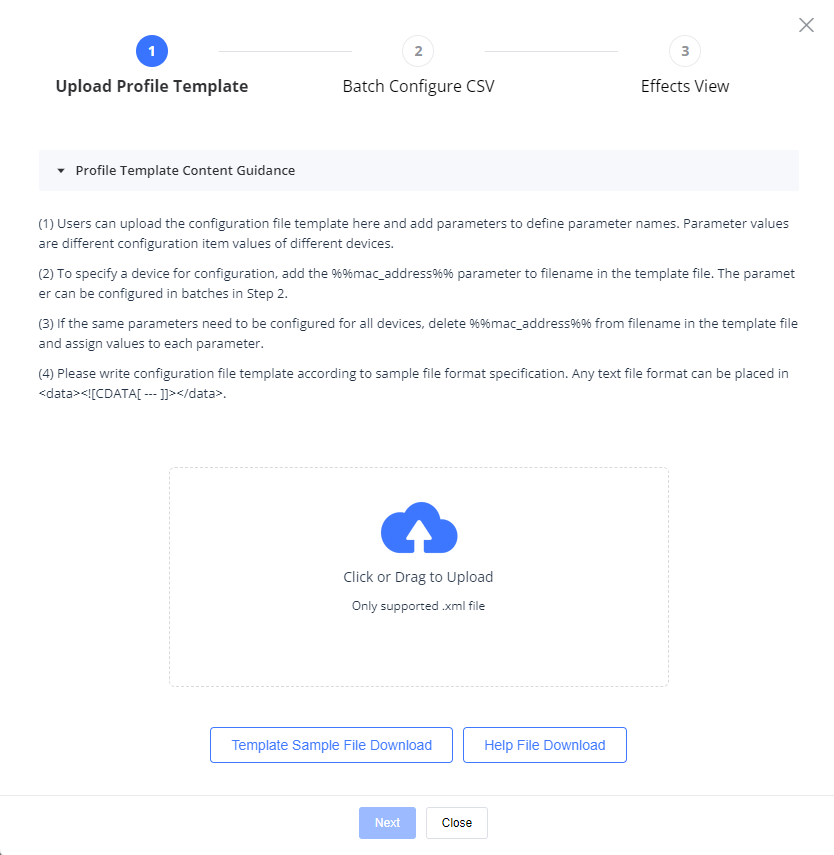
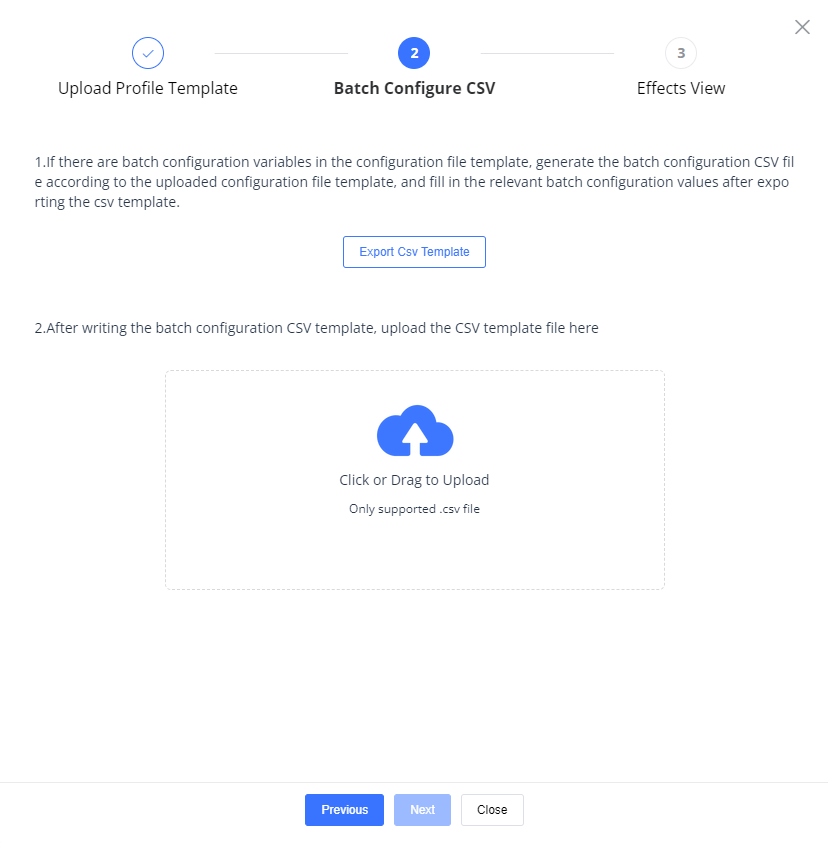
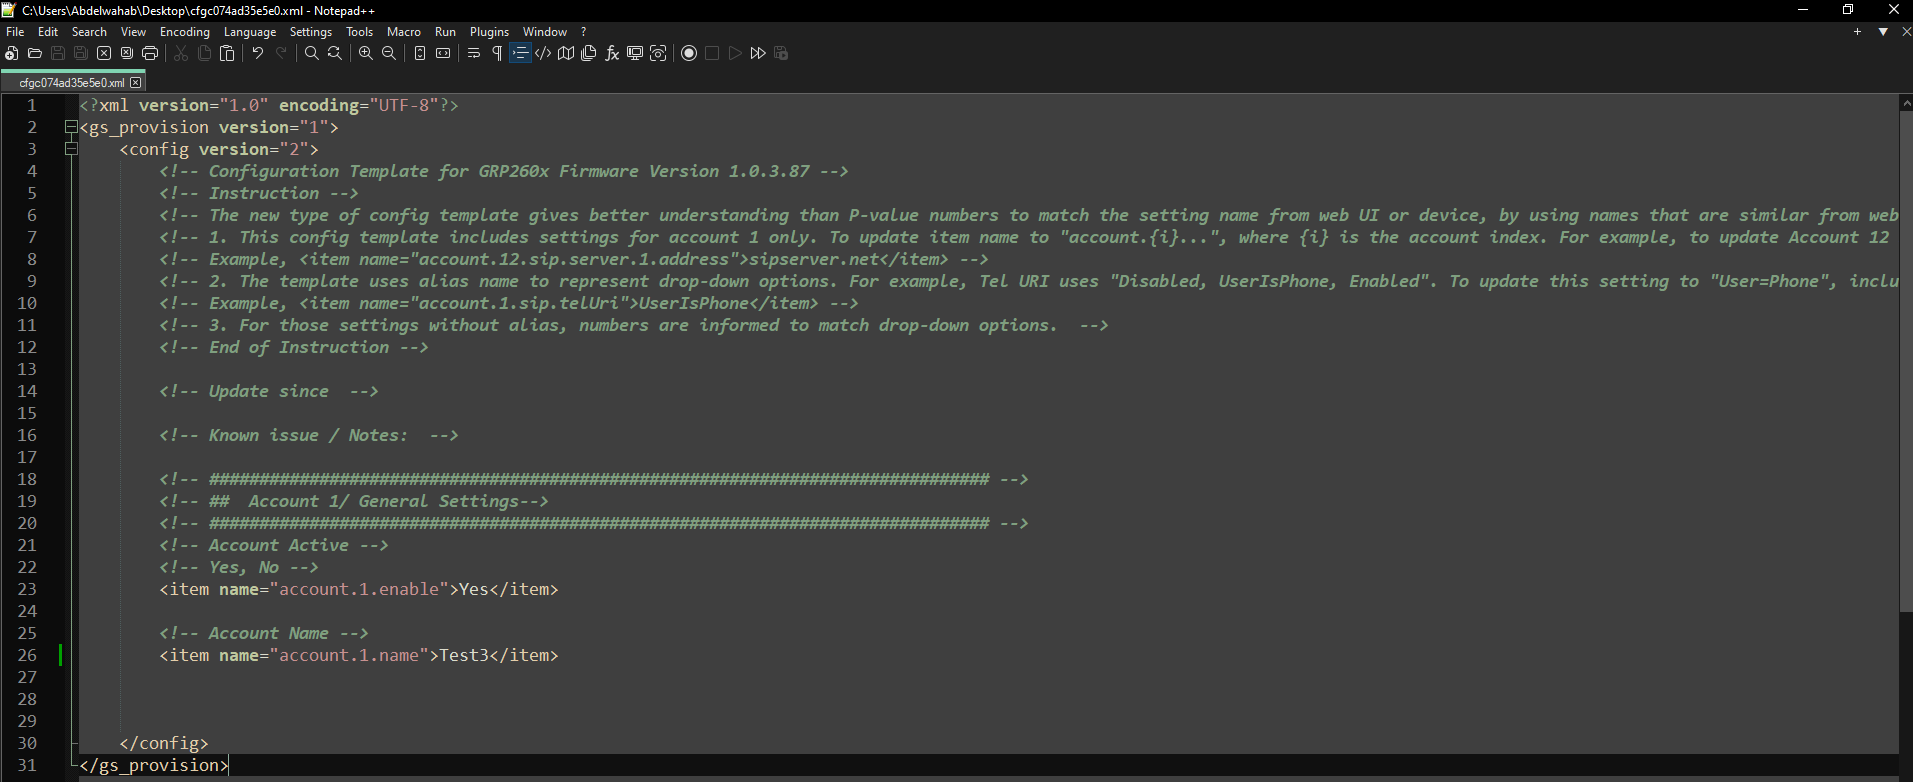
With Custom PNP setup, a configuration file is created, specifying its settings and configurations. The file is then uploaded to
a central server, from which the GHP6xx retrieves and applies the settings during provisioning. While Custom PNP enables
administrators to specify specific settings for each phone, it demands more initial configuration work as each phone
necessitates a unique configuration file.
In order to do that, the administrator needs to provide the PNP URL which is the server address that is typically the IP address
of the terminal that offers PNP services and cannot be set as a local parameter.
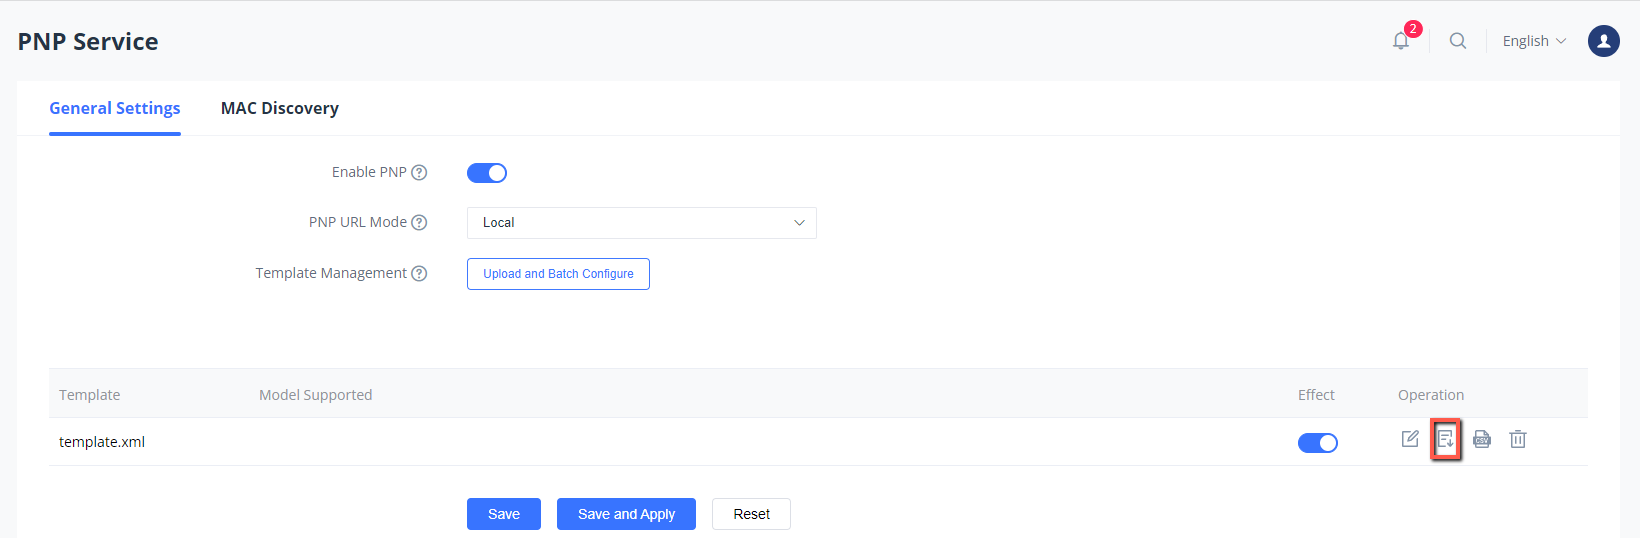
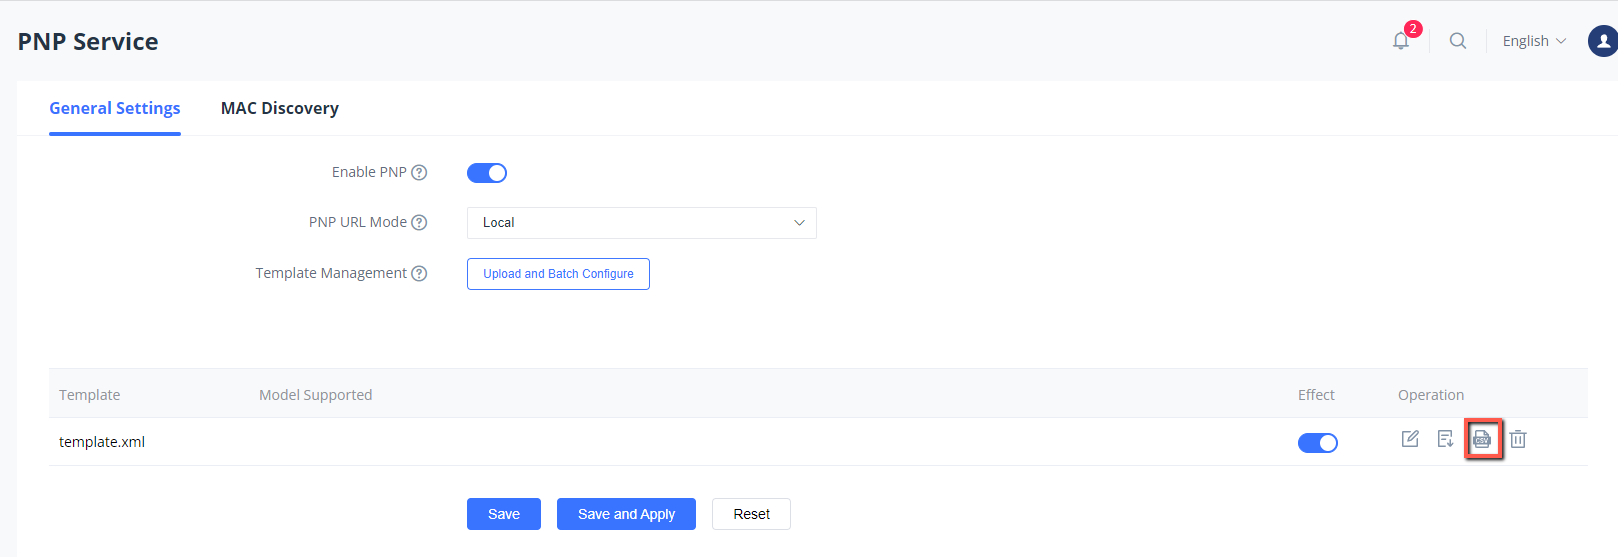
To set up the Custom PNP service, Please follow the below steps.
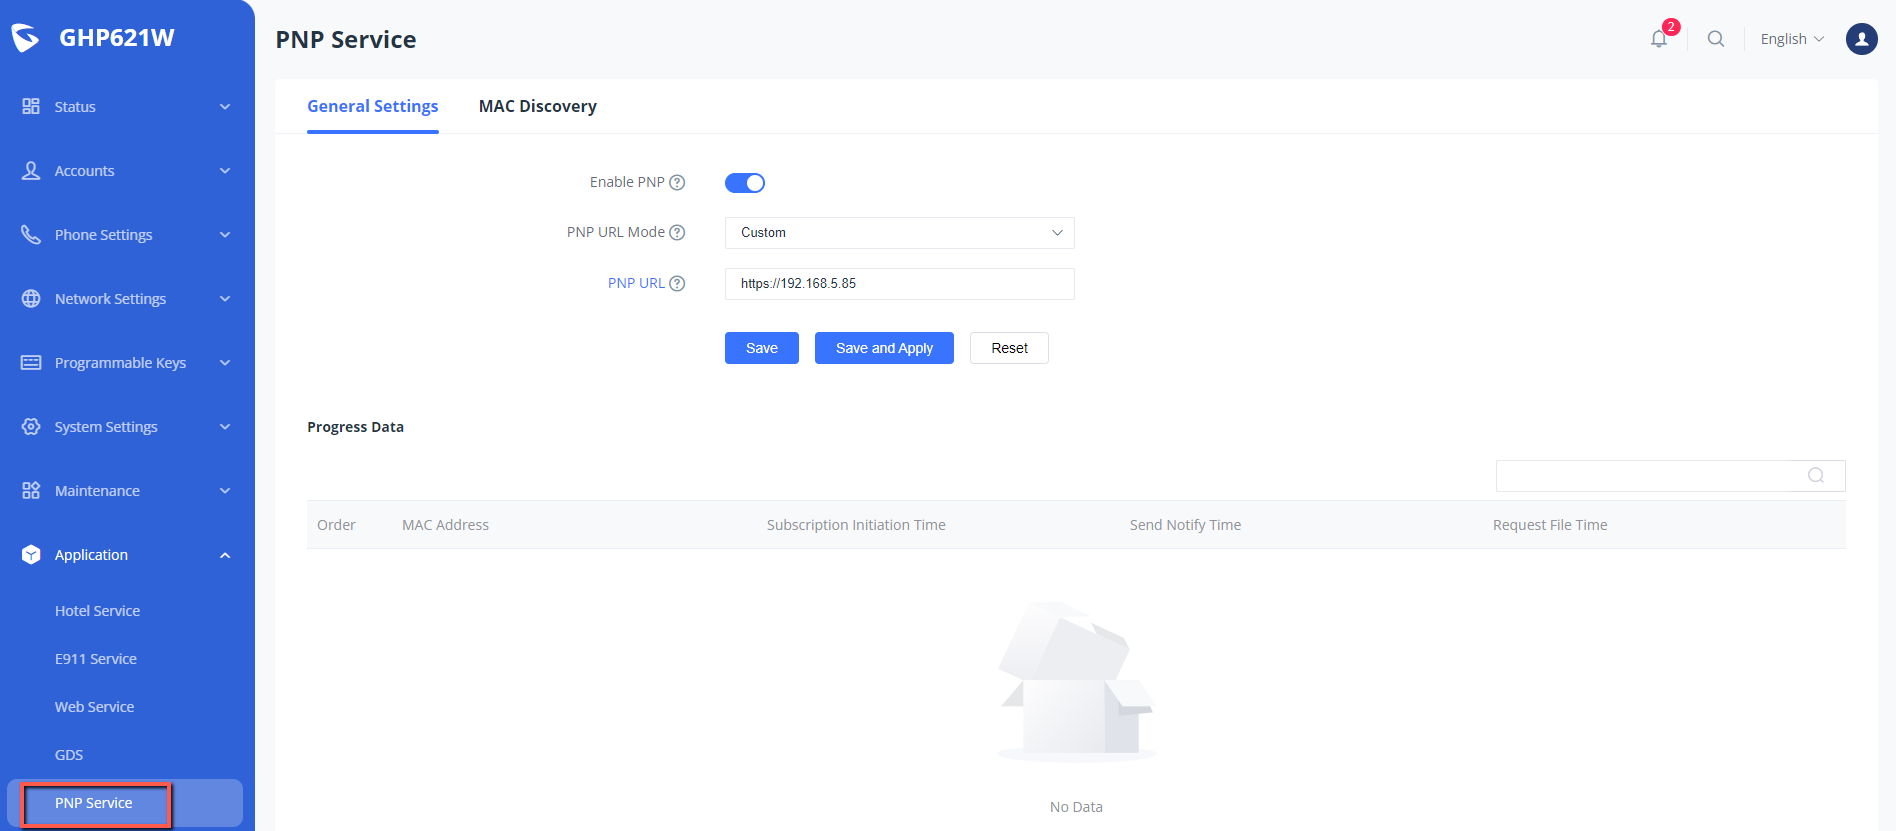
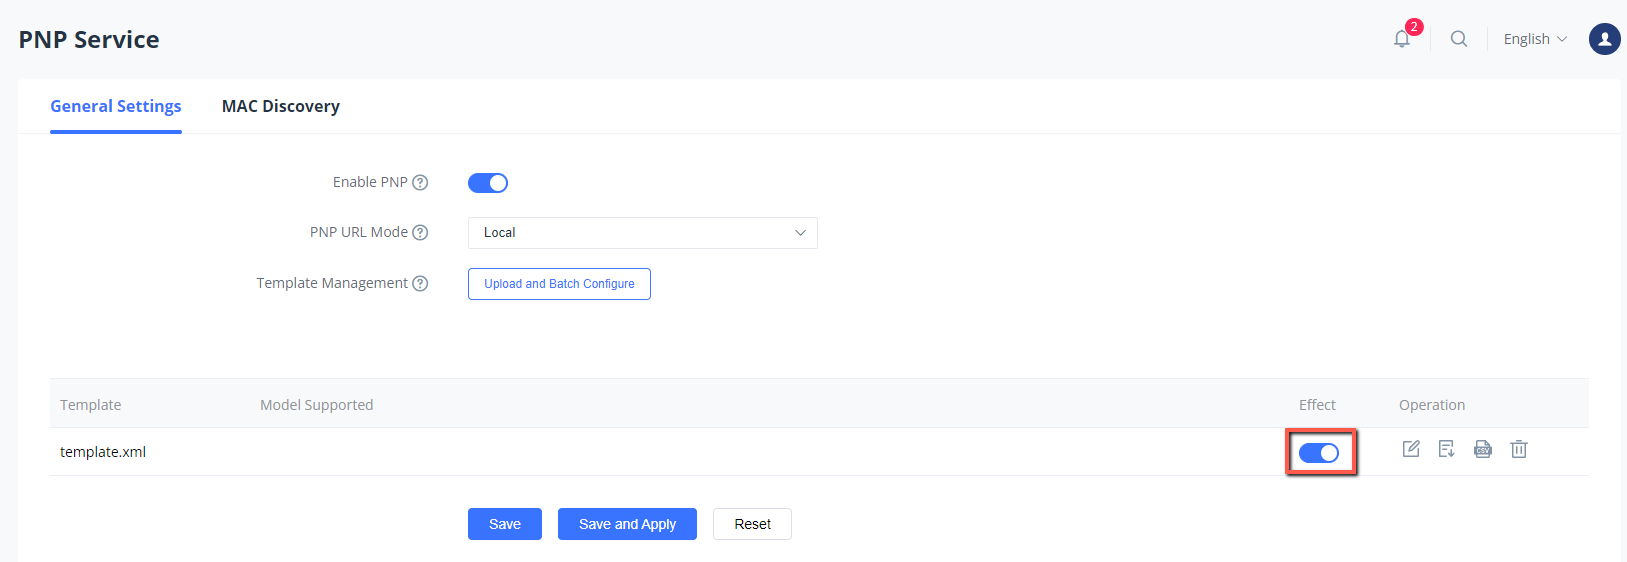
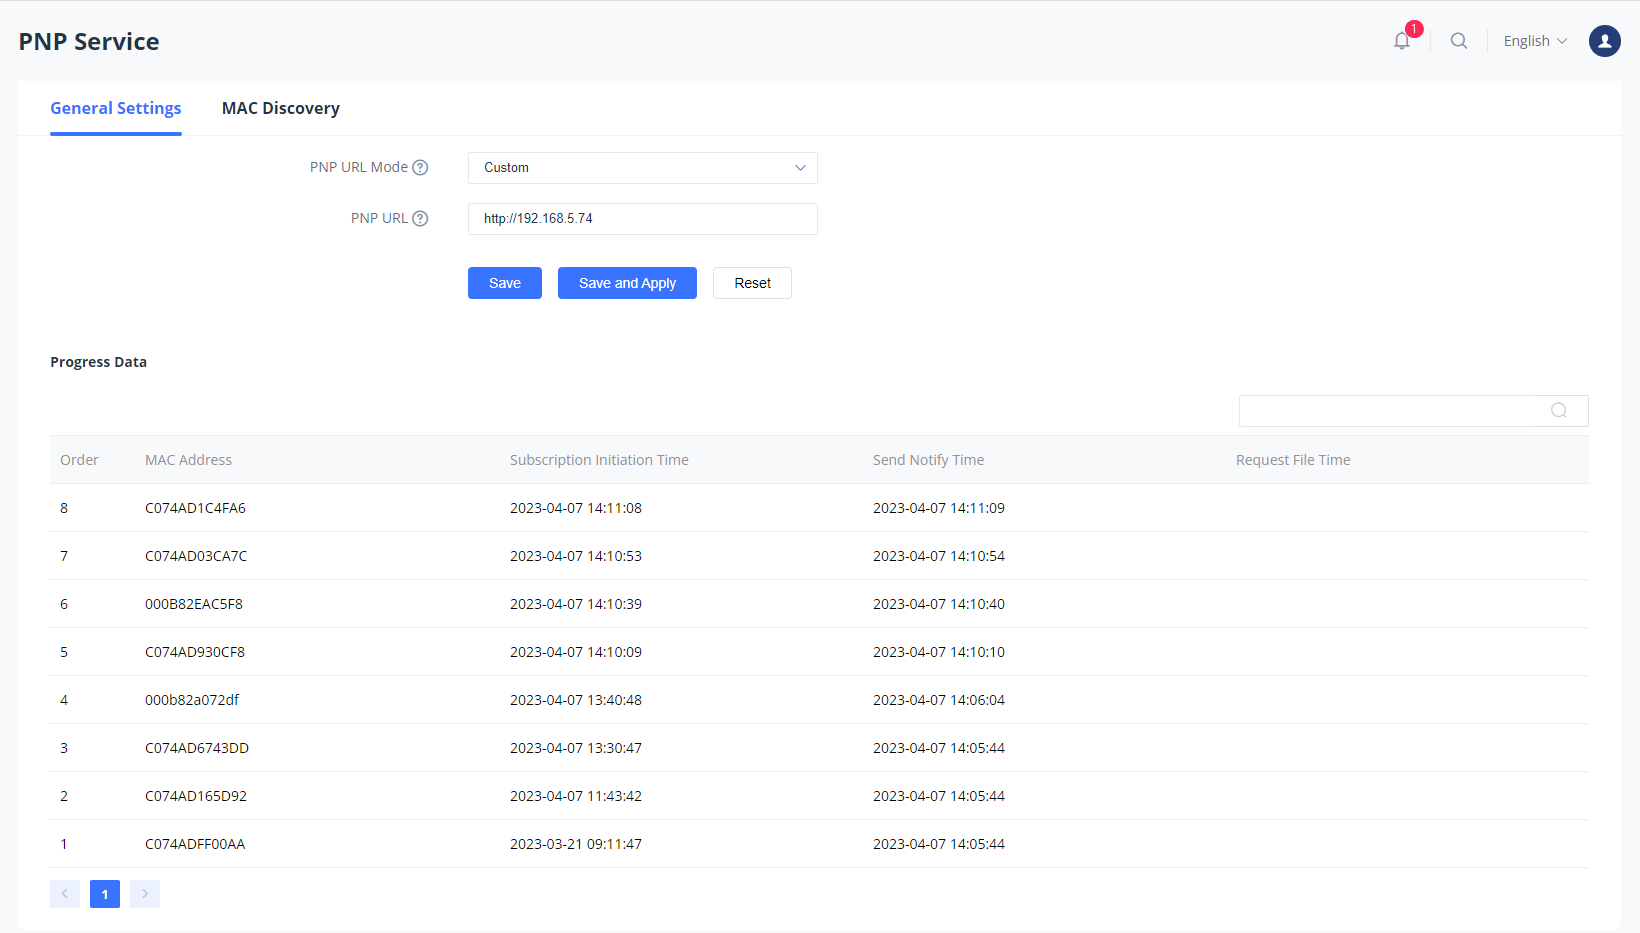
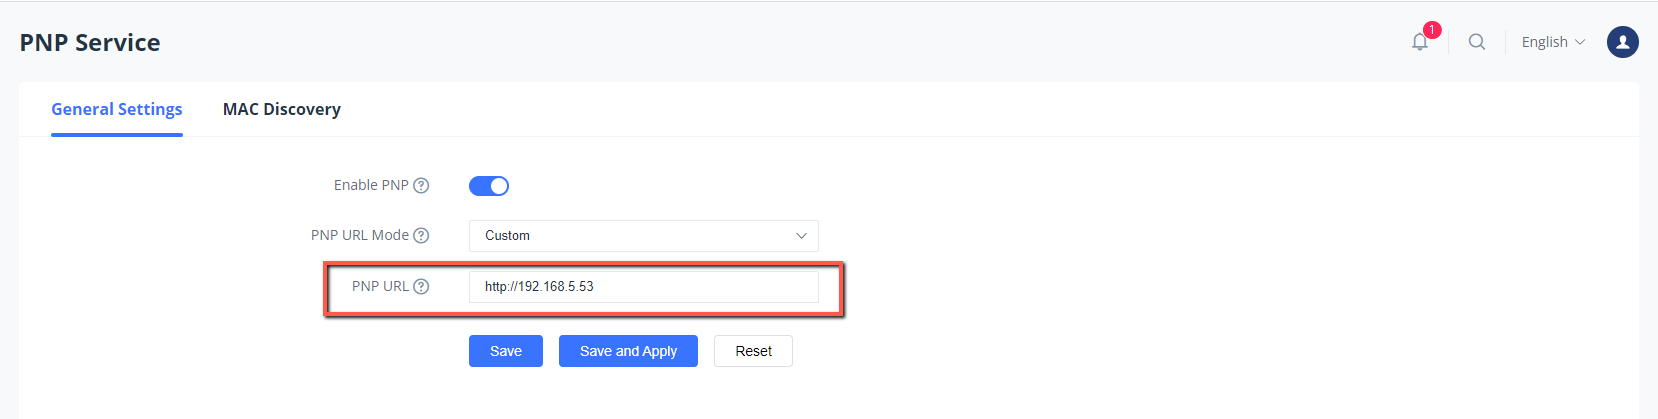
1. Under Application => PNP Service => General settings, make sure the PNP feature is enabled.
2. Set up the PNP URL mode to Custom.
3. in the PNP URL, Enter the IP address of the terminal that provides PNP services. It cannot be configured as a locally
related parameter, in this case, the terminal can be the IP Address of an HTTP Server.
4. Once all fields are entered, Press save and apply.


