VCR Mode
-29-
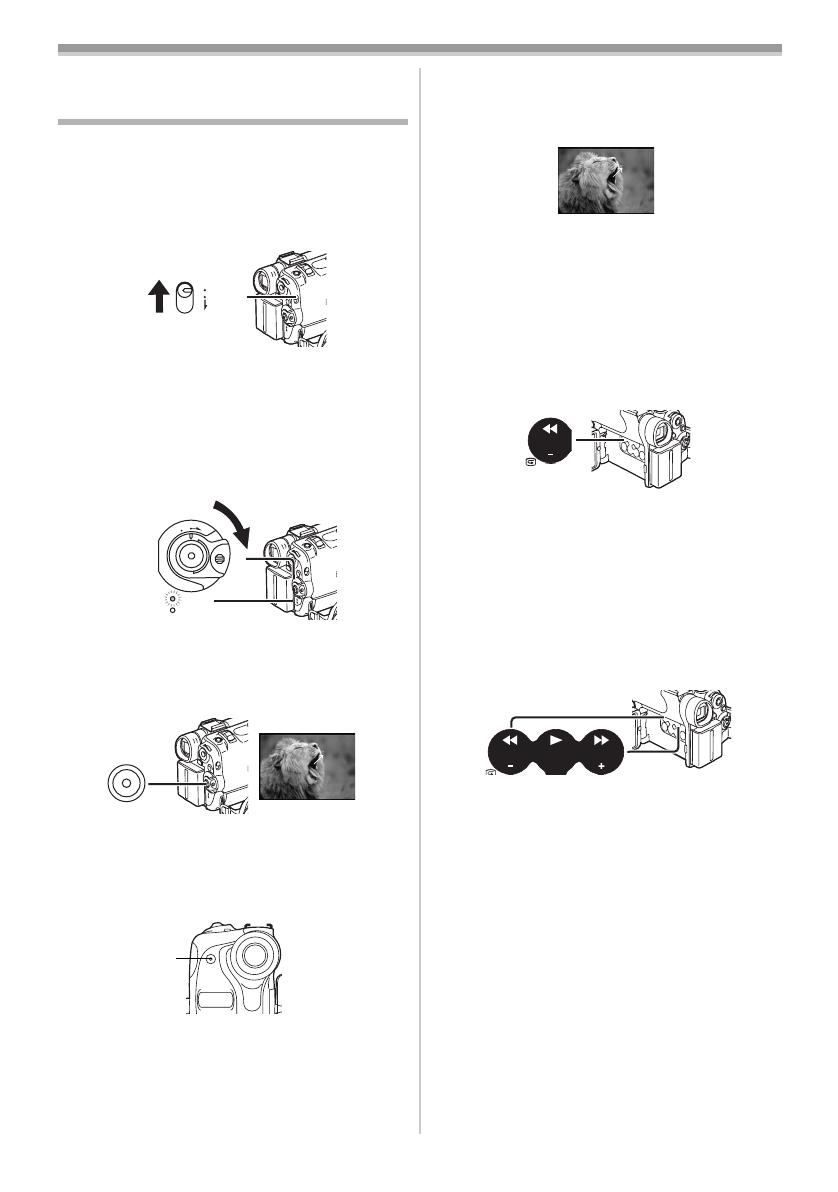
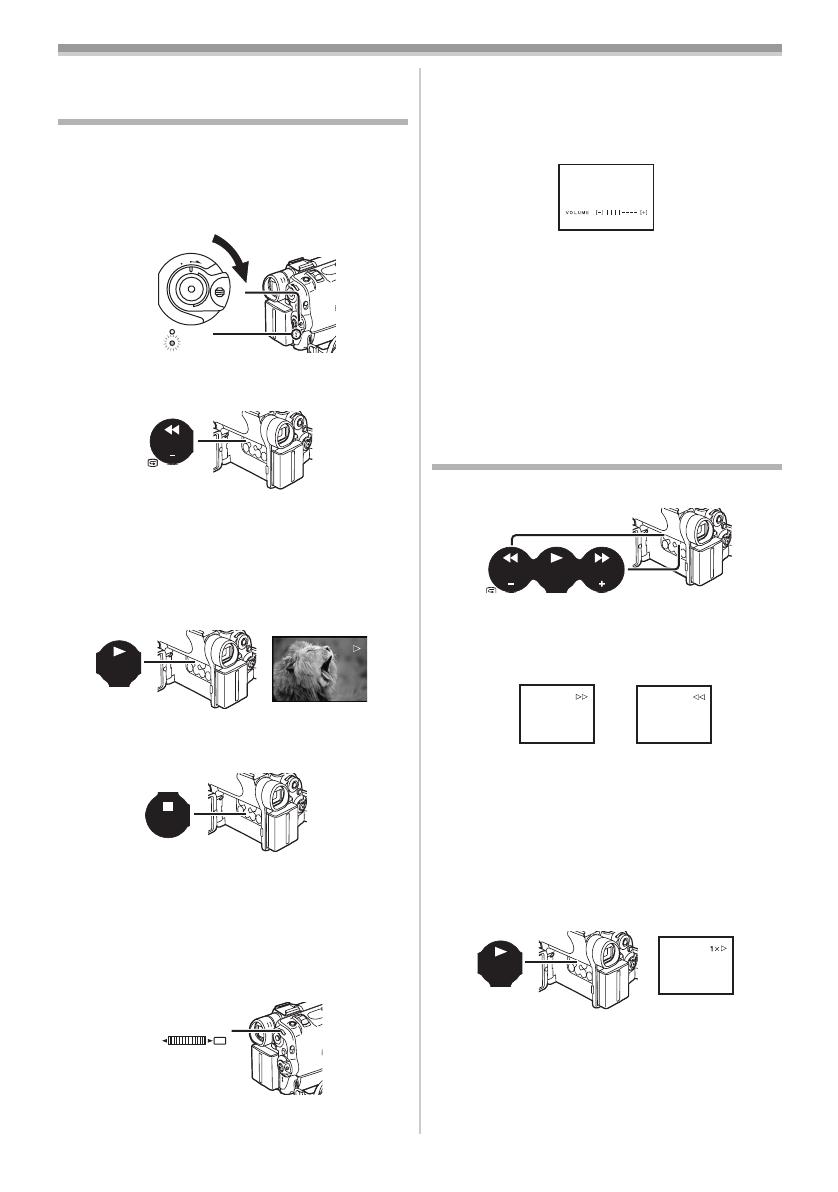
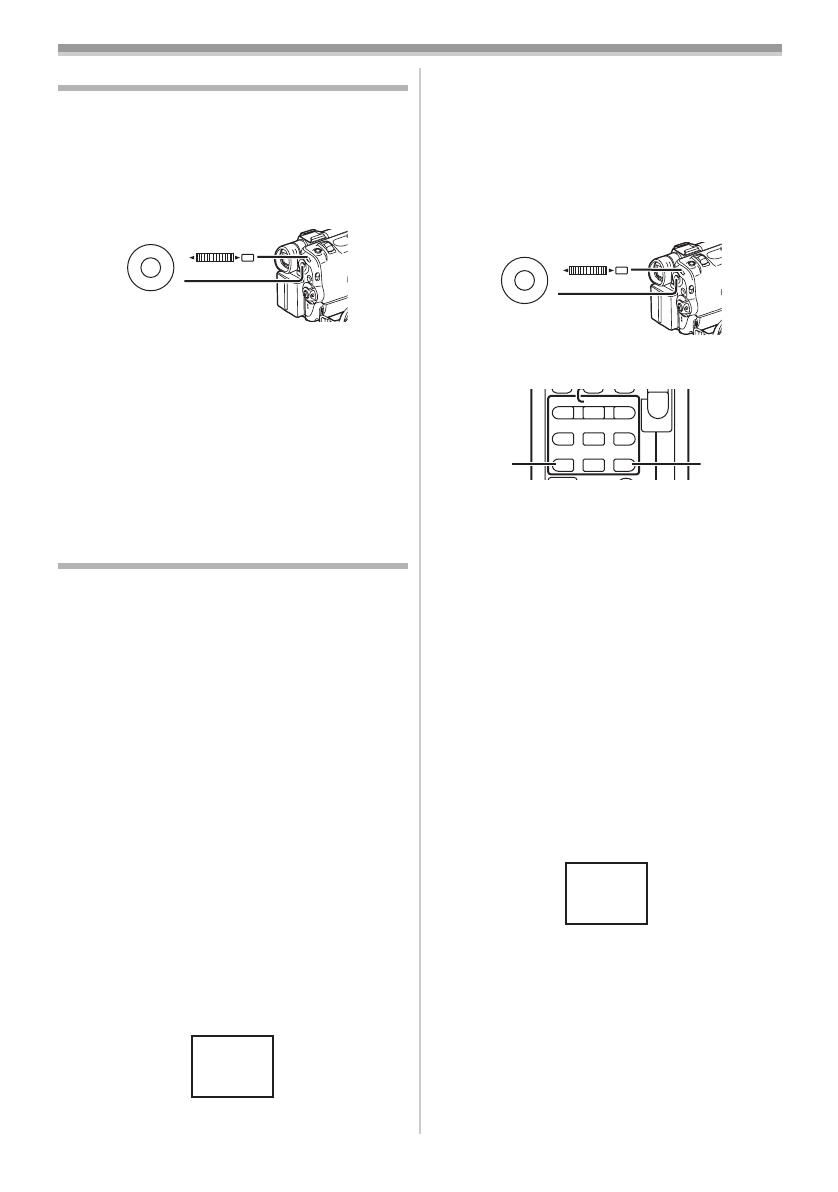
2 Turn the [PUSH] Dial (32) to select a desired
search speed.
The following 6 playback speeds are available for
the Variable Speed Search Function in both the
fast-forwarding and rewinding directions:
1/5k (slow playback in SP Mode only), 1/3k
(slow playback in LP Mode only), 1k, 2k, 5k,
10k and 20k.
≥This function can be done by pressing the
[VAR. SEARCH] and cursor buttons ([π, ∫]) on
the Remote Controller. (
-7-)
To Resume Normal Playback
Press the [1] Button (4).
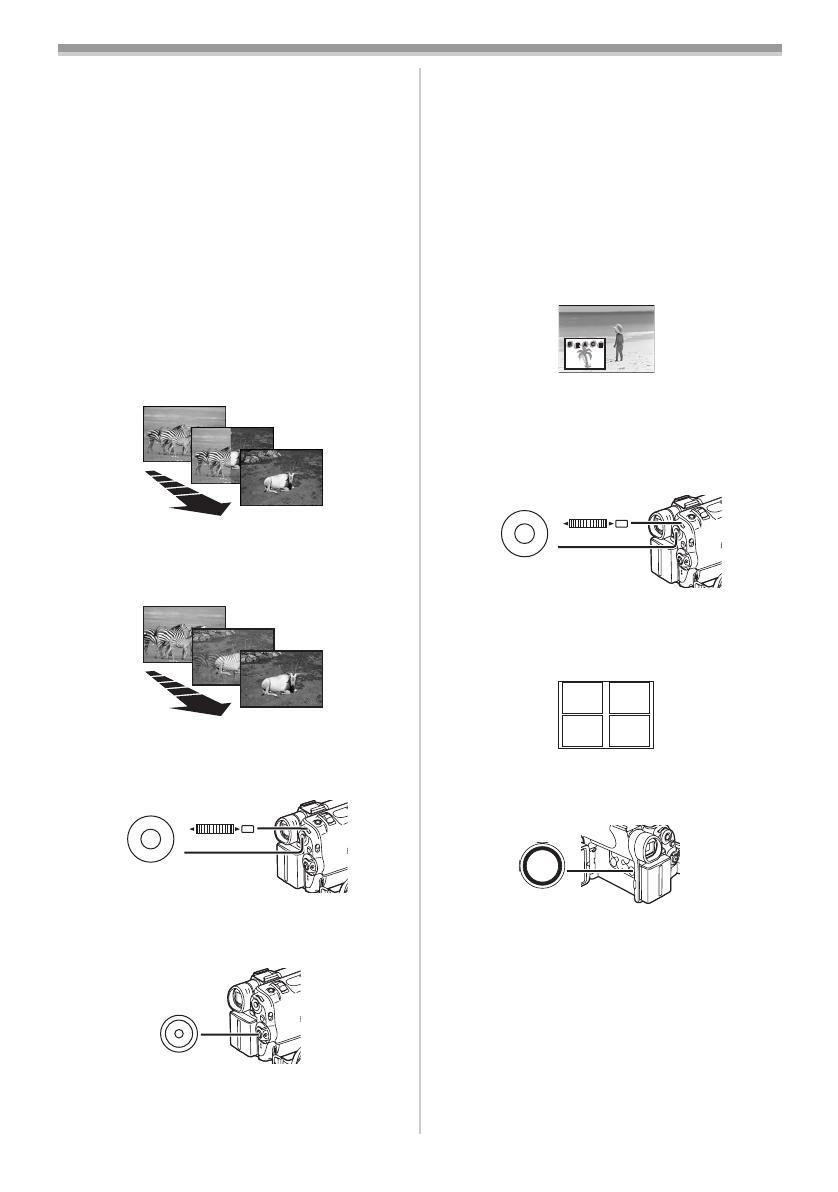
≥During Cue or Review Playback, fast-moving
images may show mosaic-pattern noise.
≥The sound is muted during search.
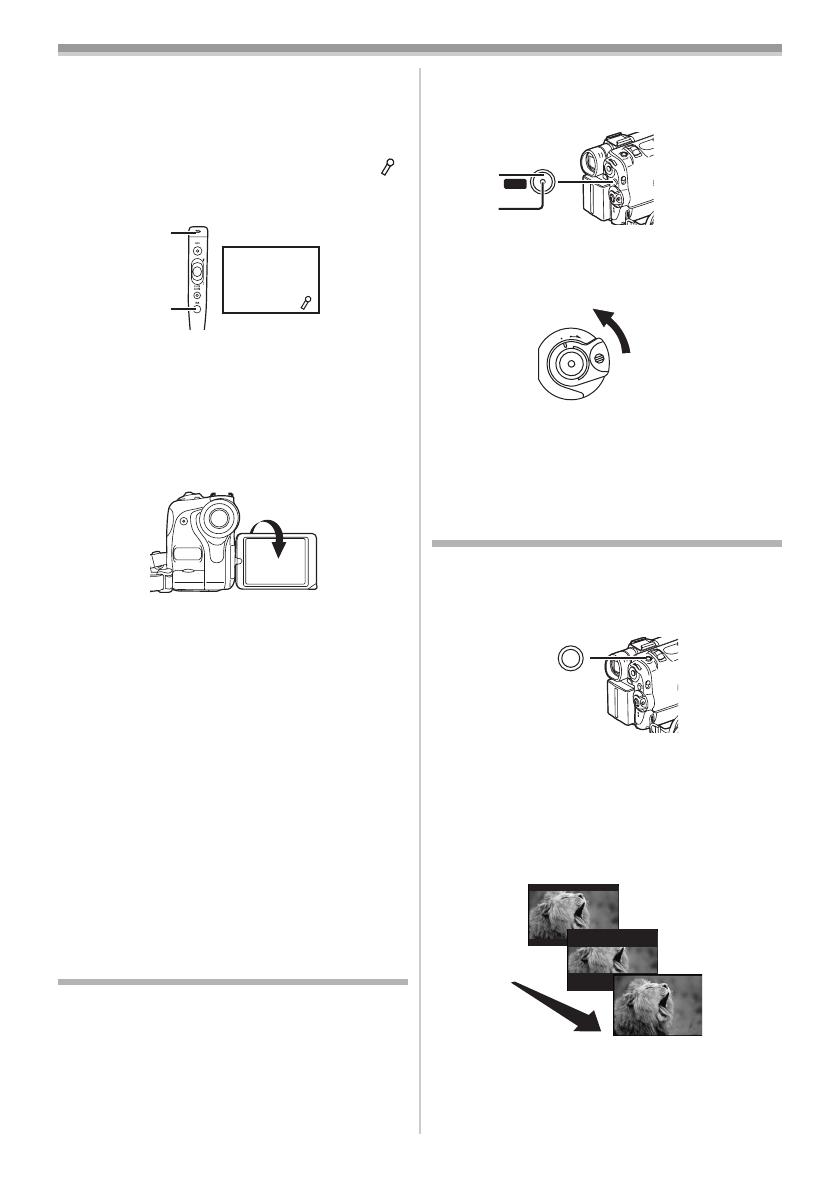
Slow Motion Playback
This Movie Camera can play back at a slow
speed.
1 Press the [1] Button (69).
2 Press the [E] Button or [D] Button (54) on
the Remote Controller.
≥The [}] or [~] Indication appears.
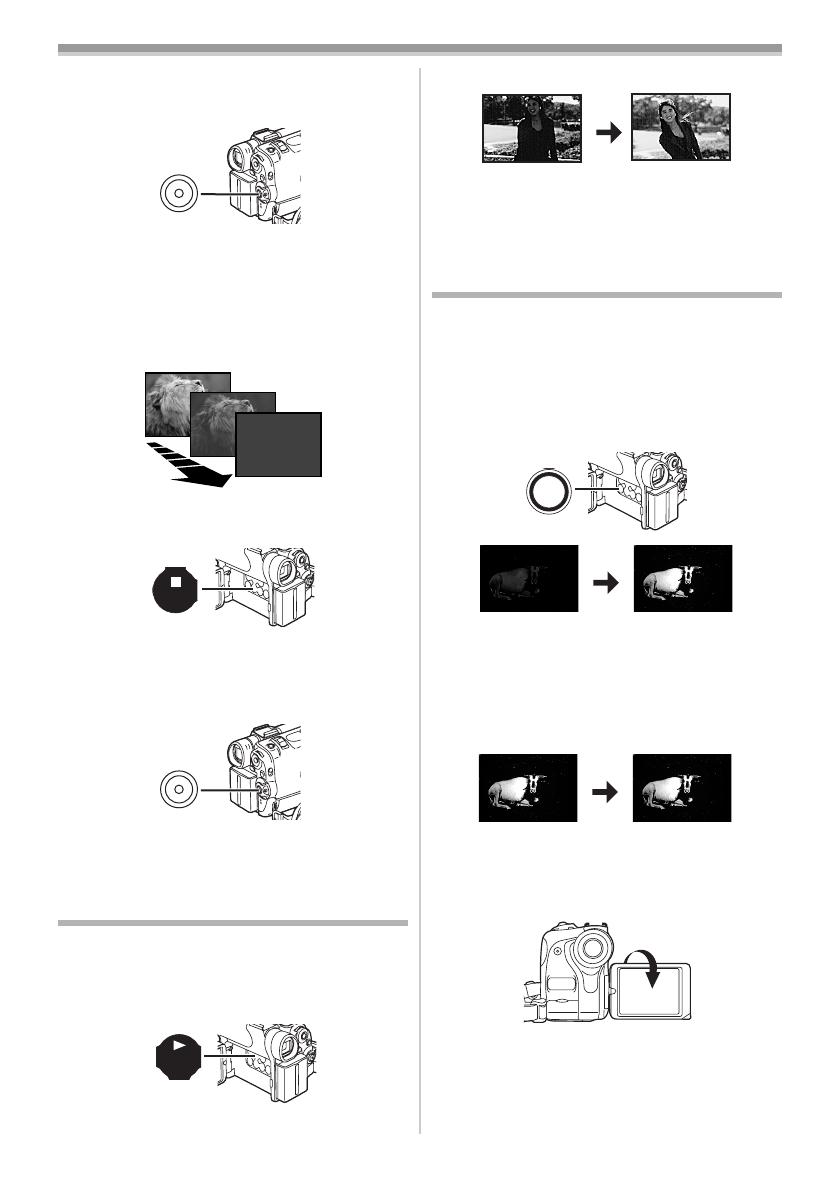
≥When the [E] Button is pressed, Slow Motion
Playback proceeds in the reverse direction.
When the [D] Button is pressed, Slow Motion
Playback proceeds in the forward direction.
Scenes recorded in the SP Mode are played back
at approximately 1/5th of the normal speed.
Scenes recorded in the LP Mode are played back
at approximately 1/3rd of the normal speed.
To Resume Normal Playback
Press the [1] Button (69).
PUSH
MF / VOL / JOG
W.B / SHUTTER / IRIS
(32)
INDEX INDEX
STOP
KL
∫
V
/REW
STILL ADV
W
s
PLAY
PAUSE
FF/
W
STILL ADV
61 5
;
ED
(69)
(54)
(54)
}
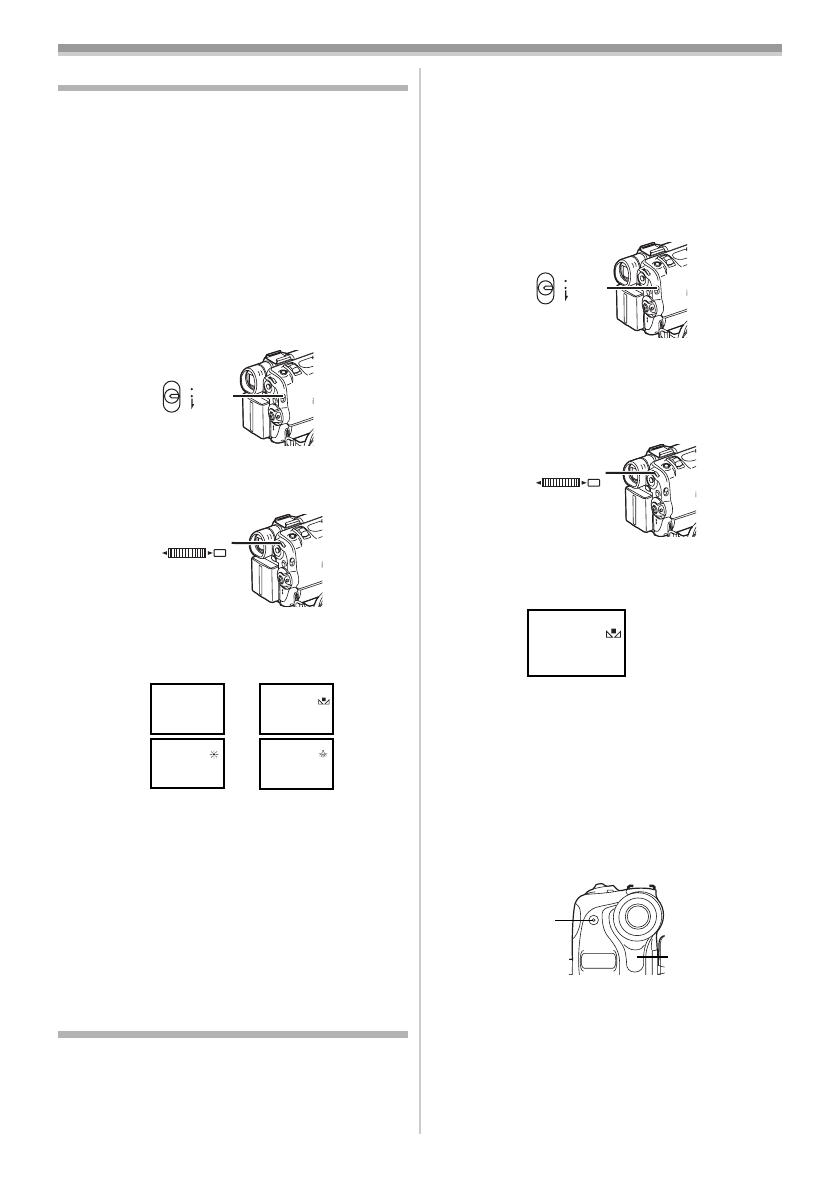
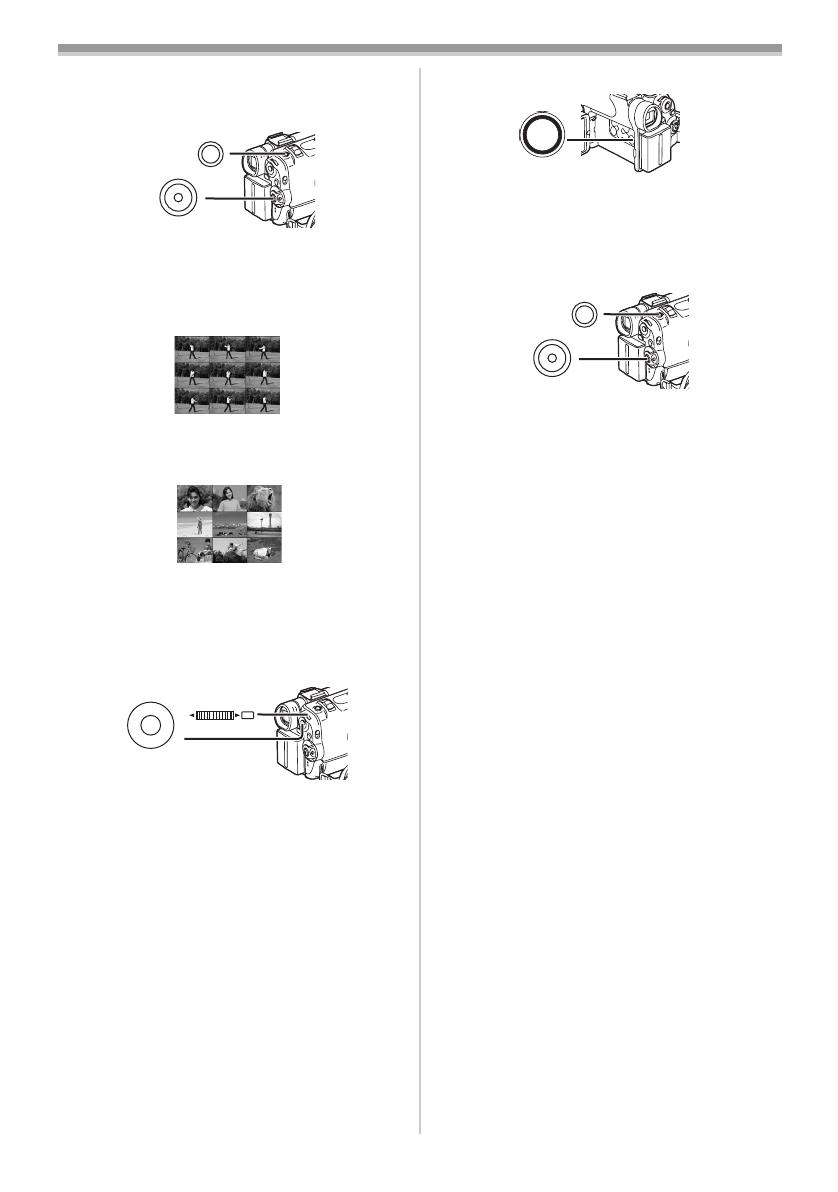
Still Playback/Still Advance
Playback
This Movie Camera is capable of still picture
playback and frame-advance playback.
1 Press the [1] Button (69).
2 Press the [;] Button (66).
≥The playback image stops in the Still
Playback Mode.
3 Press the [E] Button or [D] Button (54) on
the Remote Controller.
≥With each pressing of the [E] Button, still
pictures advance in the reverse direction.
With each pressing of the [D] Button, still
pictures advances in the forward direction. If
either one of the buttons continues to be
pressed, still pictures advance continuously
1 frame at a time until the button is released.
To Resume Normal Playback
Press the [1] Button (69).
ª Jog Playback
By turning the Jog Dial ([PUSH] Dial) (32) of the
Movie Camera in the Still Playback Mode, still
pictures can be advanced one frame at a time in
the forward or backward direction.
≥If the Movie Camera is left in the Still Playback
Mode for more than 6 minutes, the Movie
Camera switches to the Stop Mode to protect
the video heads from excessive wear and tear.
INDEX INDEX
STOP
KL
∫
V
/REW
STILL ADV
W
s
PLAY
PAUSE
FF/
W
STILL ADV
61 5
;
ED
(69)
(66)
(54)
(54)
PUSH
MF / VOL / JOG
W.B / SHUTTER / IRIS
(32)
30B-ENG.book 29 ページ 2003年1月23日 木曜日 午後8時46分