Note
●
Even if there was a successful
receive operation, the second hand
will point to
“N(NO)” if you adjusted
the time setting manually.
●
If you do not perform any watch
operation for about one or two
seconds
after location information is
acquired or after establishing a
connection with a phone and
adjusting the time, the watch will
display the acquired Home City and
the approximate latitude and
longitude of your current location.
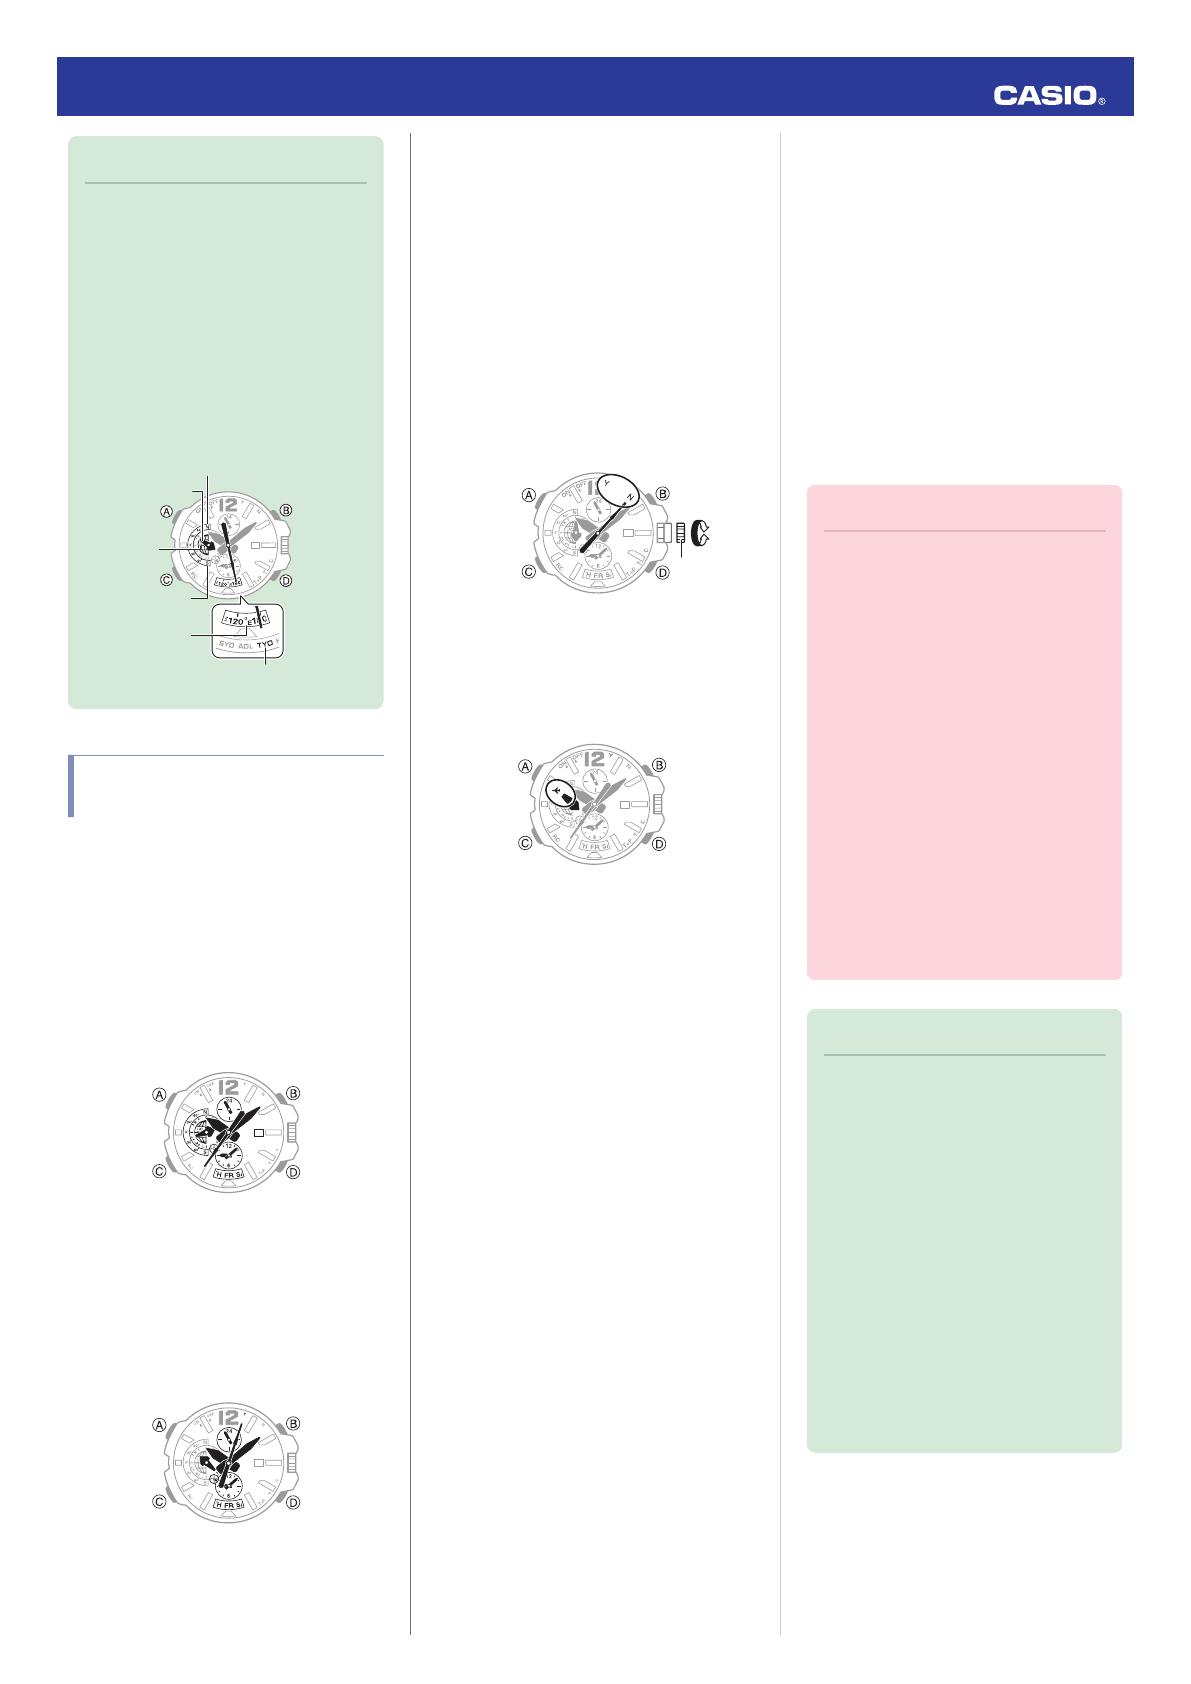
30
South Pole
Equator
North Pole
Latitude
Home City
Longitude
Using the Watch in a Medical
Facility or Aircraft
Whenever you are in a hospital, on an aircraft,
or in any other location where auto signal
receive
or connection with a phone may cause
problems, you can perform the procedure
below to disable it (Airplane Mode). To re-
enable auto time adjustment, perform the
same operation again.
1.
Enter the Timekeeping Mode.
l
Navigating Between Modes
2.
Press (D).
The second hand will indicate the last
receive result for nine or ten seconds. If
location information was received, the
second hand will indicate the Home City
time zone after indicating the receive
result.
3.
Within 10 seconds after pressing (D)
above, pull out the crown to the first click.
●
If more than 10 seconds elapse before
you pull out the crown after you press
(D), the second hand will return to
indicating seconds. If this happens,
press (D) again.
4.
Rotate the crown to enter the Airplane
Mode.
N(NO): Airplane Mode enabled
Y(YES): Airplane Mode disabled
5.
Push the crown back in.
●
When
the watch is in the Airplane Mode,
the mode hand points to h.
Time Adjustment (GPS,
Time Calibration
Signal)
The watch’s time, day, and Home City settings
can be configured in accordance with a
received
GPS signal or time calibration signal.
●
GPS signal (location information): Used to
update Home City, time, and day settings.
●
GPS signal time information: Used to
update time and day settings.
●
Time
calibration signal: Used to update time
and day settings.
Important!
●
Before trying to receive GPS signal
time information and/or a time
calibration signal, first use GPS to
acquire location information and
configure Home Time settings.
●
The watch will normally not perform
auto signal receive while it is paired
with
a phone. However, auto receive
will be performed if there is no
connection between the watch and
phone for more than one day.
●
Put
the watch into the Airplane Mode
whenever you are inside an aircraft
or in any other area where radio
wave reception is prohibited or
restricted.
l
Using the Watch in a Medical
Facility or Aircraft
Note
●
Areas where time calibration signal
reception is supported are limited.
When the watch in an area where
time calibration signal reception is
not supported, adjust time and day
settings based on GPS signals.
l
Time Calibration Signal Reception
Ranges
●
If the watch does not indicate the
correct time even after it receives a
signal, correct the hand and date
indicator positions.
l
Using G-SHOCK Connected to
Correct Hand Positions
l
Using Watch Operations to Correct
Hand Positions
Operation Guide 5502
6


