Troubleshooting
THE LASER DOES NOT TURN ON
• Makesurebatteriesareinstalledaccordingto(+)and(–)ontheinsideofthebatterydoor.
• Make sure the batteries are in proper working condition. If in doubt, try installing new
batteries.
• Makesurethatthebatterycontactsarecleanandfreeofrustorcorrosion.Besuretokeepthelaserlevel
dryanduseonlynew,high-quality,namebrandbatteriestoreducethechanceofbatteryleakage.
• Ifthelaserunitisheatedabove120˚F(50˚C),theunitwillnotturnon.Ifthelaserhasbeenstoredinextremely
hot temperatures, allow it to cool. The laser level will not be damaged by pressing the on/off button before
cooling to its proper operating temperature.
THE LASER BEAMS FLASH
The DW087 and DW088 have been designed to self-level up to an average of 4° in all directions when
positioned as shown in Figure 3. If the laser is tilted so much that internal mechanism cannot level itself,
it will flash the laser (Fig. 4) – the tilt range has been exceeded. THE FLASHING BEAMS CREATED BY THE
LASER ARE NOT LEVEL OR PLUMB AND SHOULD NOT BE USED FOR DETERMINING OR MARKING LEVEL OR
PLUMB. Try repositioning the laser on a more level surface.
THE LASER BEAMS WILL NOT STOP MOVING
The DW087 and DW088 are precision instruments. Therefore, if the laser is not positioned on a stable (and
motionless) surface, the laser will continue to try to find level. If the beam will not stop moving, try placing the
laser on a more stable surface. Also, try to make sure that the surface is relatively flat, so that the laser is stable.
Service and Repairs
NOTE: Disassembling the laser level(s) will void all warranties on the product.
To assure product SAFETY and RELIABILITY, repairs, maintenance and adjustment should
be performed by authorized service centers. Service or maintenance performed by unquali-
fied personnel may result in a risk of injury. To locate your nearest DeWALT service center call
1-800-4-DeWALT (1-800-433-9258) or go to http://www.dewalt.com on the Internet.
Three Year Limited Warranty
DeWALT will repair, without charge, any defects due to faulty materials or workmanship for three years from the
date of purchase. This warranty does not cover part failure due to normal wear or tool abuse. For further detail
of warranty coverage and warranty repair information, visit www.dewalt.com or call 1-800-4-DeWALT (1-800-
433-9258). This warranty does not apply to accessories or damage caused where repairs have been made or
attempted by others. This warranty gives you specific legal rights and you may have other rights which vary in
certain states or provinces.
In addition to the warranty, DeWALT tools are covered by our:
1 YEAR FREE SERVICE
DeWALT will maintain the tool and replace worn parts caused by normal use, for free, any time during the first
year after purchase.
90 DAY MONEY BACK GUARANTEE
If you are not completely satisfied with the performance of your DeWALT Power Tool, Laser, or Nailer for any
reason,youcanreturnitwithin90daysfromthedateofpurchasewithareceiptforafullrefund–noquestions
asked.
RECONDITIONED PRODUCT: Reconditioned product is covered under the 1 Year Free Service Warranty. The 90
Day Money Back Guarantee and the Three Year Limited Warranty do not apply to reconditioned product.
FREE WARNING LABEL REPLACEMENT: If your warning labels become illegible or are missing, call
1-800-4-DeWALT or visit your local service center for a free replacement.
Patents Pending.
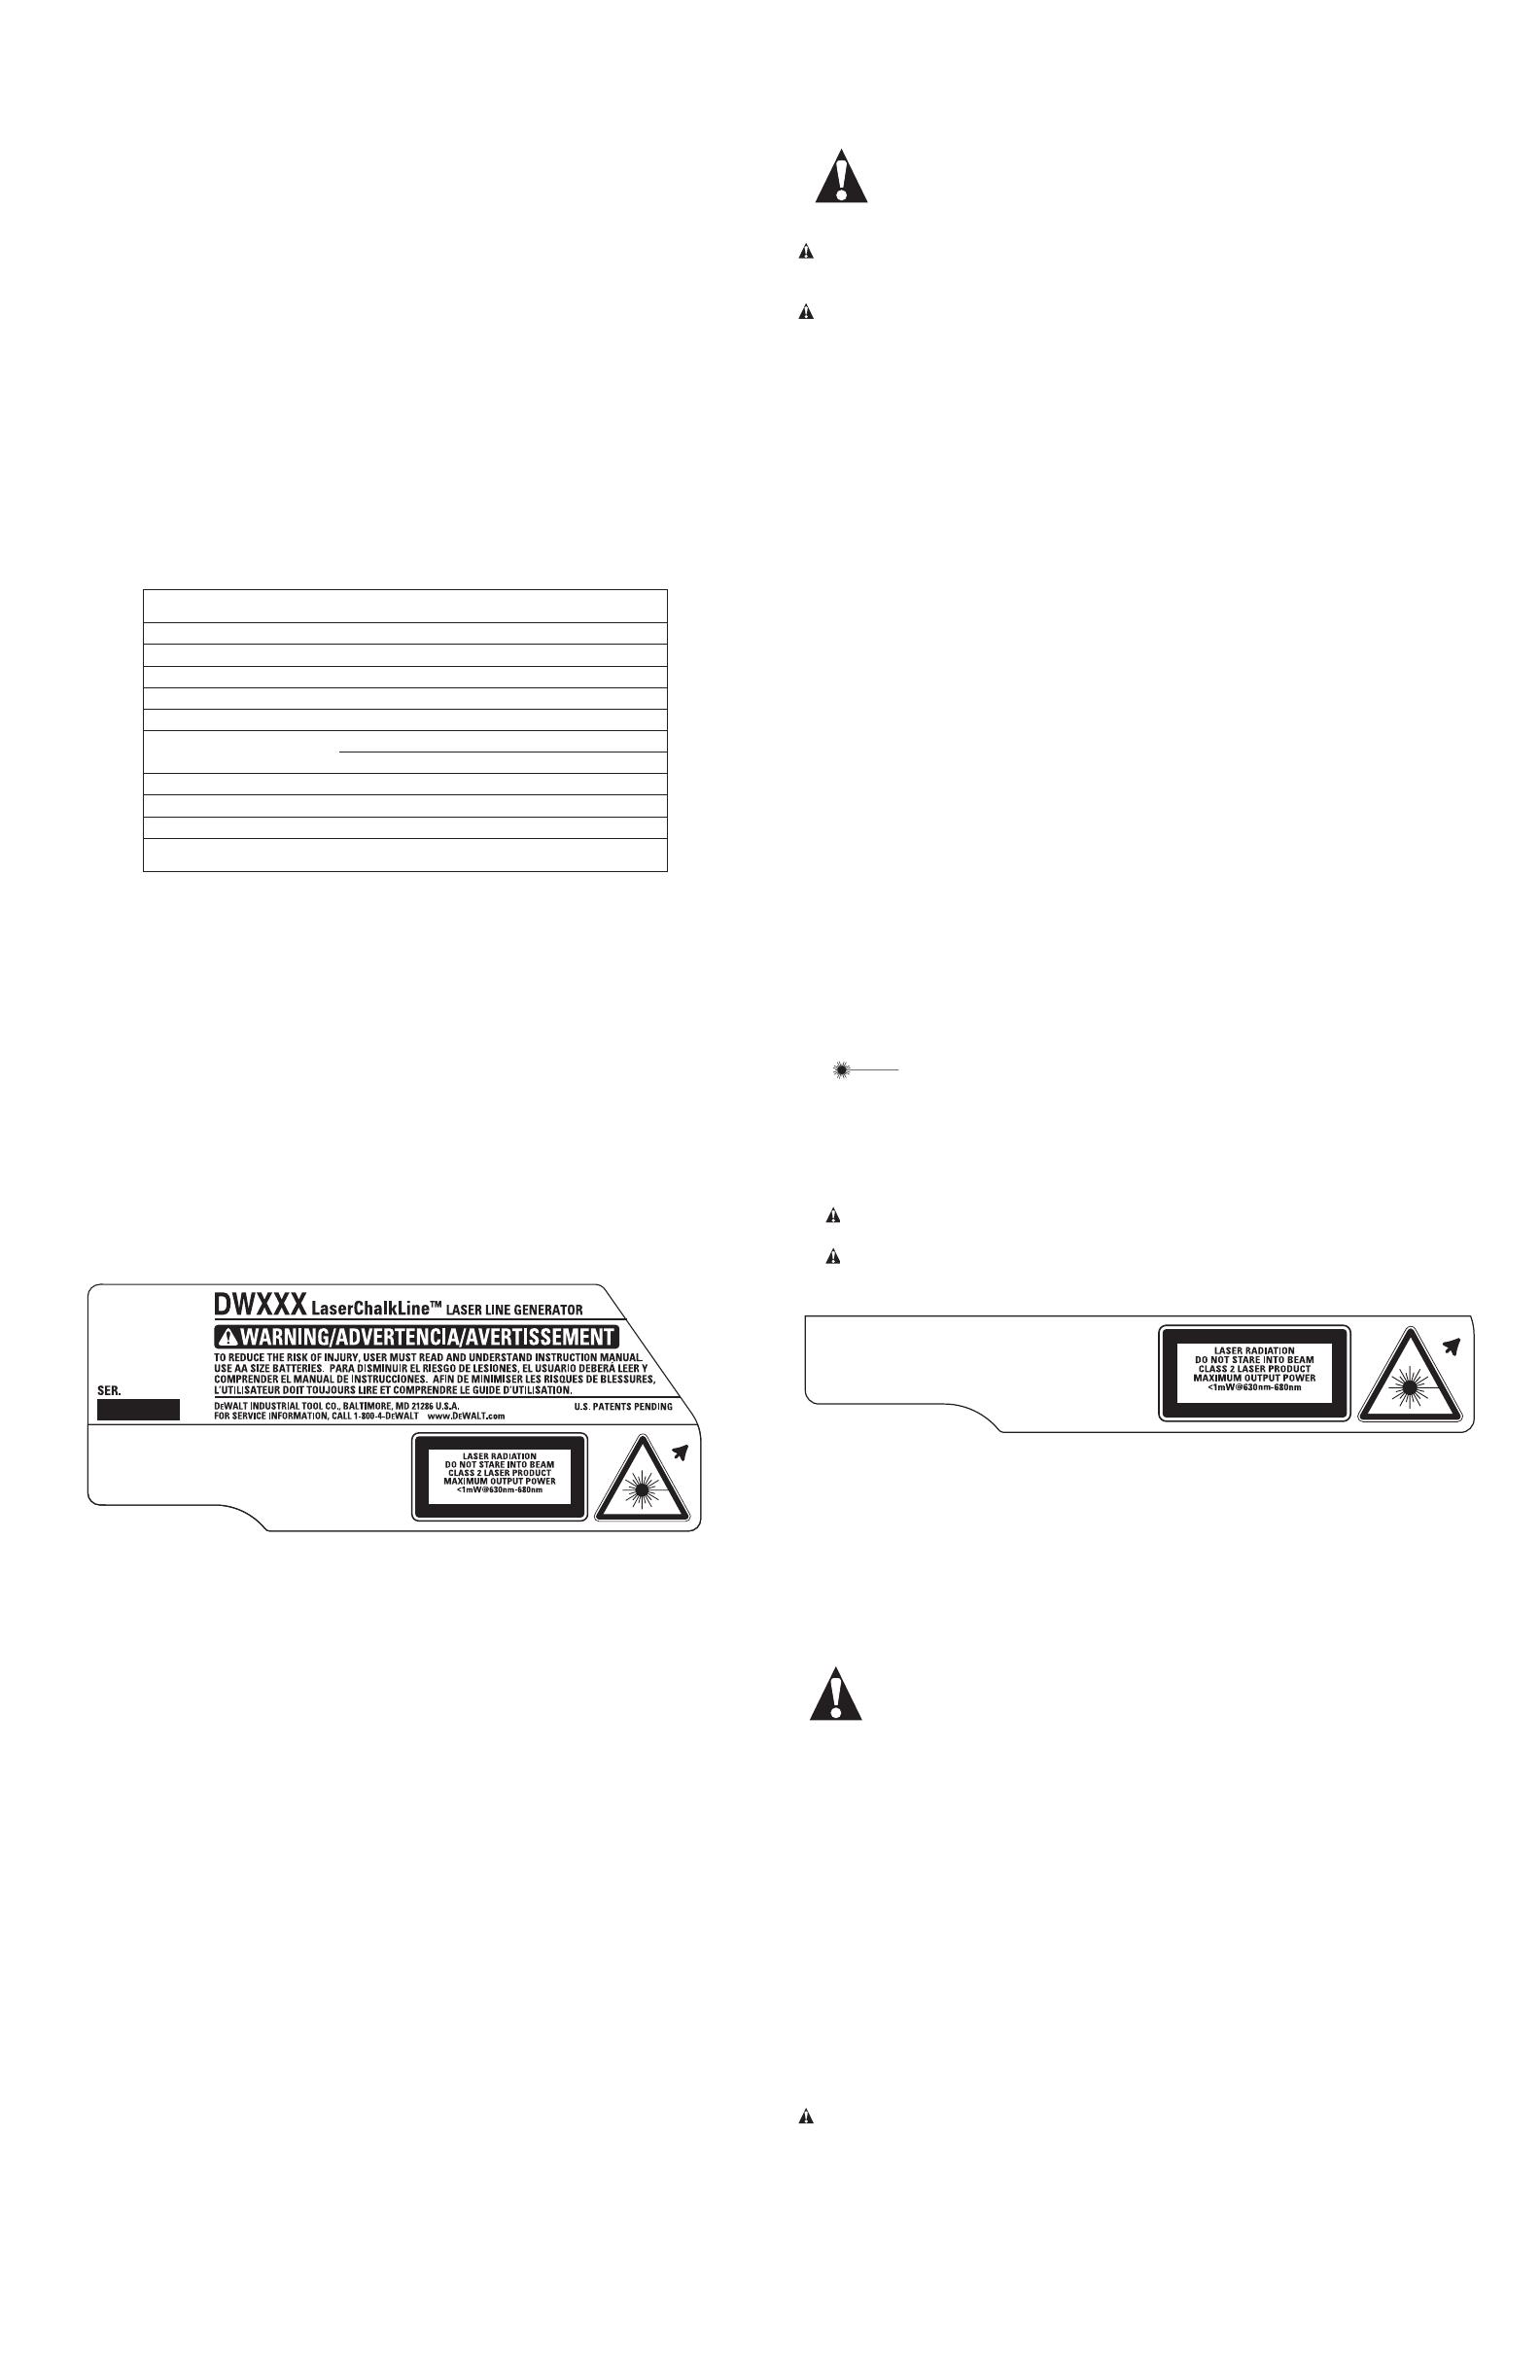
CAUTION - CLASS 2 LASER RADIATION WHEN OPEN. DO NOT STARE INTO
THE BEAM.
COMPLIES WITH 21 CFR 1040.10 AND 1040.11 EXCEPT FOR DEVIATIONS
PURSUANT TO LASER NOTICE NO. 50 DATED JUNE 24, 2007
ADVERTENCIA - LÁSER CLASE 2 EMITE RADIACIÓN CUANDO ESTÁ
ABIERTO. NO FIJE LA VISTA EN LA HAZ.
MISE EN GARDE - RADIATIONS LASER
DE CLASSE 2 LORSQU’OUVERT;
NE PAS FIXER LE FAISCEAU.
IEC 60825-1: 2007
SPECIFICATIONS
Light Source Semiconductor laser diode
Laser Wavelength 630 – 680nm Visible
Laser Power <1mw (each beam) CLASS II LASER PRODUCT
WorkingRange 165’(50m)(withdetector)
Accuracy(Level) ±1/8”per30’(±3mmper9m)
Indicators Flashing Indicator: battery low
Flashing Laser: tilt range exceeded
Power Source 3 AA (1.5V) size batteries (4.5V DC)
Operating Temperature 20°F to 115°F (-10°C to 45°C)
Storage Temperature -5°F to 140°F (-20°C to 60°C)
Environmental Water Resistant
SI VOUS AVEZ DES QUESTIONS OU VOUS VOULEZ NOUS FAIRE PART DE VOS COMMENTAIRES CONCERNANT
CET OUTIL OU TOUT AUTRE OUTIL DeWALT, COMPOSEZ SANS FRAIS LE : 1-800-433-9258 (1-800-4-DEWALT).
Consignes de sécurité importantes pour lasers
AVERTISSEMENT : Lire, comprendre et suivre toutes les directives
précisées ci-dessous afin d’éviter les risques de choc électrique, d’incendie ou de
blessure grave.
CONSERVER CES DIRECTIVES
AVERTISSEMENT : Exposition à des radiations laser. Ne pas démonter ou modifier le niveau laser. Il ne
comporte à l’intérieur aucune pièce réparable par l’utilisateur. De sérieuses lésions oculaires pourraient
en résulter.
AVERTISSEMENT : Radiation dangereuse. Toute utilisation des commandes ou exécution des procé-
dures ou tout réglage non conforme aux spécifications inclues dans les présentes pose des risques
d’exposition à des radiations laser dangereuses.
• Ne pas utiliser le laser dans une atmosphère explosive, comme en présence de liquide, de gaz ou de
poussière inflammable.
• N’utiliser que des piles spécialement conçues pour les lasers; l’usage de tout autre type de pile pourrait
entraîner des risques d’incendie.
• Lorsqu’on n’utilise pas le laser, le ranger hors de la portée des enfants ou des personnes non
qualifiées; les lasers sont dangereux entre les mains de personnes inexpérimentées.
• N’utiliser que les accessoires recommandés par le fabricant pour le modèle
concerné; un accessoire destiné à un laser particulier peut devenir dangereux lorsqu’il est utilisé avec un
autre.
• L’outil doit être entretenu par le personnel qualifié seulement; tout entretien effectué par une personne
non qualifiée pourrait entraîner des risques de blessure. Pour trouver le centre de service DeWALT le plus
proche, appeler le 1-800-4-DEWALT (1-800-433-9258) ou se rendre sur le site Internet http://www.dewalt.
com.
• Ne pas utiliser un dispositif optique, tel qu’un télescope ou une lunette de passage, pour examiner le
faisceau laser afin d’éviter de blesser grièvement les yeux.
• Ne pas mettre le laser dans une position qui pourrait encourager une personne à regarder directe-
ment le faisceau laser, volontairement ou involontairement, car cela pourrait blesser grièvement les
yeux.
• Mettre le laser hors tension après chaque utilisation, car un laser laissé sous tension augmente les
risques que quelqu’un regarde directement le faisceau laser.
• Ne pas démonter l’outil laser. Il ne comporte à l’intérieur aucune pièce réparable par
l’utilisateur.
• Ne modifier le laser en aucune façon. Le fait de modifier l’outil pose des risques d’exposition à des radia-
tions laser dangereuses.
• Ne pas utiliser le laser en présence d’un enfant, ni autoriser les enfants à utiliser le laser afin d’éviter
les blessures graves aux yeux.
• Ne pas retirer ni abîmer les étiquettes d’avertissement; le fait de retirer les étiquettes augmentera les
risques d’exposition aux radiations laser.
• S’assurer de bien déposer le laser sur une surface de niveau afin de l’empêcher de tomber et de
s’endommager ou de blesser l’utilisateur.
• L’étiquetteapposéesurl’outilpeutafficherlessymbolessuivants:
V ...................................volts
mW ...............................milliwatts
....................symboled’avertissementlaser
nm ................................longueurd’ondeexpriméeennanomètres
II ...................................Laser de classe II
IIIa ................................Laser de classe IIIa
ÉTIQUETTES D’AVERTISSEMENT
Pourdesraisonsdecommoditésetdesécurité,l’étiquettesuivanteestapposéesurceproduit.
MISE EN GARDE : RADIATION LASER - NE JAMAIS FIXER LE FAISCEAU LASER DES YEUX.
APPAREIL LASER DE CLASSE II.
MISE EN GARDE : RADIATIONS LASER DE CLASSE 2, NE PAS FIXER LE
FAISCEAU DES YEUX PENDANT SON FONCTIONNEMENT.
Informations relatives au laser
LesgénérateursdefaisceauxlaserLaserChalkLine
MC
, DW087 et DW088, sont des appareils laser de classe II et
sontconformesauxréglementations21CFR1040.10et1040.11exceptépourcequiconcernecertainesdévia-
tionsrelativesàladécisionnº50endatedu24juin2007.
INTRODUCTION
Lesniveauxlasersontdesappareilslaserautoniveleursquipeuventêtreutilisésàl’intérieurcommeàl’extérieur
pour un nivellement horizontal et vertical
Réglés de sécurité concernant les outils à piles – généralités
AVERTISSEMENT : Lire, comprendre et suivre toutes les direc-
tives précisées ci-dessous afin d’éviter les risques de choc électrique,
d’incendie ou de blessure grave.
AIRE DE TRAVAIL
• Garder l’aire de travail propre et bien éclairée; les établis encombrés et les endroits sombres sont
propices aux accidents.
• Ne pas utiliser les outils électriques dans une atmosphère explosive, comme à
proximité de liquides, de gaz ou de poussières inflammables; le moteur peut créer des étincelles et
enflammer les vapeurs ou les poussières environnantes.
• Tenir les enfants, les visiteurs ou toute autre personne à l’écart lorsqu’on utilise un outil électrique;
les distractions peuvent faire perdre la maîtrise de ce dernier.
MESURES DE SÉCURITÉ�– ÉLECTRICITÉ
• N’utiliser l’outil à piles qu’avec les piles désigné, car l’utilisation d’un autre type de piles peut entraîner
un risque d’incendie.
Piles
Cet appareil fonctionne sur trois piles AA 1,5 V.
Pour installer les piles�:
1.Ouvrirlecouvercleducompartimentdespiles(A)commeillustréenFigure1.
2.InsérertroispilesAAneuvesdanslecompartiment,ens’assurantdebienlesdisposerconformémentaux
signes (+) et (-) sur le couvercle du boîtier.
AVERTISSEMENT : Les piles peuvent exploser ou fuir, et posent des risques de blessure ou d’incendie.
Pour réduire ces risques :
•Suivre attentivement toute instruction outout avertissement inclus sur l’étiquette oul’emballage des
piles.
• Lorsdel’installation,toujoursrespecterlapolarité(+et-)inscritesurlespilesetlematériel.
• Nepascourt-circuiterlesbornes.
• Nepasrechargerlespiles.
• Nepasmélangerdespilesneuvesavecdespilesusagées.Lesremplacertoutesenmêmetempsavec
des piles de la même marque ou du même type.
IEC 60825-1: 2007
CAUTION - CLASS 2 LASER RADIATION WHEN OPEN. DO NOT STARE INTO
THE BEAM.
COMPLIES WITH 21 CFR 1040.10 AND 1040.11 EXCEPT FOR DEVIATIONS
PURSUANT TO LASER NOTICE NO. 50 DATED JUNE 24, 2007
ADVERTENCIA - LÁSER CLASE 2 EMITE RADIACIÓN CUANDO ESTÁ
ABIERTO. NO FIJE LA VISTA EN LA HAZ.
MISE EN GARDE - RADIATIONS LASER
DE CLASSE 2 LORSQU’OUVERT;
NE PAS FIXER LE FAISCEAU.


