7
Safety Information
LCD Screen
• Although the LCD screen is made with high-precision
technology and 99.99% or more of the pixels are effective, black
dots may appear or bright points of light (red, blue, or green)
may appear constantly on the LCD screen. This is a structural
property of the LCD panel and is not a malfunction.
• Do not expose the LCD screen surface to the sun. Doing so may
damage the screen surface.
• Do not push or scratch the front filter, or place objects on top of
this unit. The image may be uneven or the LCD panel may be
damaged.
• If this unit is used in a cold place, a smear may occur in the
picture or the picture may become dark.
This does not indicate a failure. These phenomena disappear as
the temperature rises.
• Ghosting may occur when still pictures are displayed
continuously. It may disappear after a few moments.
• The screen and cabinet get warm when this unit is in use. This is
not a malfunction.
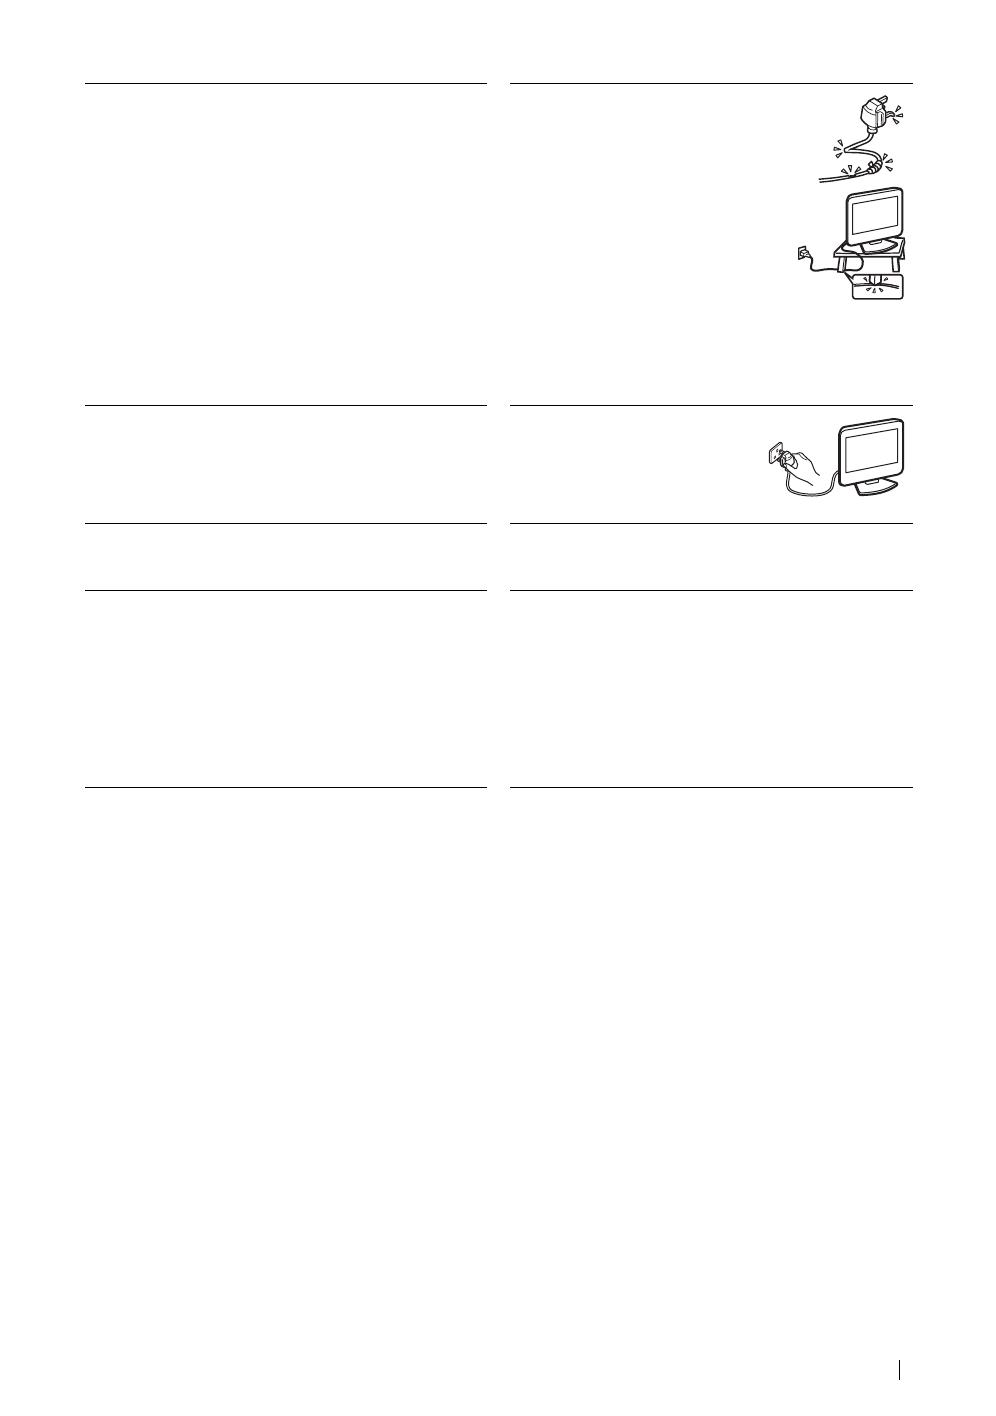
Mains lead
If you damage the mains lead, it may
result in fire or electric shock.
• Do not pinch, bend, or twist the mains
lead excessively. The core lines may
be exposed or cut, causing a short-
circuit which may induce fire or
electric shock.
• Do not convert or damage the mains
lead.
• Do not put anything heavy on the
mains lead. Do not pull the mains
lead.
• Keep the mains lead away from heat
sources.
• Be sure to grasp the plug when disconnecting the mains lead.
If the mains lead is damaged, stop using it and ask your dealer or
Sony service centre to exchange it.
Fluorescent lamp
This unit uses a special fluorescent lamp as its light source. If the
screen image becomes dark, flickers, or does not appear, the
fluorescent lamp has run down and should be replaced. For
replacement, consult qualified service personnel.
When not in use
For environmental and safety
reasons, it is recommended that the
unit be switched off when not in
use – not left in standby mode.
Disconnect it from the mains.
Heat
Do not touch the surface of the unit. It remains hot, even after the
unit has been turned off for some time.
Cable wiring
Take care not to catch your feet on the cables. It may damage the
unit.
Cleaning the screen surface
The screen surface is finished with a special coating to prevent
strong light reflections. Be sure to observe the following
precautions to avoid damaging the finish.
• To remove dust from the screen surface, wipe gently with a soft
cloth. If dust is persistent, wipe with a soft cloth slightly
moistened with a diluted mild detergent solution. You can wash
and repeatedly use the soft cloth.
• Never use any type of abrasive pad, alkaline/acid cleaner,
scouring powder, or strong solvent such as alcohol, benzine or
thinner.
Installation
Do not install optional components too close to the unit. Keep
optional components at least 30 cm away from the unit. If a VCR is
installed in front of the unit or beside the unit, the picture may
become distorted.


