How to use
[Some features are not available on all models.]
You can access special features such as internet content, network content,
Media Player, etc. from APPS List.
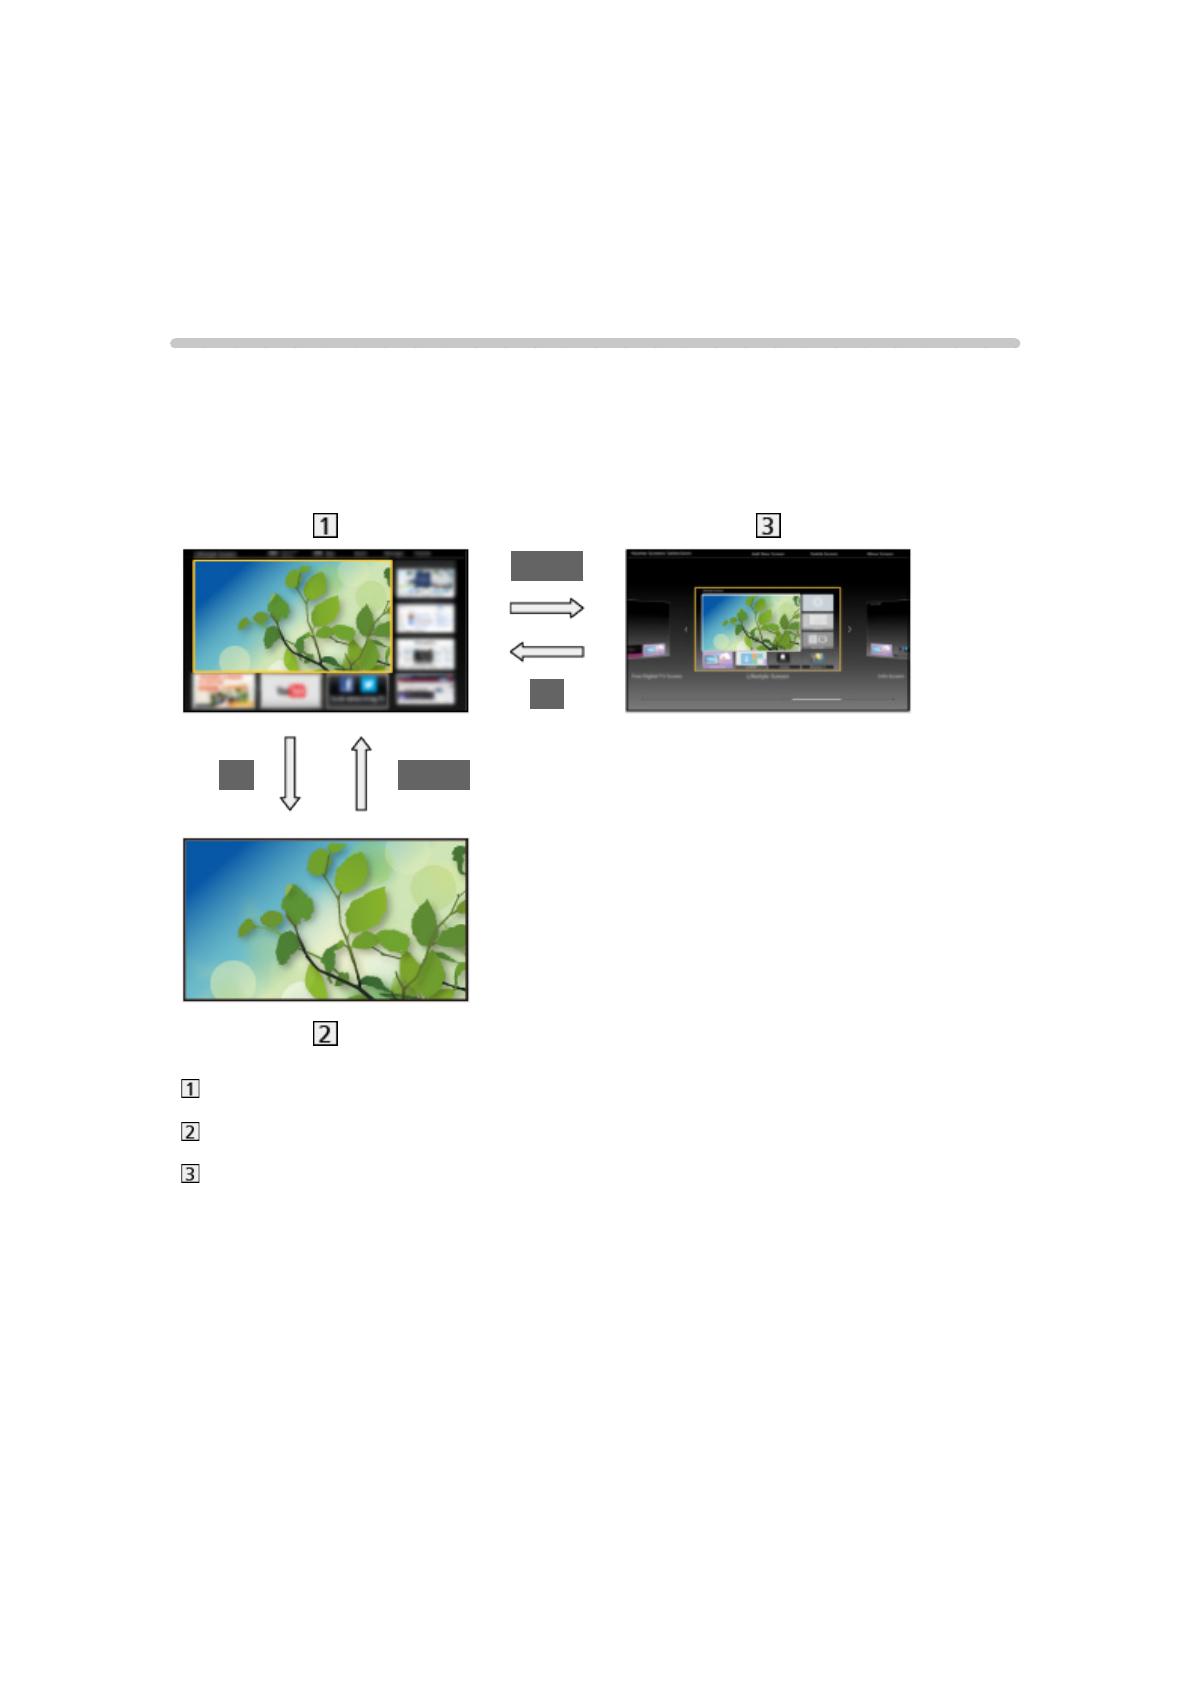
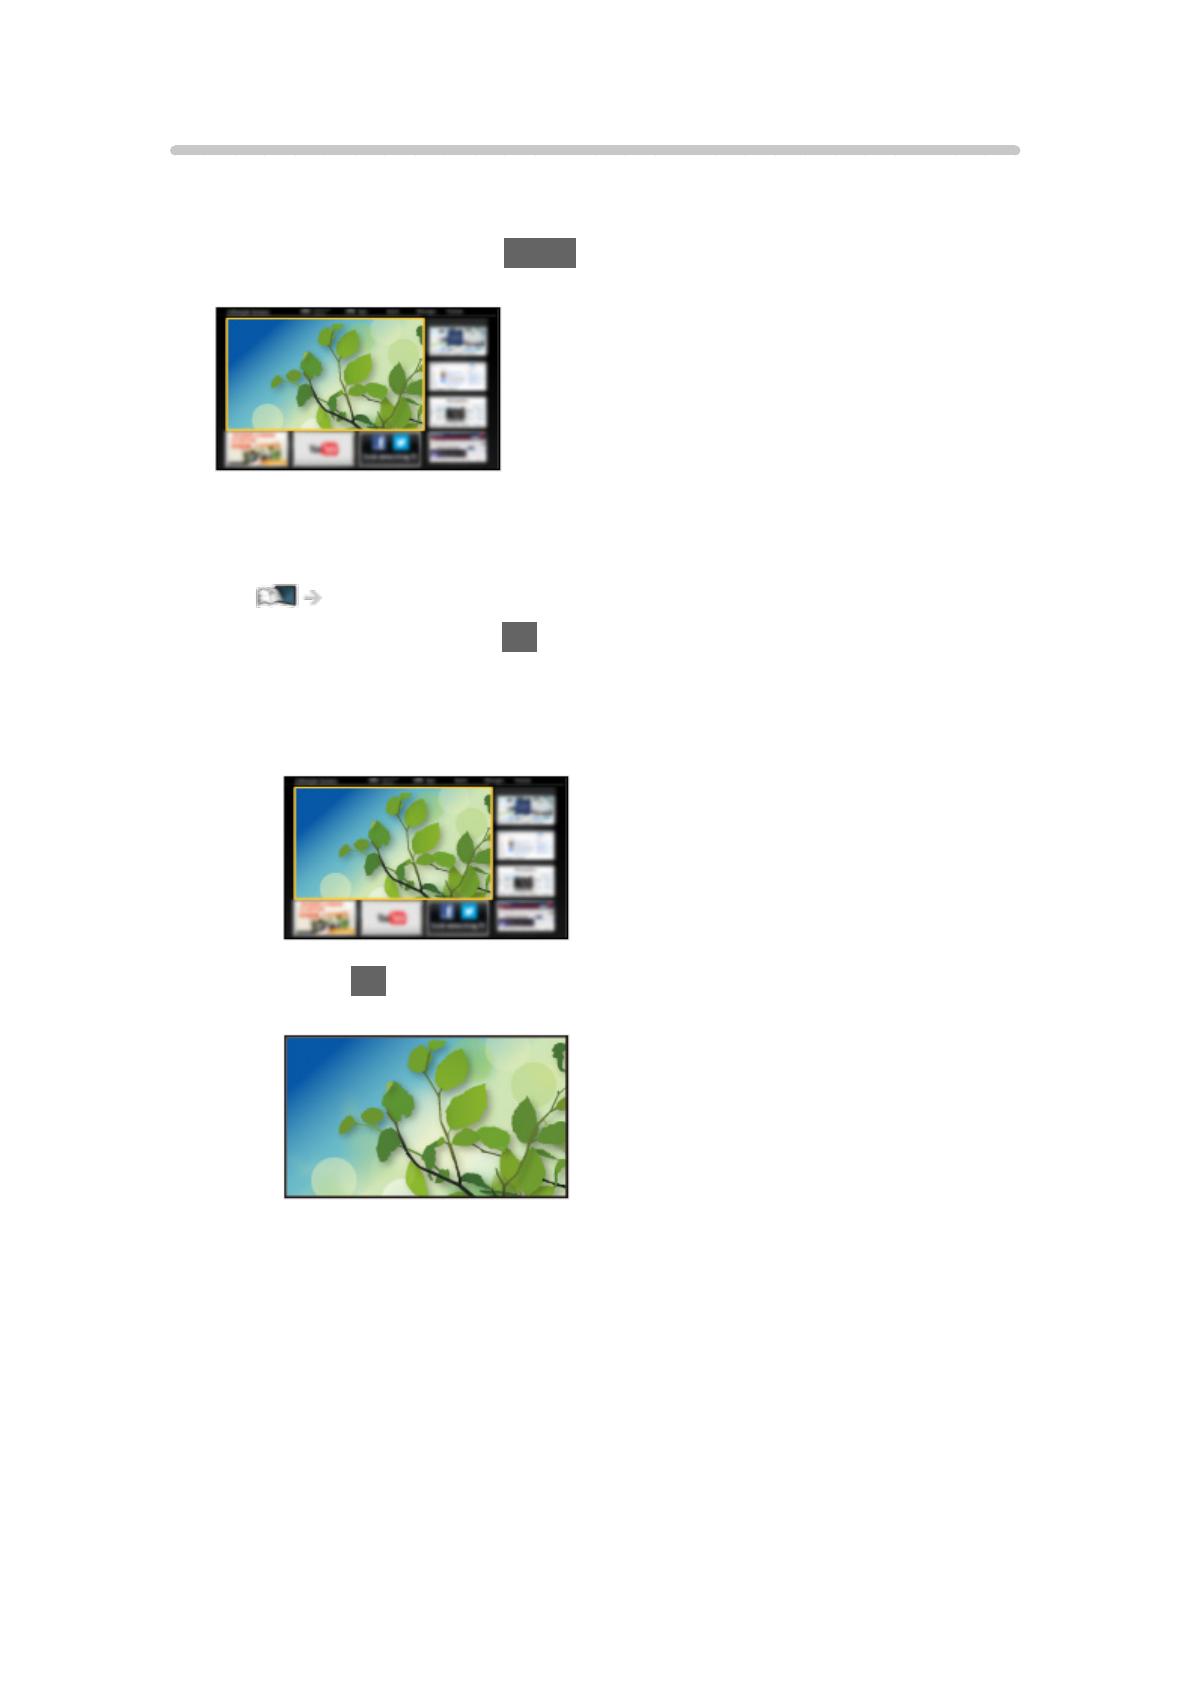
1. Display APPS List with APPS.
(Example)
●
To exit APPS List
EXIT
2. Select an icon of the features and press OK to access.
Internet content
Network > Internet content
Netflix
●
You can also access the service pressing NETFLIX.
●
A broadband network environment is required to fully use this function.
●
This service may be stopped or changed without notice.
Media Player
Media Player > Using Media Player > Selecting device / mode
Recorded TV
Media Player > Recorded TV mode
Media Server
Network > DLNA > Using DLNA
VIERA Link
Functions > VIERA Link “HDAVI Control™”
- 17 -