華碩 P9A-I 系列主板用戶手冊
4-13
Serial Port 1 Configuration
這個子項目允許您設置串口 1/2 設置。
Serial Port [Enabled]
允許您開啟或關閉串口(COM)。設置值有:[Enabled] [Disabled]
Change Settings [Auto]
允許您選擇串口基地位址。設置值有:[Auto] [IO=3F8h; IRQ=4] [IO=3F8h:
IRQ=3, 4, 5, 6, 7, 9, 10, 11, 12] [IO=2F8h; IRQ=3, 4, 5, 6, 7, 9, 10, 11, 12]
[IO=3E8h; IRQ=3, 4, 5, 6, 7, 9, 10, 11, 12] [IO=2E8h; IRQ=3, 4, 5, 6, 7, 9, 10,
11, 12]
Parallel Port Configuration
這個子選項允許您設置並口。
Parallel Port [Enabled]
允許您開啟或關閉並口(LPT/LPTE)。設置值有:[Enabled] [Disabled]
只有當【Parallel Port Configuration】項目設置為 [Enabled] 時以下項目
才會出現。
Change Settings [Auto]
允許您為超級 IO 設備選擇一個最佳的設置。設置值有:[Auto] [IO=378h;
IRQ=5] [IO=378h: IRQ=5, 6, 7, 9, 10, 11, 12] [IO=278h; IRQ=5, 6, 7, 9, 10, 11,
12] [IO=3BCh; IRQ=5, 6, 7, 9, 10, 11, 12]
Device Mode [STD Printe...]
允許您選擇打印機接口模式。設置值有:[STD Printer mode] [SPP Mode]
[EPP-1.9 and SPP Mode] [EPP-1.7 and SPP Mode] [ECP Mode] [ECP and EPP
1.9 Mode] [ECP and EPP 1.7 Mode]
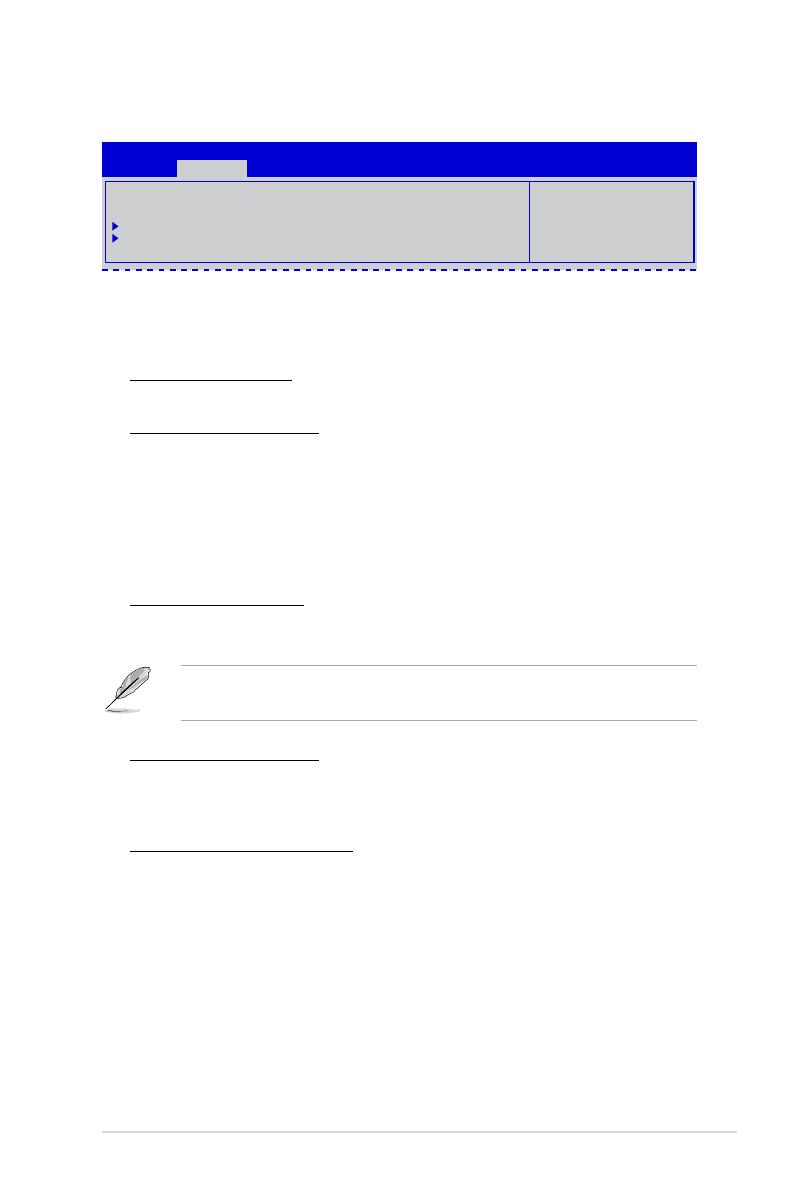
4.4.3 NCT6779D Super IO Configuration
Aptio Setup Utility - Copyright (C) 2013 American Megatrends, Inc.
Advanced
Set Parameters
of Serial Port 1
(COMA)
NCT6779D Super IO Conguration
Super IO Chip NCT6779D
Serial Port 1 Conguration
Parallel Port Conguration


