To operate on Auto feature:
- When you set the air conditioner to AUTO mode,
it will automatically select cooling or fan only
operation depending on what temperature you
have selected and the current room temperature.
- The air conditioner will control room
temperature automatically according to
temperature you’ve set.
- In this mode, the fan speed cannot be adjusted
as it’s automatically controlled according to
temperature setting and room temperature.
To operate on Fan Only:
- Use this function only when cooling is not
desired, such as for room air circulation
or to exhaust stale air (on some models).
(Remember to open the vent during this
function, but keep it closed during cooling for
maximum cooling e ciency.) You can choose
any fan speed you prefer.
- During this function, the display will show
the actual room temperature, not the set
temperature as in the cooling mode.
- In Fan Only mode, the temperature is not
adjusted.
To operate on Dry mode:
- In this mode, the air conditioner will generally
function as a dehumidi er. Since the
conditioned space is a closed or sealed area,
some degree of cooling will occur.
TIMER: AUTO START/STOP FEATURE:
- When the unit is on or o , rst press the Timer
button. The TIMER ON indicator light illuminate
indicating the Auto Start program has initiated.
- When the time of TIMER ON is displayed,
press the Timer button again. The TIMER OFF
indicator light illuminates. It indicates the Auto
Stop program has initiated.
- Press or hold the UP or DOWN button to
change the Auto time by 0.5 hour increments,
up to 10 hours, then at 1 hour increments up to
24 hours. The control will count down the time
remaining until start.
- The selected time will register in 5 seconds,
and the system will automatically revert back
to display the previous temperature setting or
room temperature when the unit is on. (when
the unit is o , there is no display.)
- Turning the unit ON or OFF at any time or
adjusting the timer setting to 0.0 will cancel
the Auto Start/Stop timed program.
Operating
Instructions
Displays
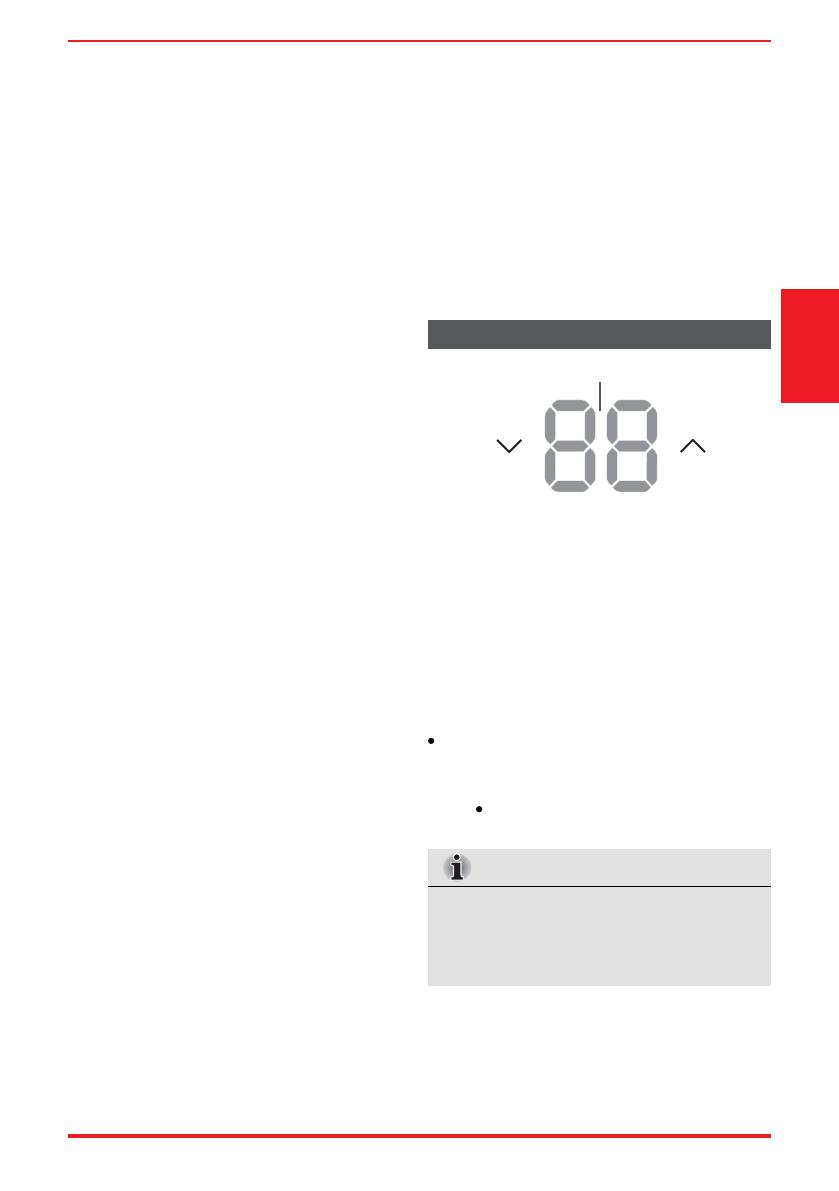
DISPLAYS:
Shows the set temperature in “°C” or “°F” and the
Auto-timer settings. While on Fan Only mode, it
shows the room temperature.
Error codes:
AS - Room temperature sensor error - Unplug the
unit and plug it back in. If error repeats, call
for service.
NOTE: In Fan Only mode, it will display “LO” or “HI.”
- Evaporator temperature sensor error -
Unplug the unit and plug it back in. If error
repeats, call for service.
NOTE: “
” is shown in the display area.
NOTE
If the unit shuts off unexpectedly due to the
power outage, it will restart with the previous
function setting automatically when the
power resumes.
DISPLAYS
User Manual Page 11


