Instructions for Use 3
• Disconnect the appliance from the power
supply before repairing it (only a qualified
technician should repair it), before cleaning
and before replacing the light bulb.
• Be careful not to damage the rear wall of the
appliance (the condenser unit or the tubes -
for example when moving the appliance) or
any part of the refrigerating system inside the
appliance.
• The refrigerating system of the appliance is
filled with refrigerant and oil, so when the
appliance is damaged, handle it with care
and dispose it of in compliance with current
environmental regulations.
• If the supply cord is damaged, it must be
replaced by the manufacturer or his service
agent or a another suitably qualified person
in order to avoid hazard.
• The rating plate is inside the appliance or
outside on the rear wall.
The symbol on the product or on its
packaging indicates that this product
may not be treated as household
waste. Instead it shall be handed over
to the applicable collection point for the
recycling of electrical and electronic
equipment. By ensuring this product is
disposed of correctly, you will help prevent
potential negative consequences for the
environment and human health, which
could otherwise be caused by inappropriate
waste handling of thisproduct. For more
detailed information about recycling of this
product, please contact your local city
office, your household waste disposal
service or the shop where you purchased
the product.
Disposing of the Worn Out Appliance
• When your appliance finally wears out,
dispose it of. If the appliance has a lock,
break it, in order to prevent eventual
accidents (danger of children get locked
inside the appliance).
• The refrigerating system of the appliance is
filled with refrigerant and insulating
substances which should be separately
treated and processed. Call your nearest
authorised service agent or specialised
servicing centre. If you don't find one, contact
your local authorities or your distributor. Be
careful not to damage the tubes on the rear
wall of the appliance (danger of pollution).
Siting and Installation
Choosing the Right Place
Place the appliance in a dry and well ventilated
room. Suitable room temperatures are from
10ºC to 32ºC
Never place the appliance near heat emitting
devices (e.g. cooker, radiator, water heater or
similar) and do not expose it to direct sunlight.
The appliance should be positioned at least 3
cm away from an electric or gas cooker and at
least 30 cm away from a boiler. If this is not
possible, use an appropriate insulation.
Behind the appliance there should be free
space at least 2 cm wide and above the
appliance there should be at least 5cm
clearance between the top of the appliance and
any kitchen units.
Class Ambient temperature
SN (sub-normal) from + 10°C to + 32°C
Siting the Appliance
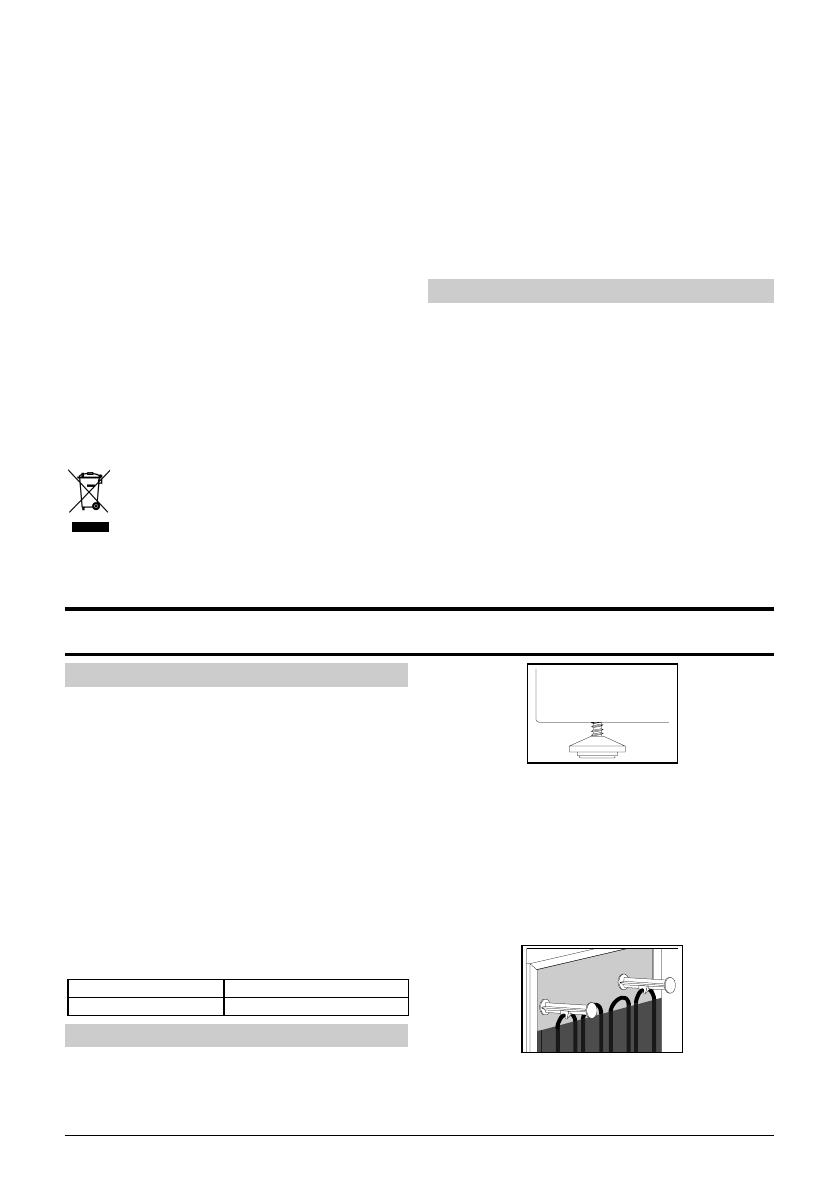
• Place the appliance firmly on a solid base.
Some appliances have adjustable feet at the
front; use them to level the appliance.
• Two spacers attached to the appliance must
be fitted onto the upper edge of the
condenser, to prevent the appliance from
being installed too close to the wall. Spacers
are manufactured for all-purpose function
depending on the distance of the condenser
from the wall. Therefore turn spacers
correspondingly and fix them to the
appliance.
•
The appliance may stand freely or it can be
placed next to a kitchen furniture element
or a wall. Mind the space required to open


