13
Shooting
Image
zone
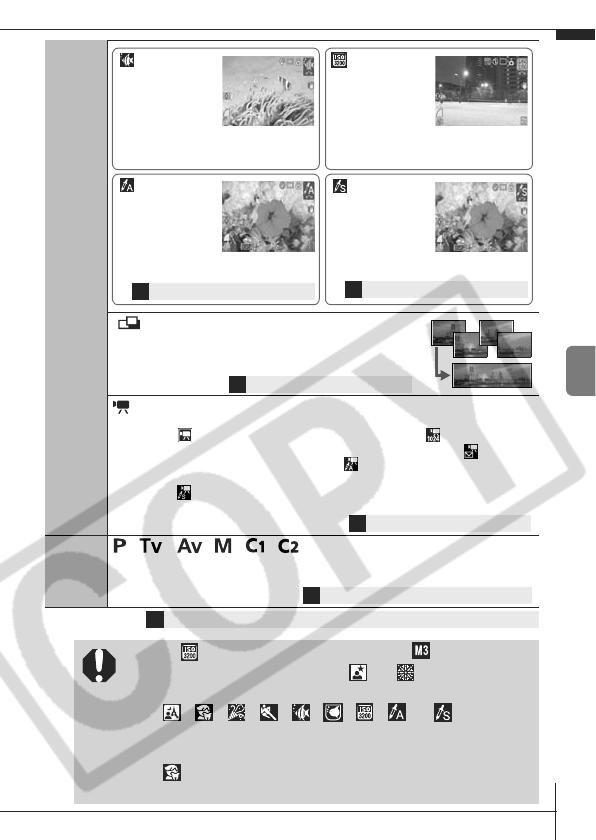
Stitch Assist
Allows you to shoot overlapping images that can later be
merged (stitched) to create one panoramic image on a
computer.
Movie
Shoots a movie when you press the shutter button.
Apart from [ Standard] mode, you can also select from [ High Resolution]
which is suitable for viewing on computer monitors at large sizes, [ Compact]
which is convenient for email attachments, [ Color Accent] which has only the
color specified in the LCD monitor remain and transforms all others to black and
white, and [ Color Swap] which transforms a color specified in the LCD
monitor into another color.
Creative
zone
, , , , ,
You can freely select camera settings such as the exposure and
aperture value to suit your shooting purposes.
Î See the Advanced Guide: Functions Available in Each Shooting Mode (p. 168).
• With , recording pixels are fixed at .
• The shutter speed is slow in or mode. Always
use a tripod to avoid camera shake.
• In , , , , , , , or mode, the
ISO speed may increase and cause noise in the image
depending on the scene being shot.
• In mode, shoot with the subject more than 1 m (3.3
ft.) away from the front of the lens.
Underwater
Appropriate for
shooting images with
Waterproof Case WP-
DC11 (sold
separately). This mode uses an optimal
white balance setting to reduce bluish tones
and record images with a natural hue.
ISO 3200
Shoots with the
ISO speed set to
3200, twice as fast
as ISO 1600. Use
when high speed is required. Avoids
blurring of the subject and the effects
of camera shake.
Color
Accent
Use this option to
have only the color
specified in the
LCD monitor remain and to transform
all others to black and white.
Î See the Advanced Guide (p. 78).
Color Swap
Use this option to
transform a color
specified in the
LCD monitor into
another.
Î See the Advanced Guide (p. 79).
Î See the Advanced Guide (p. 52).
Î See the Advanced Guide (p. 54).
Î See the Advanced Guide (pp. 48-51, p. 59).


