08_ safety information
CAUTION
Remove small objects or brittle items from the area to be
cleaned in advance.
- Make sure to clear any objects before cleaning.
- Make sure to remove fragile items such as china, glass objects,
flowerpots, and etc.
- Robotic vacuum cleaner does not recognize coins, rings or other
valuable items such as jewelry.
CAUTION
Remove objects scattered on the floor before cleaning.
- Vacuum cleaning robot is designed to detect obstacles 5cm away
from it.
- Bath towels, pads in front of bathrooms and sinks, entrances,
utility rooms, power cords, table cloths or belts can become
entangled in the driving wheel or power brush. This can cause
objects to fall from the table.
CAUTION
Inform all family members (or relevant parties) to be cautious
before cleaning or when using the Scheduled Cleaning Mode.
- Vacuum cleaning robot may run into children, causing them to fall.
CAUTION
Ensure that children do not step or sit on the vacuum cleaning
robot.
- Children may fall and injure themselves or critical damage may
occur to the product.
CAUTION
When a child or pet is left alone, make sure to turn o the
Power Switch of the vacuum cleaning robot.
- Vacuum cleaning robot may attract their attention.
- When the rotating wheel or brush catches fingers, feet, clothing or
hair, this may result in injury.
- If a child or pet is in the way of the vacuum cleaning robot, it may
be identified as an obstacle and the area may not cleaned.
- When the Power Switch is turned o, it will cut o the power
supply and deactivate all functions.
CAUTION
When installing the charger station, do not leave the power
cord exposed on the floor.
- When the vacuum cleaning robot automatically recharges or
passes by the charger station, it may drag the power cord around
with it.
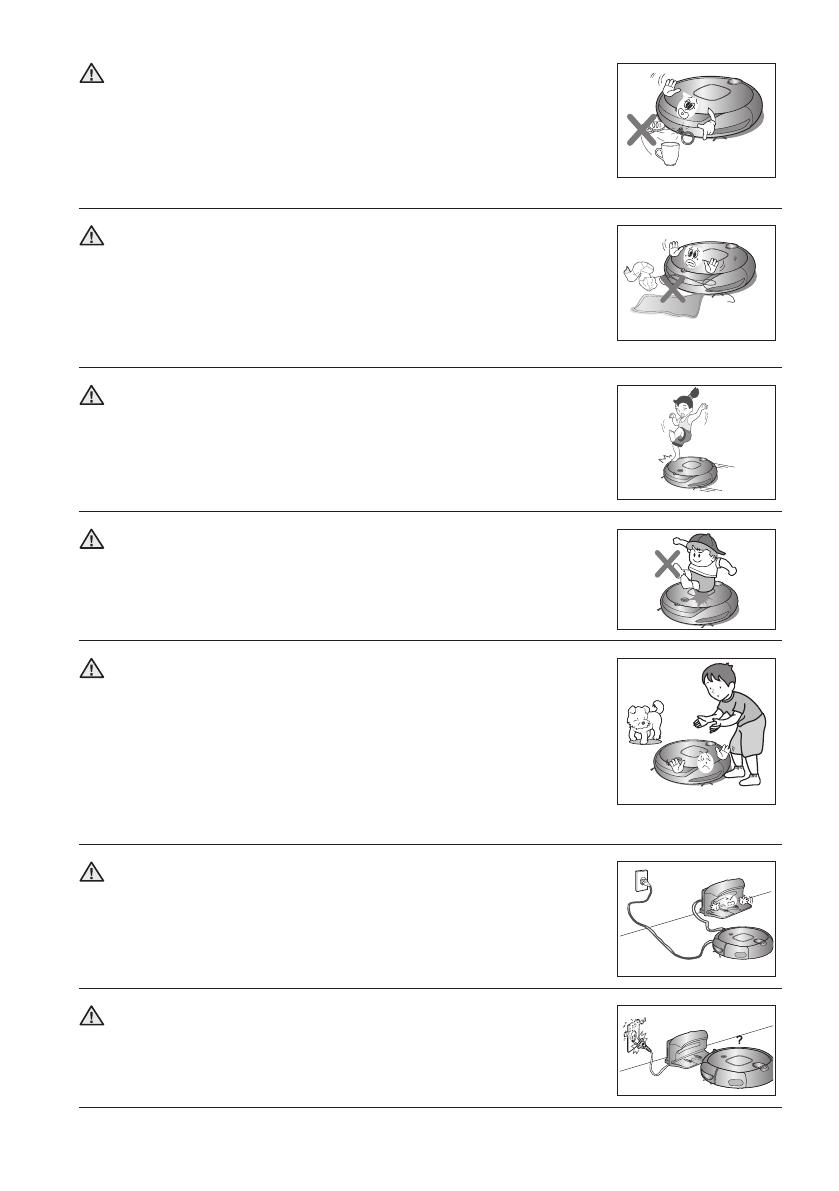
CAUTION
Always keep the power cord of the charger plugged into the
outlet.
- Although the vacuum cleaning robot has a self-charging function,
if the power cord of the charger station is unplugged, it cannot
charge its battery automatically.


