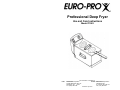
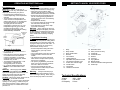
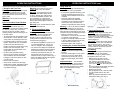
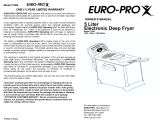
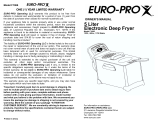
Euro-Pro F1063 is a professional deep fryer designed for household use. It features a detachable power cord for safety, preventing hazardous spillage of hot oil in case of accidental pulling. The fryer has a stainless steel container with minimum and maximum fill levels indicated for safe and accurate oil filling. The control panel is easy to use, with a pre-heating function and adjustable temperature settings for precise cooking. The frying basket has a handle that securely locks in place, ensuring safe handling of food during and after frying.
Euro-Pro F1063 is a professional deep fryer designed for household use. It features a detachable power cord for safety, preventing hazardous spillage of hot oil in case of accidental pulling. The fryer has a stainless steel container with minimum and maximum fill levels indicated for safe and accurate oil filling. The control panel is easy to use, with a pre-heating function and adjustable temperature settings for precise cooking. The frying basket has a handle that securely locks in place, ensuring safe handling of food during and after frying.


-
 1
1
-
 2
2
-
 3
3
-
 4
4
-
 5
5
-
 6
6


Euro-Pro F1063 is a professional deep fryer designed for household use. It features a detachable power cord for safety, preventing hazardous spillage of hot oil in case of accidental pulling. The fryer has a stainless steel container with minimum and maximum fill levels indicated for safe and accurate oil filling. The control panel is easy to use, with a pre-heating function and adjustable temperature settings for precise cooking. The frying basket has a handle that securely locks in place, ensuring safe handling of food during and after frying.
Ask a question and I''ll find the answer in the document
Finding information in a document is now easier with AI
Related papers
-
Bravetti Platinum Pro F1075H User manual
-
-
-
-
 Euro-Pro K4320 User manual
-
 Euro-Pro K4320 Owner's manual
-
 Euro-Pro ELECTRONIC DEEP FRYER F1066 Owner's manual
-
 Euro-Pro ELECTRONIC DEEP FRYER F1066 User manual
-
-


Other documents
-
-
-
-
Chard DF3E User guide
-
-
-
-
-
-
AmeriHome HS07567 Assembly & Operation Instructions