Cleaning and routine maintenance
Do not use alcohol-based scourers and / or thinners on the outside of your washing machine,
just a wipe with a damp cloth will suffice. The washing machine needs very little maintenance:
- Cleaning the drawer compartments.
- Cleaning the filter.
- Cleaning the door glass.
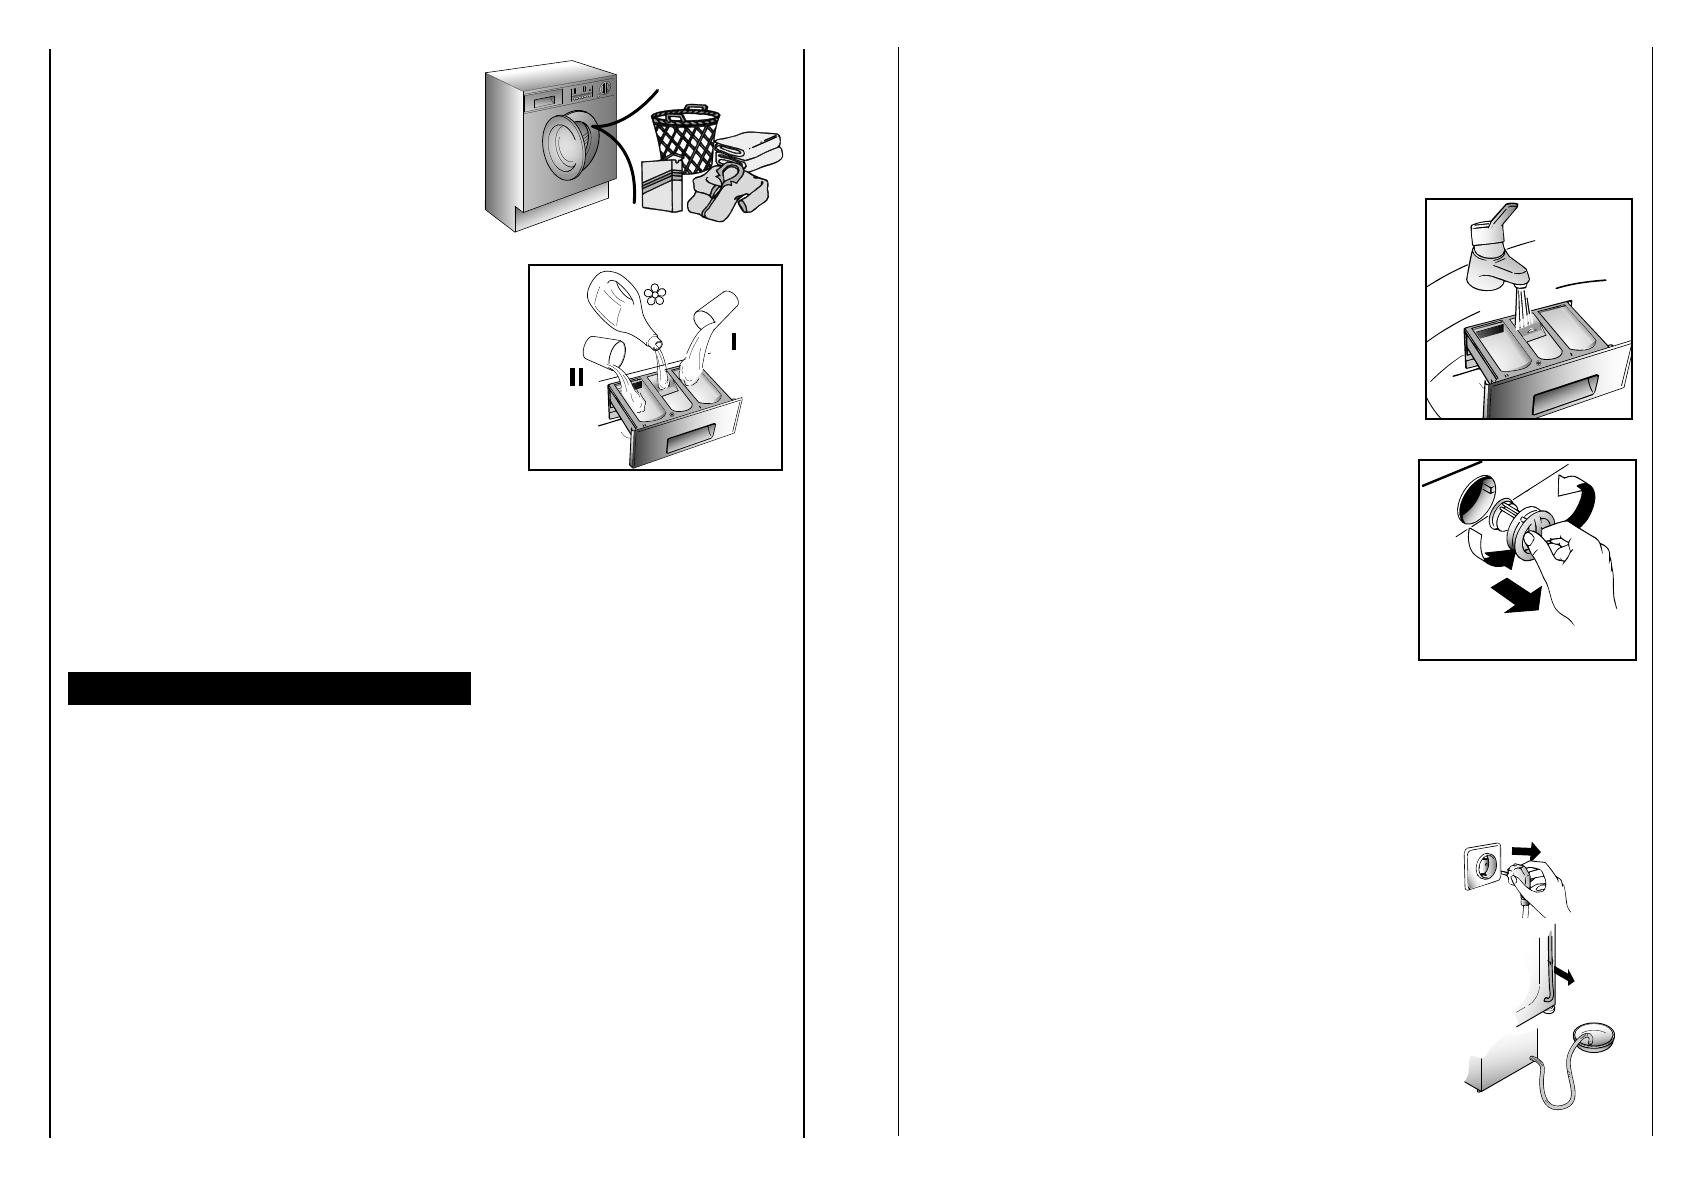
Cleaning the drawer compartments
Even if it is not strictly necessary, it is good to clean the
compartments for bleaching detergents and additives
occasionally.
A) To do this you just need to pull them out firmly, but without
forcing them.
B) Clean everything in the compartment under running water.
C) Put everything back in its proper place.
Cleaning the filter
The washing machine is fitted with a special filter for handling
large deposits which could block the discharge hose (coins,
buttons etc.) and which can, therefore, be easily retrieved.
We recommend that the filter be cleaned at least once a month.
The cleaning operation is as follows:
1) Before removing the filter, place an absorbent towel below
the filter cap to collect the small amount of water likely to
be inside the pump
2) Turn the filter anti-clockwise until it stops in the vertical
position.
Remove and clean.
3) After cleaning, replace by turning the notch on the end of
the filter clockwise.
Cleaning the door glass
Regularly clean the door glass with a damp cloth. A build up of
soiling and residues from the water may result in water leaking
from the door.
Do not use abrasive cleaners as they can scratch the surface.
Transporting the appliance or long
periods when appliance is not in use
If the appliance is being transported or is out of use for long
periods in unheated places, all remaining water must be
completely removed from the hoses.
Ensure mains power is off, then unclip the hose and point it
downwards into a basin until all the water has emptied
out.When finished, repeat the operation in the reverse order.
23
The correct way to wash
Preparing the laundry
A) Select the laundry.
Loading the laundry
B) Open the porthole.
C) Put the laundry in the washing machine.
Close the porthole again, ensuring that no items of
laundry are obstructing the lock.
Putting detergent in machine
D) Open the drawer, choose the detergent and put in
the correct amount, according to the manufacturer’s
instructions and the advice on page 18.
Add any other laundry aids (see page 18). Close the
drawer again.
Selecting the wash programme
Refer to the programme guide or the programme descriptions on the machine to select the
most suitable programme.
Turning the selector knob, the required programme is activated.
Wait for the “STOP” indicator light to flash.
Press additional function buttons (if required).
Check that the tap is turned on and that the discharge hose is positioned correctly.
Press the "Start/Pause" button.
When the "Start/Pause" button is pressed the machine sets the working sequence in motion.
The programme carries out with the programme selector stationary on the selected
programme till cycle ends.
Warning: If there is any break in the power supply while the machine is operating, a special
memory stores the selected programme and, when the power is restored, it continues where
it left off.
When the programme is finished
At the end of the programme the indicator light “STOP” will go on.
Wait for the door lock to be released (about 2 minutes after the programme has finished).
The "Door Security" indicator light will go out.
Switch off the machine by turning the programme selector on the “OFF” position. Open the
door and remove the laundry. Turn off the tap.
22


