20
Precautions
On safety
• Should any solid objects or liquid fall into
the CD player, unplug it and have it
checked by qualified personnel before
operating it any further.
• Do not put any foreign objects in the DC
IN 4.5 V (external power input) jack.
On the CD player
• Keep the lens on the CD player clean and
do not touch it. If you do so, the lens may
be damaged and the CD player will not
operate properly.
• Do not put any heavy object on top of the
CD player. The CD player and the CD may
be damaged.
• Do not leave the CD player in a location
near heat sources, or in a place subject to
direct sunlight, excessive dust or sand,
moisture, rain, mechanical shock,
unleveled surface, or in a car with its
windows closed.
• If the CD player causes interference to the
radio or television reception, turn off the
CD player or move it away from the radio
or television.
• Discs with non-standard shapes (e.g.,
heart, square, star) cannot be played on this
CD player. Attempting to do so may
damage the CD player. Do not use such
discs.
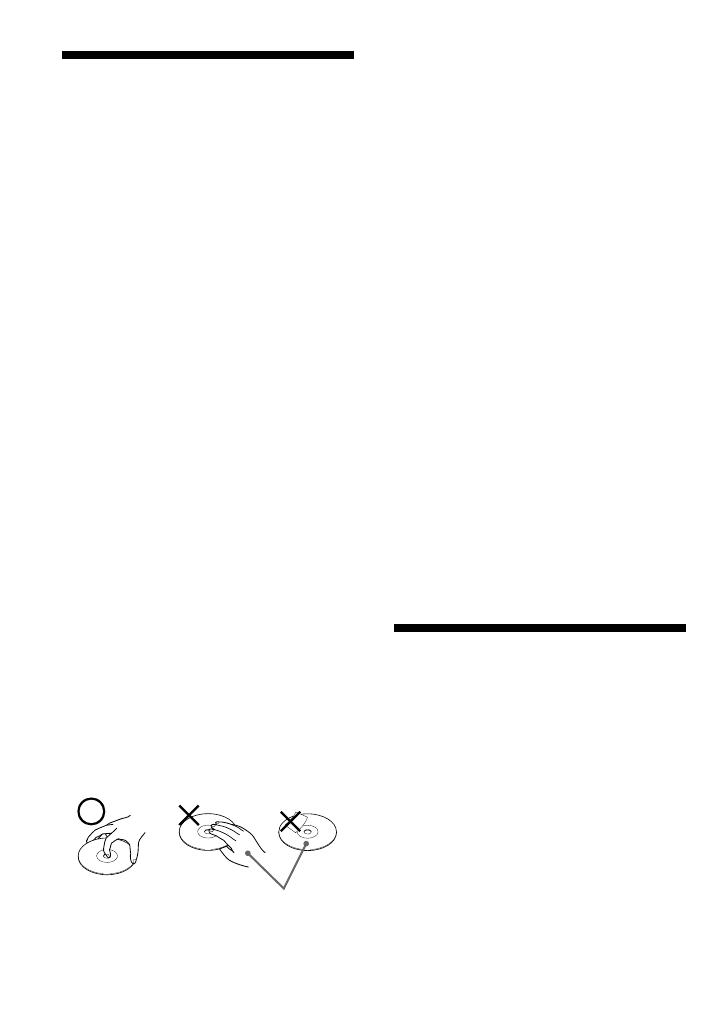
On handling CDs
• To keep the CD clean, handle it by its
edge. Do not touch the surface.
• Do not stick paper or tape onto the CD.
• Do not expose the CD to direct sunlight or
heat sources such as hot air ducts. Do not
leave the CD in a car parked under direct
sunlight.
On headphones/earphones
Road safety
Do not use headphones/earphones while
driving, cycling, or operating any motorized
vehicle. It may create a traffic hazard and is
illegal in some areas. It can also be
potentially dangerous to play your headsets
at high volume while walking, especially at
pedestrian crossings. You should exercise
extreme caution or discontinue use in
potentially hazardous situations.
Preventing hearing damage
Avoid using headphones/earphones at high
volume. Hearing experts advise against
continuous, loud and extended play. If you
experience a ringing in your ears, reduce
volume or discontinue use.
Consideration for others
Keep the volume at a moderate level. This
will allow you to hear outside sounds and to
be considerate to the people around you.
Maintenance
To clean the casing
Use a soft cloth slightly moistened in water
or a mild detergent solution. Do not use
alcohol, benzine or thinner.
B
Additional information
Not these ways


