5
Initial Operation
Place the Maestro Grinder on a level surface. Insert the plug into a
120V AC outlet. Remove the lid from the hopper by lifting off. Pour the
desired quantity of roasted whole coffee beans into the hopper up to a
maximum of 8 oz. Replace the lid. Ensure the ground coffee bin is fully
inserted.
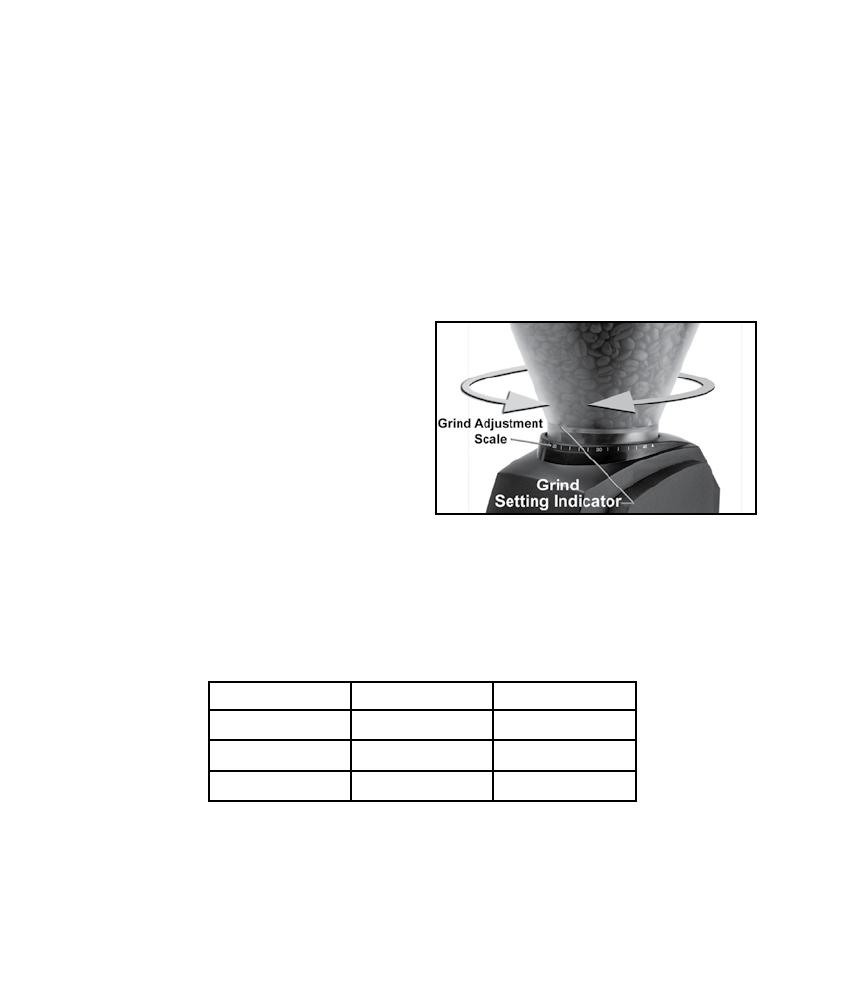
Setting the Grind Control
Slowly rotate the bean hopper
clockwise or counter clockwise
to align the indicator on the bean
hopper with the desired number
setting on the grind scale. Select
the correct grind for the brew pro-
cess you are using. 40 grind set-
tings are available. The settings
shown in the table below can be
used as a general guideline. The actual grind size for a particular setting
will vary depending on many factors, including: degree of roast (light vs.
dark), freshness, humidity, type of bean, oil content, etc. With use, you
will determine the setting that is right for your taste, brewing style and
your favorite beans.
Note: Partially ground coffee beans may remain between the burrs after
the grinder is turned off, adjusting the grind may be easier when the
grinder is running. Avoid running the grinder at very ne settings without
bean as it can damage the burrs.
Setting Type of Coffee Grind
1 to 14 Espresso Fine
16 to 32 Filter / Drip Medium
34 to 40 Press Coarse


