Smeg ksec 61 Owner's manual

Category
Cooker hoods
Type
Owner's manual

This manual is also suitable for

English
Dear customer,
We congratulate you on your choice. We are
sure that this modern, functional and
practical article, constructed from highest
quality materials, will fully meet your
requirements.
Please read all the sections of this
INSTRUCTION MANUAL before using the
extractor for the first time to be able to obtain
its full performance and to avoid any
breakdowns that could arise from its misuse,
also allowing small problems to be
overcome.
Keep and store this manual. It will always
provide useful information on the extractor
and will help other people to use it.
Safety Instructions
Before using the extractor for the first time,
you must read the following safety
instructions.
* Never pull the cable to unplug the extractor.
* Do not switch on the extractor if the
electricity cable is worn out or has cuts or if
there are signs of deterioration around the
control panel.
* If the extractor stops working or functions
abnormally, unplug it from the mains and
advise the technical service.
* Do not leave gas burning without a pan
above it under the hood.
* Do not allow grease to accumulate in any
part of the extractor, especially in the filter as
this COULD PRODUCE A FIRE RISK
* Do not flambé food under the hood.
* Before installing the extractor consult local
rules and regulations in force with respect to
current standards on air and fumes.
* Before connecting the extractor to the
mains, check that both the voltage and the
frequency conform to what shown on the
characteristics label of the extractor located
inside it.
* The cooker hoods provided with plug must
preserve it accessible. In the opposite way, it
is necessary to install an omnipolar switch
with at least a distance of 3 mm. between
Line (L) and Neutral (N).
* The room must be provided with
appropriate ventilation if the extractor is
going to be used at the same time as other
food processing equipment not using
electrical power.
* We recommend the use of gloves and
caution when cleaning the inside of the
extractor.
* Your extractor is designed for domestic use
and only for expelling and purifying gases
arising from food preparation. Its use for any
other purpose must be at your own
responsibility and may be dangerous.
* You should contact the nearest Qualified
Technical Assistance Service for any repairs
always using original spare parts. Repairs
and modifications carried out by others could
damage the apparatus or cause it to
malfunction, and risking your safety. The
manufacturer cannot be held liable for
inappropriate use of the apparatus.
Description of the appliance (Fig.1)
A Motor controls, three speeds.
B Light switch independent from motor
commands.
C Two lamps for hood lighting.
D Filters located over cooking area,
easily removable for cleaning (2 or 3
according to model).
E Extractable group that allows a greater
gas capture area.
F Possibility of incorporating active
charcoal filters (Fig. 5)
G Motor functionning indicator light.
H-I Anti return tabs to be located in the
outlet mouth, locating their ends in the
holes provided.
4
5
F
I
E
1
2
INOX COLOR
Speed
Vitesse Velocidad
Velocità
Snelheid Absaugleistung
Ñêîðîñòü
Velocidade
Hastighet
First Première
Primera Prima Laag Erste Ïåðâàÿ Primeira Första
Second
Deuxième
Segunda
Seconda
Hoog Zweite Âòîðàÿ Segunda Andra
Third Troisième
Tercera Terza Intensief Dritte Òðåòüÿ Terceira Tredje
Light
Lumière
Luz Luce Licht Beleuchtung Ñâåò Luz Lampa
On Allumé Encendido
Accesa
Schakelaar
aan
Ein Âêëþ÷åí Acesa
På
Off Eteint Apagado
Spenta
Schakelaar
uit
Aus Âûêëþ÷åí
Desligada Av
3
Instructions for use
By pushing buttons shown in the figure 2, you
will be able to control the functions of the
extractor
Two achieve better extraction, we recommend
switching on the extractor a few minutes
before starting to cook (3 - 5 minutes) so that
the air flow is continuous and stable when
extracting the fumes.
Likewise, keep the extractor switched on for a
few minutes when cooking is complete to
allow all fumes and odours to be expelled.
Cleaning and maintenance
Before carrying out any cleaning or
maintenance activities, ensure that the
extractor is disconnected from the mains.
To carry out cleaning and maintenance, follow
the Safety Instructions.
Filter cleaning
To remove the filters from their locations
release the anchoring points. Clean the filter,
either by putting it in the dishwasher (see
notes) or leaving it standing in hot water to
simplify the removal of grease or, if wished, by
means of special sprays (protecting the non
metallic parts). Once clean, leave it to dry.
Notes: cleaning in the dishwasher with
aggressive detergents may darken the surface
of metallic parts, without this affecting its gas
retaining properties.
N.B. The filter must be cleaned at least once a
month depending on how often the extractor is
used. It must be remembered that grease
accumulates in the extractor when cooking,
whether it is switched on or not.
Cleaning of the extractor body
The use of warm (40ºC approx.) soapy water
is recommended. A cloth moistened in this
water is used for cleaning the extractor, paying
special attention to the grids. Afterwards, dry it
using a lint-free cloth.
Note:
* Never use metallic scouring pads or abrasive
products that could damage the surface.
* Do not use scrapers with metallic surfaces
such as knives, scissors etc.
Active charcoal filter
* To install the charcoal filter, disassemble the
lid, introduce the filter in the position provided
and reassemble the lid.
* The carbon filter lasts from three to six
months depending on the particular conditions
of use.
* The activated carbon filter can neither be
washed nor regenerated. Once it is exhausted,
it must be changed.
* To replace the exhausted filter with a new
one, we will make in the same way that in its
assembly, previously extracting the spent filter.
Changing Bulbs
* It is important that the mains are
disconnected, and ensure the bulbs that are to
be replaced are not hot.
* Remove the light lens to expose the
extractable lamps.
* The maximum bulbs power is 40W.
Technical Information (Fig.3)
Dimensions Width = 600//900 mm
Depth = 500 mm
Height = 150 mm
Electrical characteristics:
REFER TO RATING PLATE
I
H
D
A
B
G
C
E
English
Installation
To fix the extractor to the kitchen use
measures shown on fig. 4.
The lower part of the extractor must be
located at a minimum height of 60cm above
the hob for electric cookers and 65cm for gas
cookers. If the instructions of a gas cooker
indicate a greater distance these must be
observed.
When the extractor is working at the same
time as other non-electrical cooking
equipment, the outlet air pressure must not
exceed 4 Pa (4 x 10
-5
bar).
To achieve optimum performance the length
of the outlet hose should not exceed 4
meters, or include more than two 90º angles
(elbows)
Although venting to the outside is
recommended, activated carbon filter may be
used, which allow the gas to be returned to
the kitchen through the outlet pipe.
To evacuate air via the upper part, it is
needed an external evacuation conduit, and
the evacuation lever must be located in the
E position (Fig. 5).
The small (anti-return) outlet hose is located,
ensuring that the remaining outlets are duly
plugged.
To allow re-circulation through the active
carbon filter the evacuation lever is located in
the I position. Then the activated carbon
filter is introduced in the corresponding
groove.
If something does not work
Before seeking technical assistance carry out
the following checks first:
Om någonting inte fungerar
Innan du kontaktar verkstad gå efter följande
instruktioner:
FEL MÖJLIG ORSAK LÖSNING
Kontakten är inte isatt Sätta i kontakten
Fläkten fungerar inte
Det kommer inte ström i
kontakten
Försäkra dig om att det finns el
Filtret är fullt med fett Rengör filtret eller byt ut det
Tilltäppning i utgångsröret Ta bort tilltäppningen
Fläkten suger inte
upp tillräckligt eller
vibrerar
Fel utgångsrör Kontakta installatören och följ
instruktionerna i denna bruksanvisning
Lamporna är utbrända Byt ut lamporna
Lamporna tänds inte
Lösa lampor Skruva åt lamporna
Den här apparaten är CE märkt i enlighet med direktivet 2002/96/EC i Europa Parlamentet och
RAEE av Europarådet angående avfall från elektriska och elektroniska apparater. Rätt
avfallshantering av denna produkt undviker fara för miljön.
Symbolen på produkten eller dokumenten som medföljer produkten, visar att man inte kan
hantera det som hushållsopor. Det skall föras till återvinningstation för elektriska och
elektroniska apparater. Hantera i enlighet med miljölagarna.
För mer information kontakta din kommuns återvinningstation.
SMEG. förbehåller sig rätten att göra ändringar för att förbättra sina produkter om de anser det
nödvändigt utan att detta försämrar produkten.
Svenska
Byta ut lampor
* Ta bort filterna så att man ser lamporna.
* Vidta försiktighetsåtgärder för att ta av
fläkten och se till att lamporna inte är varma.
* Den maximala strömstyrkan på lamporna
Är 40W.
Teknisk information (Fig.3)
Dimensioner:
Breddstorlek = 600//900mm
Djup = 500 mm
Hög = 150 mm
Elkännetecken:
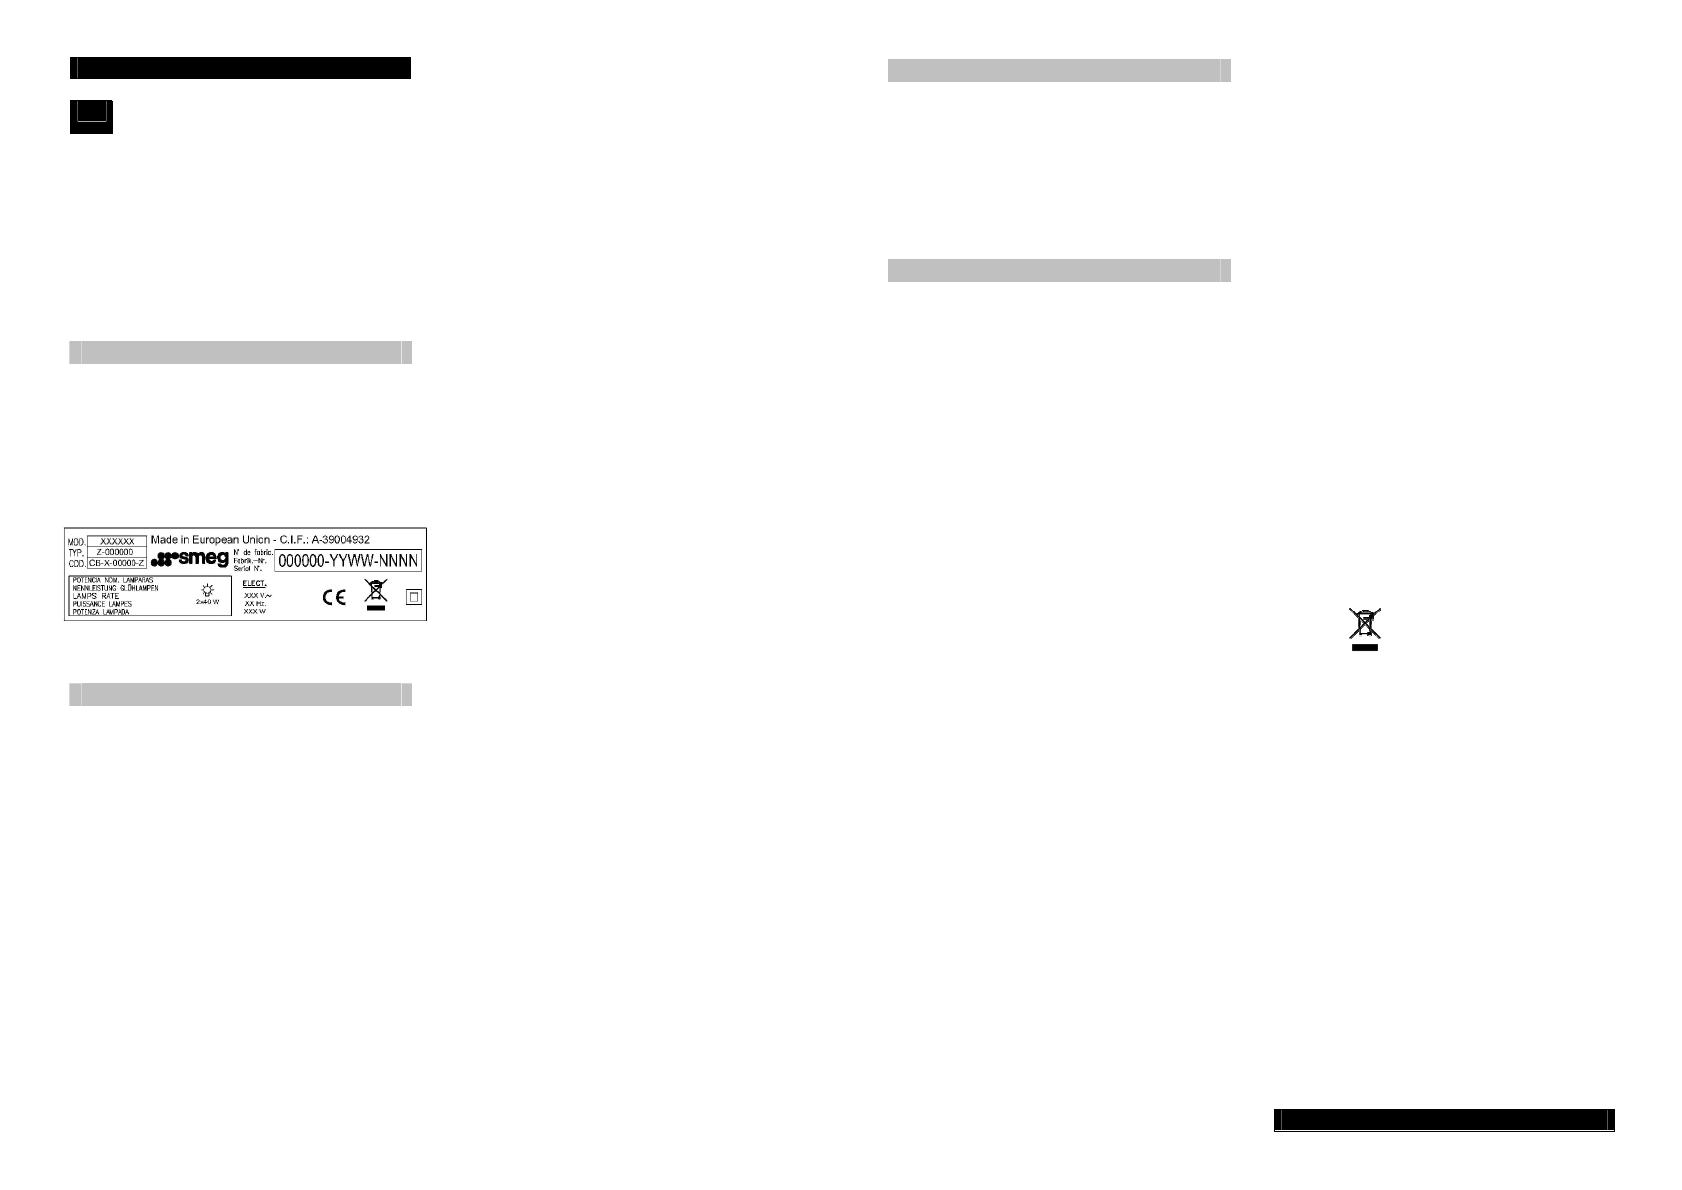
SE KÄNNETECKENSETIKETTEN
Installation
För att fixera fläkten i möbeln, använd modell
på figur 4.
Nedre delen på fläkten ska placeras minsk
65 cm ovanför spisen om det är gas och 60
cm om det är elspis. Om gasspisens
instruktioner säger att det ska vara högre
måste man ha det i åtanke.
När man sätter på köksfläkten samtidigt som
av annan än elenergi försedda apparater så
bör inte luftströmmen vara starkare än 4Pa
(4 x 10
5
bar).
För att uppnå bästa prestation, ska
uttömnings-röret inte vara längre än 4 meter
och Inte ha mer än två vinklar på 90º.
Även om vi rekommenderar att oset ska
föras utomhus går det även att installera
aktiva kolfilter som tillåter oset föras tillbaka
till köket via utgångsröret.
För att oset ska föras ut via den övre delen
måste man ha ett utlopp utomhus och
placera tömningsspaken i läget E (Fig. 5).
Placera utgångsrörmuffen (ej återgång) och
se till att resterande utgångar är täppta.
För återströmmen genom det aktiva kolfiltret
placera tömningsspaken i läge I. Därefter
introducera det aktiva kolfiltret i motsvarande
ränna.
Special U.K. Requirements
Height above gas hob: 75 mm minimum.
NEVER PLACE THE COOKER HOOD
OVER AN EYE-LEVEL GRILL.
This appliance must be connected by a
competent person, using fixed wiring via a
DOUBLE POLE SWITCHED FUSED SPUR
OUTLET.
Electrical connection
We recommend that the appliance is
connected by a qualified electrician, who is a
member of the N.I.C.E.I.C. and who will
comply with the I.E.E. and local regulations.
Should the colour of the wires in the mains
lead for the appliance not correspond with
the coloured markings identifying the
terminal in your spur box proced as follow:
* The wire which is coloured blur must be
connected to the marked N (Neutral) or
coloured Black.
* The wire which is coloured brown must be
connected to the marked L (Live) or
couloured Red
* Where avialable (see installation), the wire
which is coloured yellow/green must be
connected to the market or coloured
Yellow/Green.
If the cooker hood is installed for use above
a gas appliance then the provision of
ventilation must be in accordance with the
Gas Safety (Installation & Use) Regulations
1984 and the relevant Building Regulations.
Detailed recommendations are contained in
the following British Standard Codes of
Practice BS6172, BS5440 and BS6891
Current Edition.
This apparatus has the marked CEE in
conformity with Standard 2002/92/EC of the
European Parliament and the Council about
remainers of electrical en electronic
apparatuses. The correct elimination of this
product avoids negative consequences for
the market and the health.
Symbol (In the product or in the
documents that are included with it),
indicates that its not possible to be treated
like domestic remainder. Its necessary to
give it in a collection point to recycle
electrical and electronic apparatuses. Get rid
of it in accordance with the environmental
norms for remainders elimination.
In order to obtain detailed information about
the treatment, recovery or recycling of this
product, put yourself in contact with the city
council, with the elimination service of urban
remainder or with the store where you
acquired the product.
SMEG reserves the right to make corrections in its appliances wherever it considers these
necessary or useful, without harming their essential features.
  • Page 1 1
  • Page 2 2
  • Page 3 3
  • Page 4 4
  • Page 5 5
  • Page 6 6
  • Page 7 7
  • Page 8 8
  • Page 9 9
  • Page 10 10
  • Page 11 11
  • Page 12 12
  • Page 13 13
  • Page 14 14
  • Page 15 15
  • Page 16 16
  • Page 17 17
  • Page 18 18
  • Page 19 19
  • Page 20 20

Smeg ksec 61 Owner's manual

Category
Cooker hoods
Type
Owner's manual
This manual is also suitable for

Ask a question and I''ll find the answer in the document

Finding information in a document is now easier with AI