19
• To make the most of your new appliances,
read the users instructions carefully and keep
them on hand for consultation in the future.
• Remove the cardboard protections and the
protective plastic film.
• Remove the accessories from the oven and
heat it 200° C for about an hour to eliminate
the smell of protective grease and insulating
materials. Keep the window open during this
procedure.
1. Packing
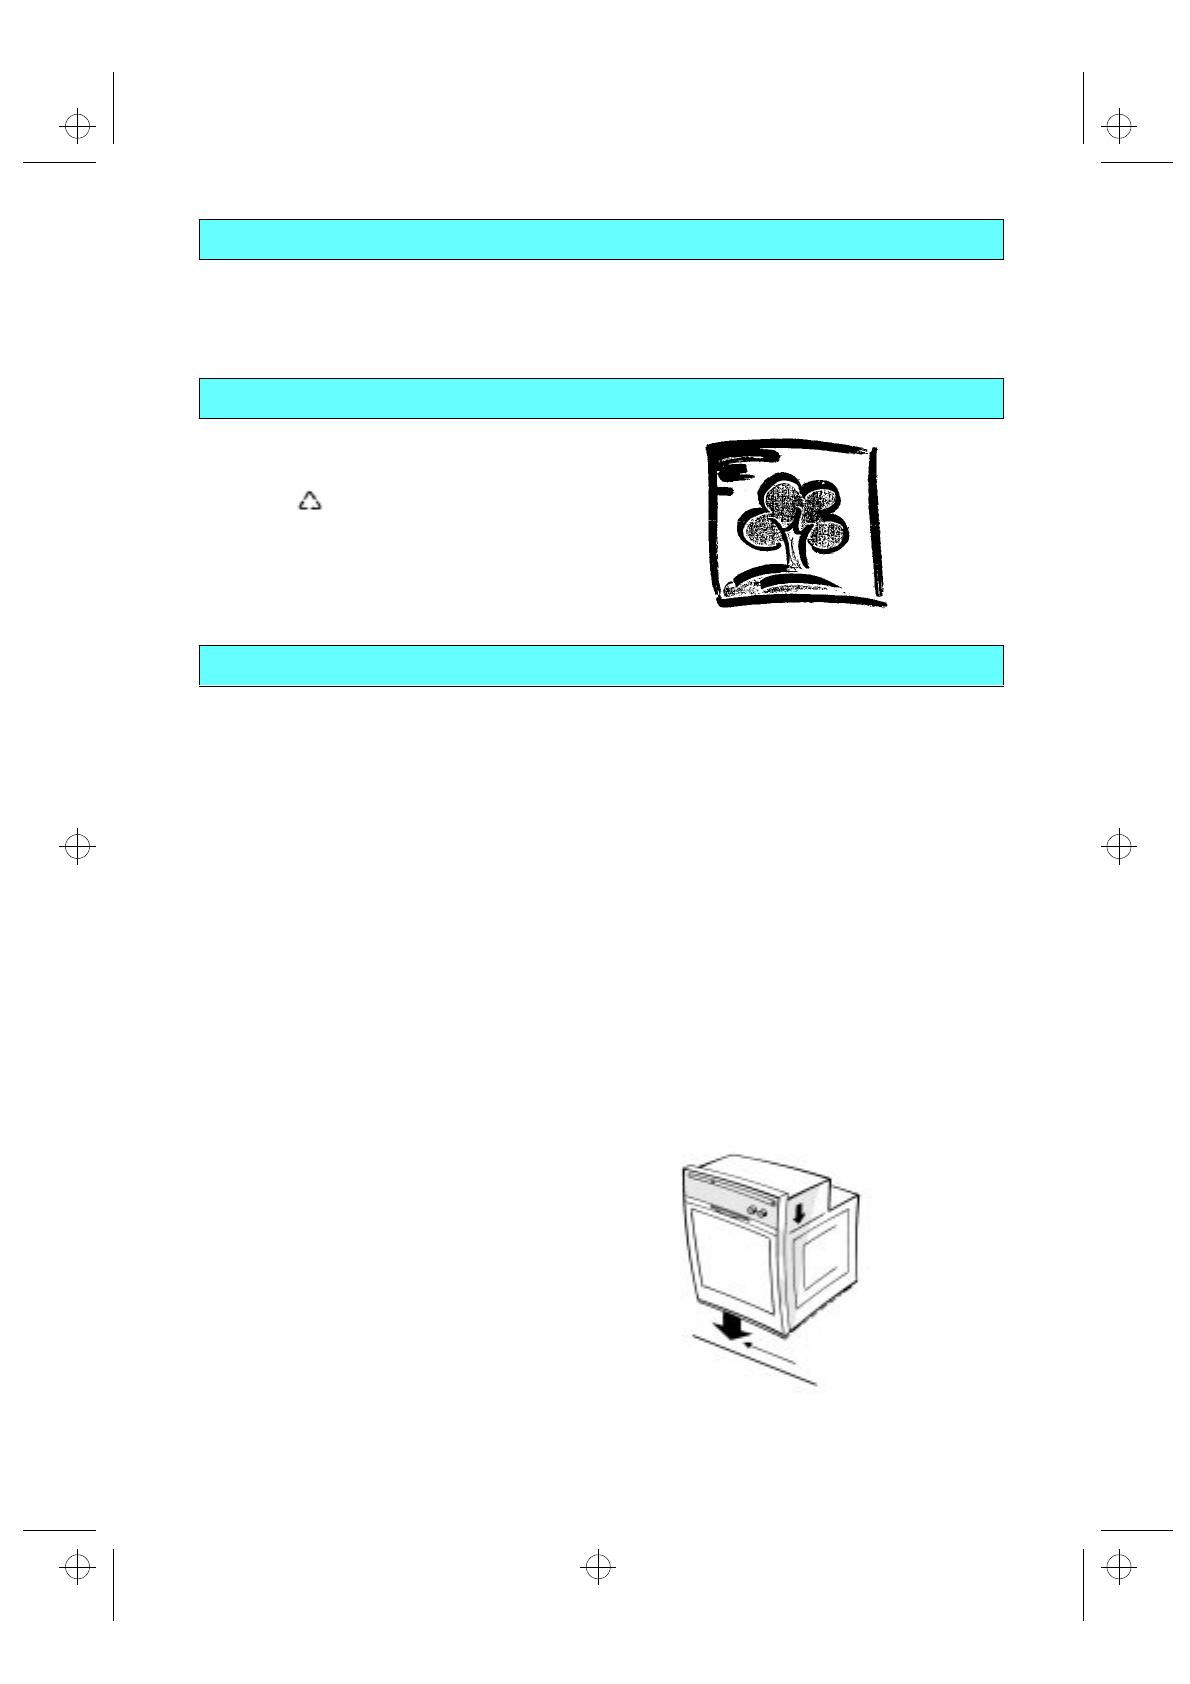
• The packaging material can be100%
recycled, as confirmed by the recycling
symbol ( ).
2. Products
• The appliances are built from recyclable
materials. If you decide to scrap the appliances
please observe local waste disposal by-laws. Cut
off the power cords so that the appliances cannot
be connected to the mains.
.
• Before any maintenance on the appliances
disconnect them from the electrical power
supply.
• Keep children away from the oven when it is
in use and when its has just been switched
off.
• The appliances must be repaired or adjusted
only by a qualified technician.
• Make sure that the electrical wires of other
electrical appliances near the cooktop or the
oven do not come into contact with hot parts
and do not become entrapped in the oven door.
• The oven is equipped with air cooling system to
prevent excessive temperatures of the oven
front and furniture housing. Following cooking
times greater than one hour at temperatures of
200° C or more, it is recommended that
residual heat from the oven and housing be
removed by use of a cool down period. At
completion of cooking, leave the oven on, in
any cooking function but grill with the
“temperature knob” on “0” position, for about
15 minutes. The oven door must remain closed
during the cool down period.
Oven
• Never stand or sit on the oven open door.
Never hang any weight at the handle of the
oven open door.
• Use oven gloves to remove baking trays and
accessories when the oven is hot.
• Do not cover the bottom of the oven with
aluminium foil.
• Do not place inflammable material in the oven -
risk of fire if the oven is inadvertently switched on.
• During the cooking process, water evaporates
from food. All ovens require this steam and other
fumes to be vented from the oven cavity. For
reasons of safety and aesthetics, we have
determined that an opening at the bottom of the
door is the optimum solution. Consequently,
vapour may be seen to be coming from this area
on occasions (see picture). This is a normal
occurrence and the bottom trim can be cleaned
after removal of the door as described on
“Cleaning the oven and accessories”. Bear in
mind there may be residual steam inside the
oven. Accordingly, great care should be
taken when opening the oven door.
•
Heavy weights must not be placed on the open
door as this may result in damage to the cavity
and hinges. Max weight: 7 kg (15 lbs)
.
N.B: The cooling fan runs continuously at
two different speeds according to the
temperature value of the components when
the appliances are in use.
Full speed: for high temperature of the
components.
Half speed pulsing: for low temperature of
the components.
The pulsing speed has to be considered a
normal appliance condition at half speed.
The fan may continue to run for the time
necessary to ensure sufficient cooling of the
components and adjacent kitchen units after
the appliance has been switched off.
BEFORE USING THE APPLIANCES
PROTECTING THE ENVIRONMENT
PRECAUTIONS AND GENERAL RECOMMENDATIONS
Fu
mes
exhau
st
53963-gb.fm5 Page 19 Tuesday, March 13, 2001 7:28 PM


