Page is loading ...

All disclosures, notices and warranty conditions are being written on the back of the box. Released on 18th of July, 2011.
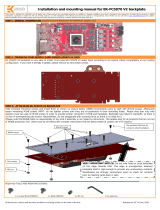
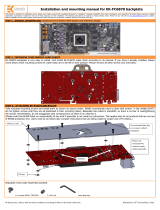
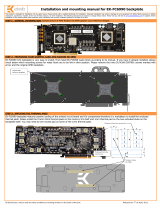
Installation and mounting manual for EK-FC6970 backplate
This product is intended for installation only by expert users. Please consult with a qualified technician for installation. Improper installation may result in damage to your equipment. EK Water Blocks assumes no liability
whatsoever, expressed or implied, for the use of these products, nor their installation. The following instructions are subject to change without notice. Please visit our web site at www.ekwaterblocks.com for updates.
Before installation of this product please read important notice, disclosure and warranty conditions printed on the back of the box.
STEP 1: GENERAL INFORMATION. Sample picture of Radeon HD 6970 graphic card.
STEP 2: PREPARING YOUR GRAPHIC CARD RADEON HD 6970 CARD
STEP 3: APPLYING THE THERMAL PADS
EK-FC6970 backplate is very easy to install. First install EK-FC6970 water
block according to its manual. If you have it already installed, please check
below which mounting screws for water block are to be left in their
position. Please remove encircled screws marked with arrow!
Please install – as shown in picture below - 1mm thick thermal pads
directly on the EK-FC6970 backplate. This will improve the cooling
performance of the EK-FC6970 water block.
STEP 3: ATTACHING EK-FC6970 BACKPLATE
Take enclosed mounting screws and install them as shown on picture below. EKWB recommends users to start with M3x12 screws. Afterwards
fasten remaining M3x10 screws (HINT: do not tighten screws until they are all positioned in their mounting holes). Please note that nuts with
washers must be used on M3x10 screws in order to provide proper connection of PCB and backplate. Backplate has milled in standoffs, so there is
no fear of overtightening the screws. Nevertheless, do not exaggerate with screwing force as there is no need for it.
(Please note that EKWB holds no responsibility of any kind if assembly is not made by instructions. This applies also for all products that are not out
of EKWB production line. Users must by all means also consider instructions that are being made for proper use of FC blocks.)
REQUIRED TOOLS AND MOUNTING SCREWS:
3 x screws M3x10 7991DIN 3 x M3x12 7991DIN 3 x M3 nut 6 x M3 PVC washers 2mm allen key
Use enclosed allen key on
screws to attach backplate.
M3x12 screws
M3x10 screws
M3 nut
PVC washer
VERY IMPORTANT NOTICE: Do not ever bend or push backplate on this edge
towards PCB. This edge is unsupported. However backplate itself is rigid enough to
prevent any unnecessary contacts. Nonetheless we strongly recommend users to
check for contacts prior to inserting cards back in slots.
Thickness 2mm
Thickness 1mm
Note: Dimensions below are scaled!
1
1
2
M3x10 screw
Please place the encased
thermal pad directly on
the extruded bulge.
2
/


