19
EN
Adding Cleaning Products
Detergent Dosage
• Detergent should be used according to the
instruction of the detergent manufacturer and
selected according to type, colour, soiling of
the fabric and washing temperature.
• If too much detergent is used, too many suds
can occur and this will result in poor washing
results or cause heavy load to the motor.
• If you wish to use liquid detergent follow
the guidelines provided by the detergent
manufacturer.
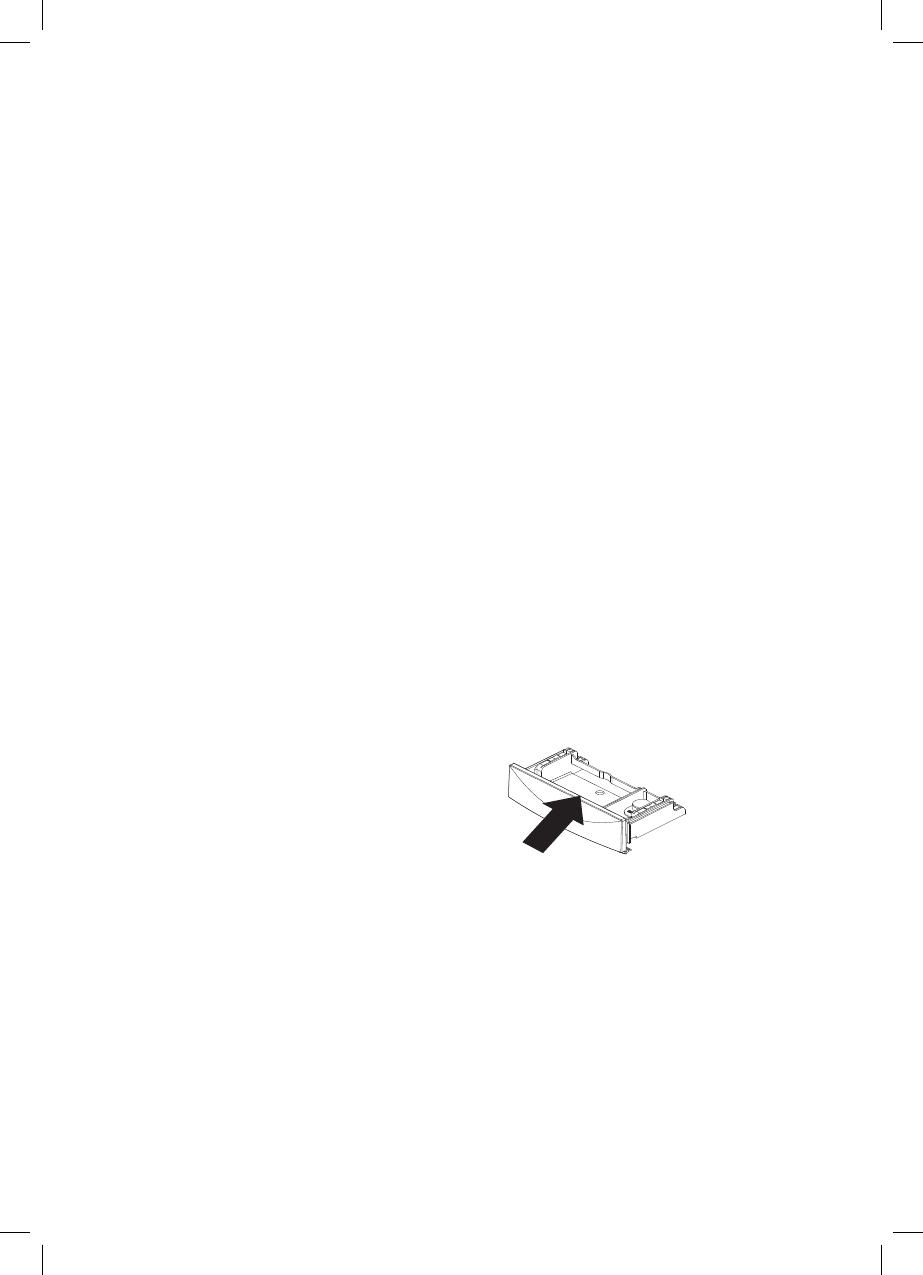
• You can pour liquid detergent directly into the
main detergent drawer if you are starting the
cycle immediately.
• Do not use liquid detergent if you are using
Time delay, or if you have selected Pre Wash,
as the liquid may harden.
• If too many suds occur, reduce the detergent
amount.
• Detergent usage may need to be adjusted for
water temperature, water hardness, size and
soil level of the load. For best results, avoid
oversudsing.
• Refer to the label of the clothes, before
choosing the detergent and water temperature.
• When using the washing machine, use
designated detergent for each type of clothing
only:
− General powdered detergents for all types of
fabric
− Powdered detergents for delicate fabric
− Liquid detergents for all types of fabric or
designated detergents only for wool
• For better washing performance and whitening,
use detergent with the general powdered
bleach.
• Detergent is ushed from the dispenser at the
beginning of the cycle.
• Dilute liquid detergent with water and pour into
the drum, start the cycle.
• Using liquid detergent without diluting, or
leaving laundry for a long time after pouring
diluted liquid detergent into the drum might
cause damage, bleaching or discoloration of
cloth.
NOTE
• Do not let the detergent harden. Doing so may
lead to blockages, poor rinse performance or
odour.
• Full load : According to manufacturer’s
recommendation.
• Part load : 3/4 of the normal amount
• Minimum load : 1/2 of full load
Adding Detergent
• Follow the detergent package directions.
Using too little detergent is a common cause of
laundry problems. Use more detergent if you
have hard water, large loads, greasy or oily
soils or lower water temperature.
• Soap akes or granulated soap powders
should not be used in your washing machine.
When washing woolens, remember to use
detergent suitable for washing woolens.
NOTE
• Too much detergent, bleach or softener may
cause an overow.