7
UsingControls
AllthecontrolsinBK-9PerformanceEditorwereespeciallydesignedtoprovidemaximumexibilityandconvenience.
Knob operation
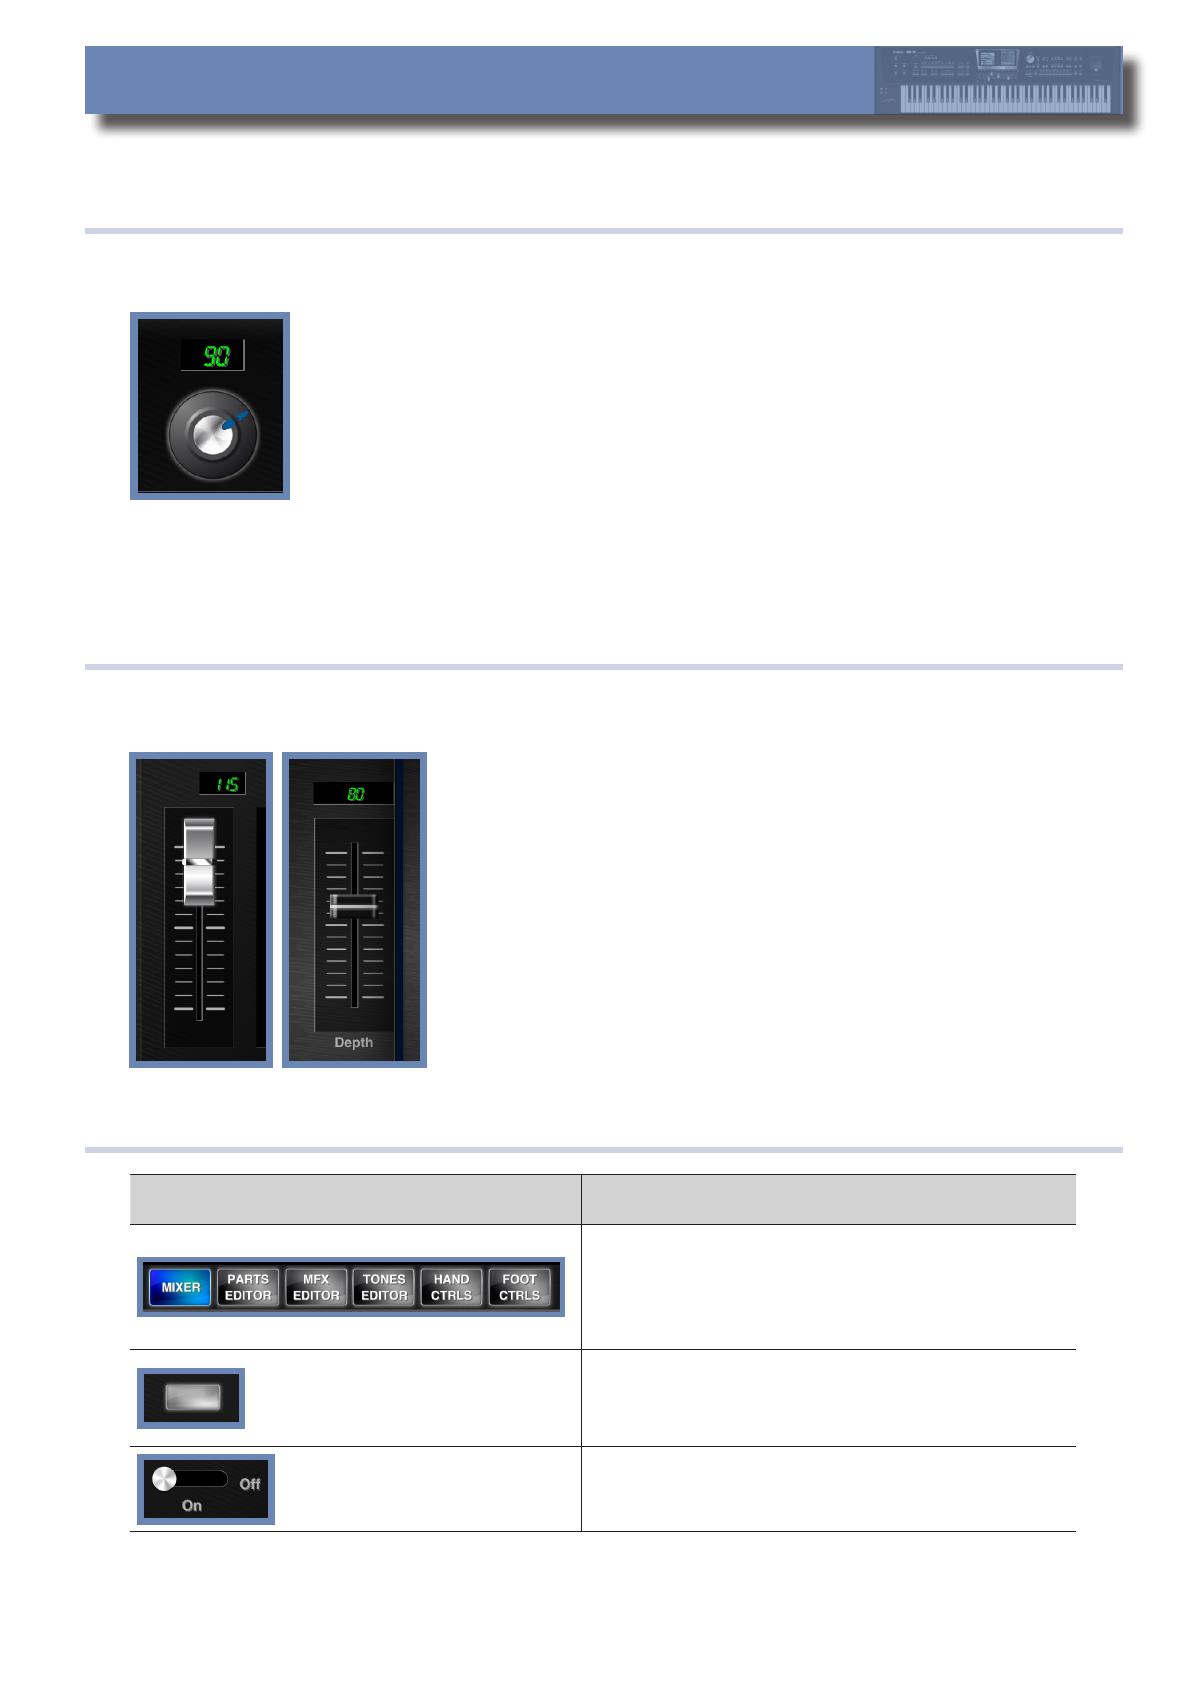
TheKnobscontrolmostparameterswithcontinuousvalues,suchasReverb,Chorus,Cutoandmanyothereects.
Coarse Control
Tomoveaknob,simplytouchtheknob(itwillretainfocus)withyourngerandslideyournger
upordown.
Itscorrespondingvalueboxisupdatedwiththecurrentvalue.
Fine Control
Tonelycontrolvalues,touchtheknob(itwillretainfocus)withyournger,slideyourngerto
theleftorrightoftheknobandthenslideitupordown.
Itscorrespondingvalueboxisupdatedwiththecurrentvalue.
Default Value
Presstheknobtwicetorestorethedefaultvalue.
Slider operation
TheSliderscontroltheVolumeforeachrealtimepartandotherparameters.
Tomoveaslider,simplytouchit(itwillretainfocus)withyourngerandslideitupordown.Itscorrespondingvalue
boxisupdatedwiththecurrentvalue.
Default Value
Presstheslidertwicetorestorethedefaultvalue(ThisisnottrueforVolume
sliders).
Button Operation
Button Type Explanation
Somebuttonsallowyoutoselectthegroupsofparametersthat
youwanttoedit([MIXER],[PARTSEDITOR],[MFXEDITOR],[TONE
EDITOR],[HANDCTRLS]and[FOOTCTRLS]).
Thesebuttonsaremutuallyexclusive;oneisalwaysselected.
SomebuttonsworkasON/OFFswitchofparameters.Whenthe
parameterisONthebuttonishighlighted.
Someotherbuttonsopenpop-upwindows,whereyoucantake
someaction(e.g.the[TUNE]button).
Touseasliderbuttonyouneedtotouchitwithyourngerand
thenslideyournger.


