Getting Started2
Getting Started
1
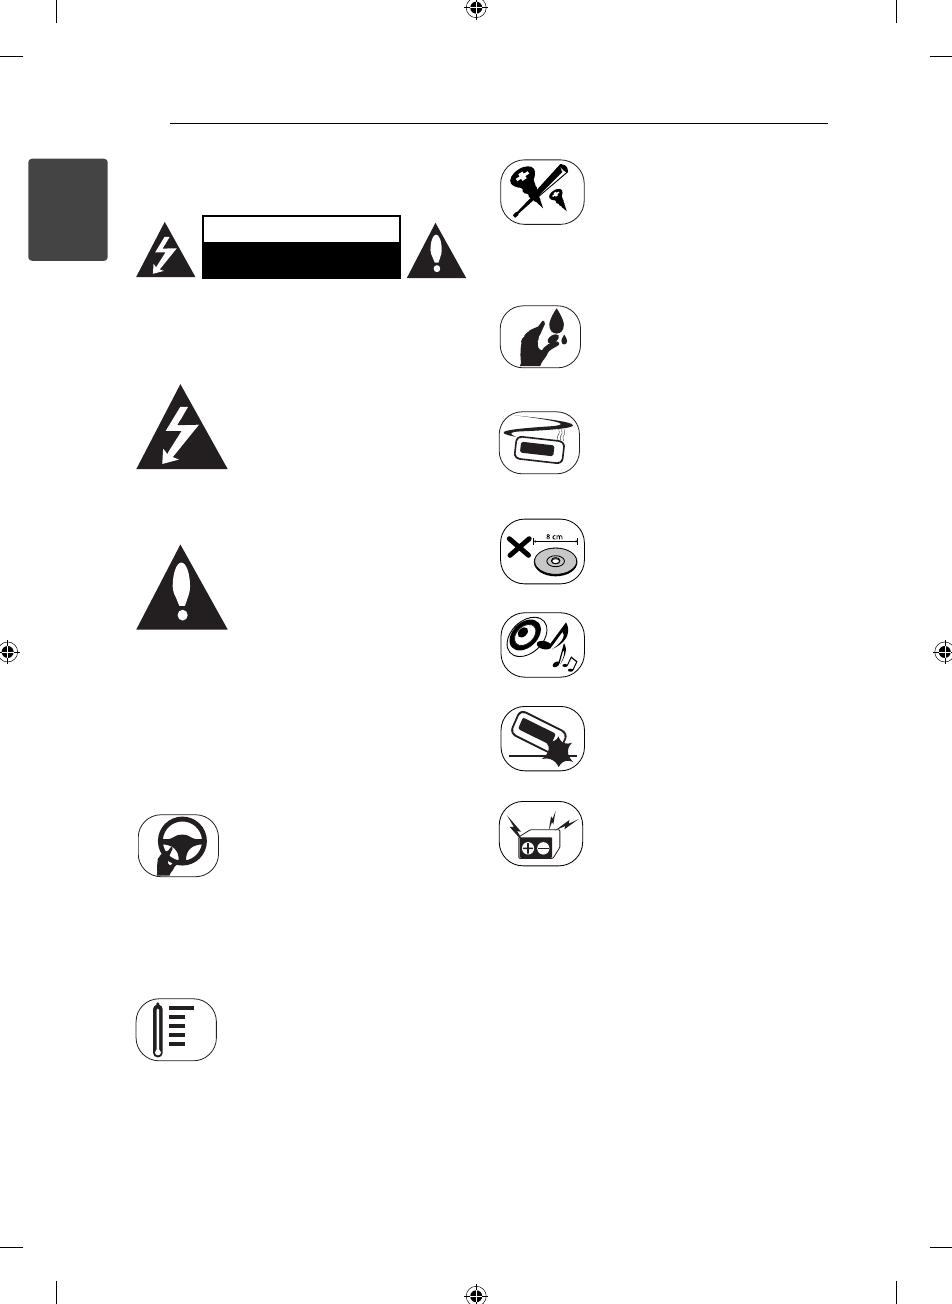
Safety Information
CAUTION
RISK OF ELECTRIC SHOCK
DO NOT OPEN
CAUTION: TO REDUCE THE RISK OF ELECTRIC
SHOCK DO NOT REMOVE COVER (OR BACK) NO
USER-SERVICEABLE PARTS INSIDE REFER SERVICING
TO QUALIFIED SERVICE PERSONNEL.
This lightning ash with arrowhead
symbol within an equilateral
triangle is intended to alert the
user to the presence of uninsulated
dangerous voltage within the
product’s enclosure that may be of
su cient magnitude to constitute
a risk of electric shock to persons.
The exclamation point within an
equilateral triangle is intended
to alert the user to the presence
of important operating and
maintenance (servicing)
instructions in the literature
accompanying the product.
WARNING: TO PREVENT FIRE OR ELECTRIC SHOCK
HAZARD, DO NOT EXPOSE THIS PRODUCT TO RAIN
OR MOISTURE.
WARNING: Do not install this equipment in a
con ned space such as a book case or similar unit.
Always operate the vehicle in a safe
manner. Do not become distracted
by the vehicle while driving, and
always be fully aware of all driving
condition. Do not change settings,
or any functions. Pull over in a
safe and legal manner before
attempting such operations.
Do not use for many hours at
extremely low or high temperature.
(-10 °C to 60 °C)
To reduce the risk of electric
shock, do not remove the cover
or back of this product. There are
no user-serviceable parts inside.
Refer servicing to quali ed service
personnel.
To reduce the risk of re or electric
shock, do not expose this product
to dripping or splashing water, rain,
or moisture.
The temperature of unit’s outside
can be extremely high, please use
the unit after proper installation in
your vehicle.
This unit cannot play 8cm disc (use
12cm disc only).
While driving, keep the sound
volume at a proper level.
Do not drop it and avoid heavy
impacts at anytime.
This unit is for vehicles with a
12-volt battery and negative
grounding. Before installing it
in a recreational vehicle, lorry or
bus, check the battery voltage.
To avoid shorts in the electrical
system, be sure to disconnect the E
battery cable before beginning the
installation.


