Rino600SeriesQuickStartManual 3
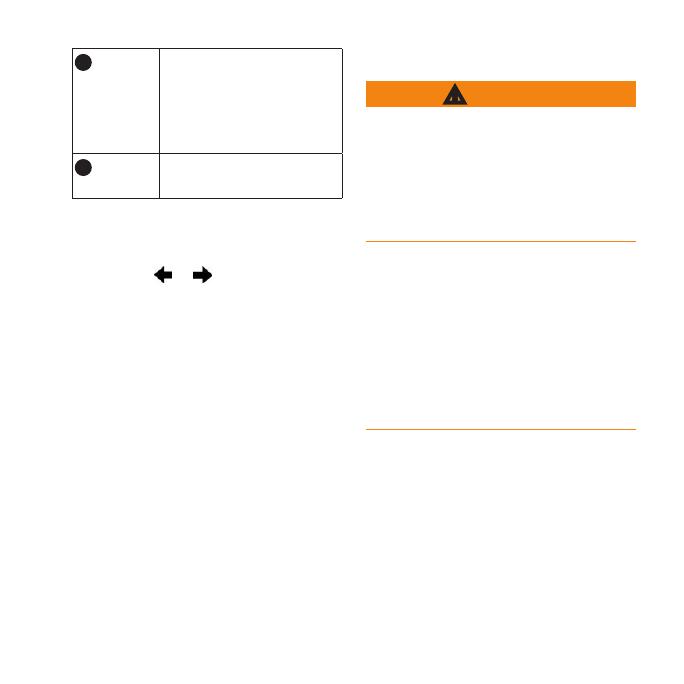
➋
Hold to turn on or off
the unit. Select to adjust
backlight, volume,
squelch level, and to lock
or unlock the screen.
➌
Hold to talk. stands
for push-to-talk.
All the pages are found on the home
screen. Use or to scroll through
the pages. The small arrows (>) used in
the text indicate that you should select
a series of items in order, for example,
“Select > .”
• Go to www.garmin.com to
download the latest manuals.
• Go to http://buy.garmin.com,
or contact your Garmin dealer
for information about optional
accessories and replacement parts.
This product contains a lithium-ion
battery. To prevent the possibility of
personal injury or product damage
caused by battery exposure to extreme
heat, store the device out of direct
sunlight.
The temperature rating for the device
may exceed the usable range of some
batteries. Alkaline batteries can rupture
at high temperatures. Alkaline batteries
lose a signicant amount of their
capacity as temperature decreases. Use
lithium batteries when operating the
device in below-freezing conditions.
The device operates on the included
lithium-ion battery pack or four AA
batteries.


