9
EN
Installation Place
Requirements
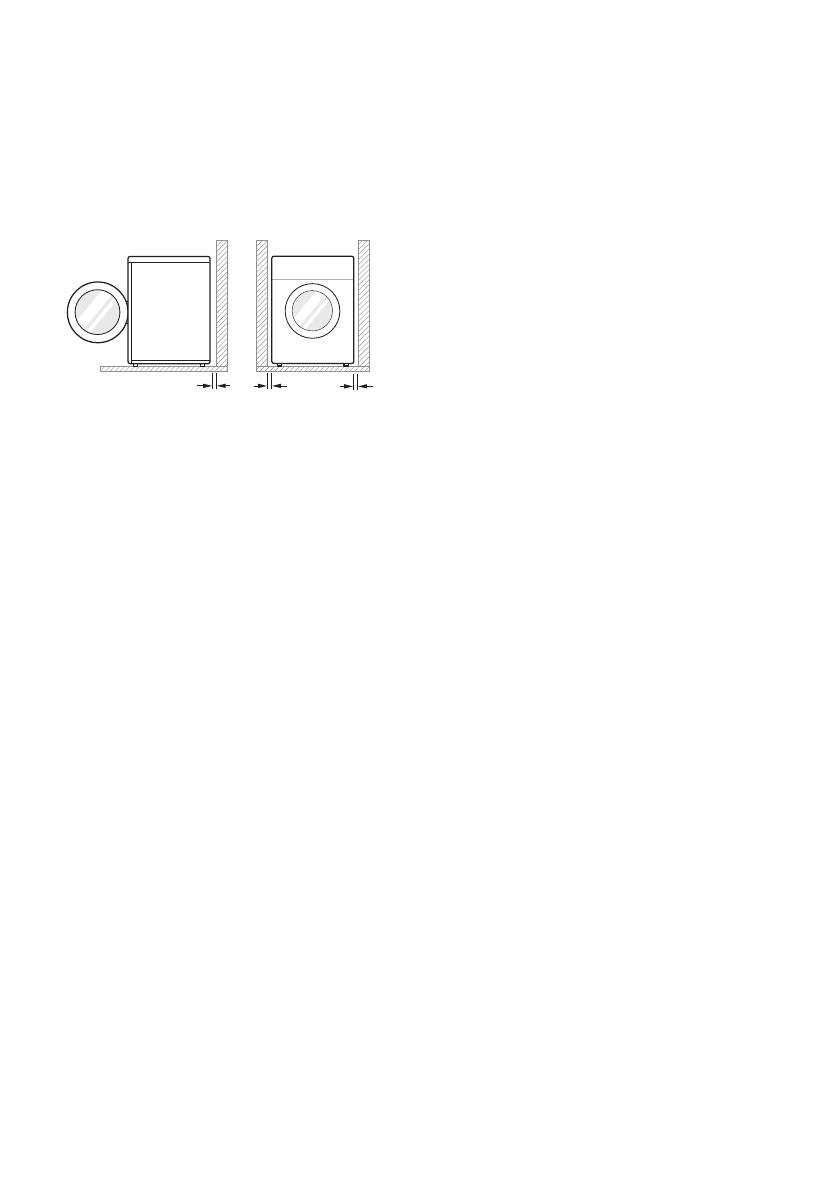
Location
30-50 cm 2 cm 2 cm
Level floor : Allowable slope under the entire
appliance is 1°.
Power outlet : Must be within 1.5 meters of either
side of the location of the appliance.
• Do not overload the outlet with more than one
appliance.
Additional Clearance : For the wall, 30 - 50 cm:
rear /2 cm: right & left side
• Do not place or store laundry products on top
of the appliance at any time. These products
may damage the finish or controls.
NOTE
• For better drying performance, please keep the
rear of the appliance away from wall.
• Do not install the appliance where there is a
risk of frost or dust.
• The appliance may not be able to operate
properly or may be damaged by freezing of
condensed water in the pump and drain hose.
• Do not install the appliance next to a high-
temperature appliance like refrigerator, oven
or stove etc, which can cause poor drying
performance and programme duration, and
adversely affect the proper functioning of the
compressor. The appliance performs best at a
room temperature of 23 °C.
Positioning
• Install the appliance on a flat hard floor.
• Make sure that air circulation around the
appliance is not impeded by carpets, rugs, etc.
• Never try to correct any unevenness in the
floor with pieces of wood, cardboard or similar
materials under the appliance.
• Do not install the appliance in rooms where
freezing temperatures may occur. Frozen
hoses may burst under pressure. The reliability
of the electronic control unit may be impaired at
temperatures below freezing point.
• If the appliance is delivered in winter and
temperatures are below freezing, place the
appliance at room temperature for a few hours
before putting it into operation.
• Please ensure that when the appliance is
installed, it is easily accessible for an engineer
in the event of a breakdown.
• With the appliance installed, adjust all four
feet using a transit bolt spanner to ensure
the appliance is stable, and a clearance of
approximately 20 mm is left between the top
of the appliance and the underside of any
work-top.
Ventilation Requirement
• Alcove or under counter
− Ensure air flow of 3.17 m
3
/min through the
appliance
• Closet
− Closet door must have 2 (louvered)
openings, each having a minimum area of
387 cm
2
, located 8 cm from bottom and top
of door.


