Símbolos y sus significados
Índice de contenidos
Símbolos y sus significados ....................2
Descripción del equipo........................3
Características y controles .....................4
Operación .................................6
Mantenimiento ............................12
Almacenamiento ...........................15
Solución de problemas.......................16
Garantía . . . . . . . . . . . . . . . . . . . . . . . . . . . . . . . . . 18
Registre su producto
Con el fin de garantizar la cobertura de la garantía de
forma oportuna y completa, registre su producto en línea
en www.Craftsman.com/registration.
Símbolos y sus significados
Señal Significado
PELIGRO
Indica un riesgo que, si no se evita,
ocasionará la muerte o lesiones graves.
ADVERTENCIA
Indica un riesgo que, si no se evita,
podría ocasionar la muerte o lesiones
graves.
ATENCIÓN
Indica un riesgo que, si no se evita,
podría ocasionar lesiones menores o
moderadas.
AVISO
Indica una información que se considera
importante pero que no está relacionada
con un peligro potencial.
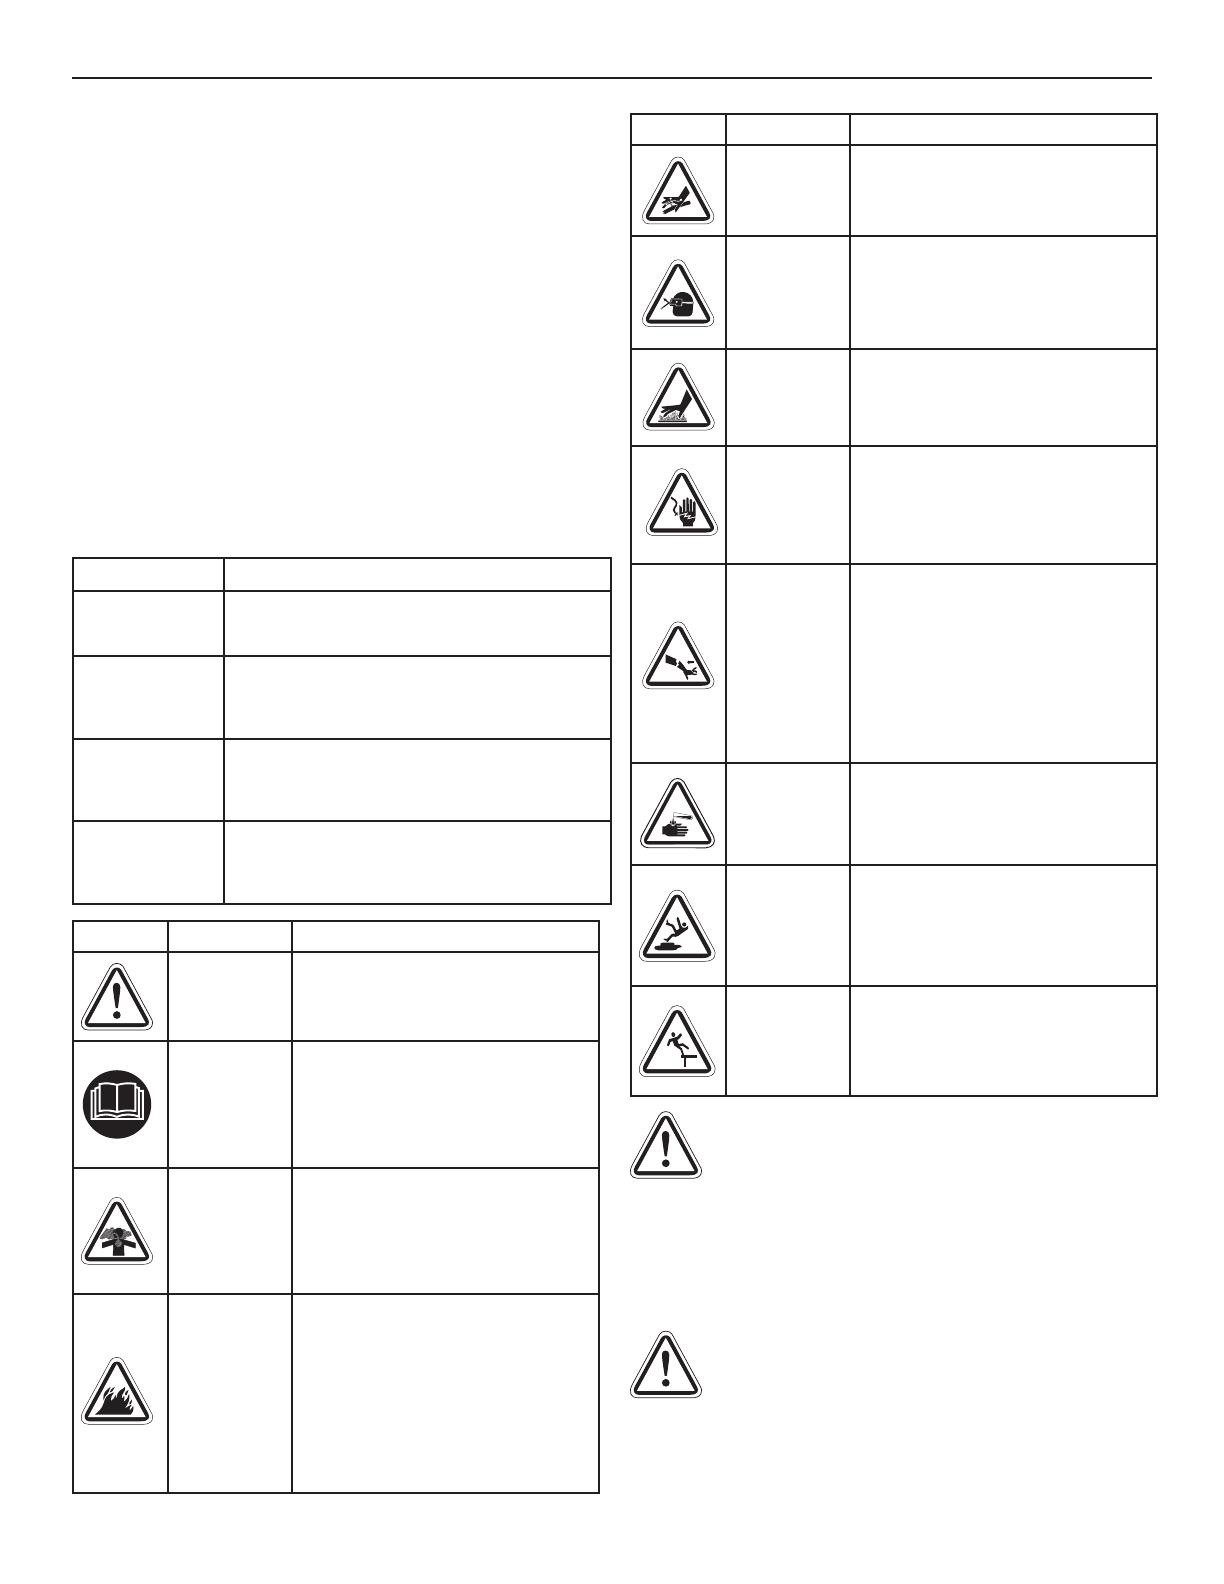
Símbolo Nombre Explicación
Símbolo de
alerta de
seguridad
Indica un posible riesgo para su
integridad física.
Lea el
Manual del
operador
La omisión de las advertencias,
las instrucciones y el manual
del operador podría redundar
en lesiones graves o incluso la
muerte.
Gases
tóxicos
La descarga de escape del motor
contiene monóxido de carbono,
un gas tóxico que puede matar
en minutos. No puede olerse ni
verse.
Incendio
El combustible y sus vapores son
extremadamente inflamables, lo
que podría causar quemaduras
o incendios que resulten en
lesiones graves o la muerte.
El escape del motor puede
causar un incendio y ocasionar
lesiones graves o la muerte.
Símbolo Nombre Explicación
Inyección
de fluido
La alta presión de agua puede
cortar la piel y causar heridas
graves y posible amputación.
Spray,
objetos
que salen
volando
Riesgo de lesión ocular. El
agua rociada podría salpicar o
expulsar objetos, lo que puede
provocar lesiones graves.
Superficie
caliente
El contacto con el área del mofle
podría provocar quemaduras y
causar lesiones graves.
Descarga
eléctrica
El contacto con los cables
eléctricos podría provocar
choque eléctrico y ocasionar
lesiones graves o la muerte.
Retroceso
El contragolpe del cable del
arrancador retráctil jalará la
mano y el brazo hacia el motor
más rápido de lo que usted
pueda soltarlo, lo que puede
causar huesos rotos, esguinces
o hematomas que resulten en
lesiones graves.
Quemadura
química
Los productos químicos podrían
causar quemaduras que resulten
en la muerte o en lesiones
graves.
Superficie
resbaladiza/
Caída
Superficies resbaladizas mojadas
podrían provocar caídas que
resulten en la muerte o en
lesiones graves.
Caída
El retroceso de la pistola puede
hacerle caer, lo que puede
ocasionarle la muerte o una
lesión grave.
¡ADVERTENCIA! Este producto puede exponerlo a
sustancias químicas, entre las que se incluyen
emisiones de escape de motor de gasolina,
reconocidas por el Estado de California como causantes de
cáncer, y monóxido de carbono, reconocido por el Estado
de California como causante de defectos de nacimiento u
otros problemas reproductivos. Para obtener más
información, visite www.P65Warnings.ca.gov.
¡ADVERTENCIA! Este producto contiene plomo y
compuestos de plomo que, de acuerdo al estado
de California, pueden causar defectos de
nacimiento u otros problemas reproductivos. Lávese las
manos después de manipular este producto. Cáncer y
Problemas Reproductivos – www.P65Warnings.ca.gov
2 Craftsman.com


