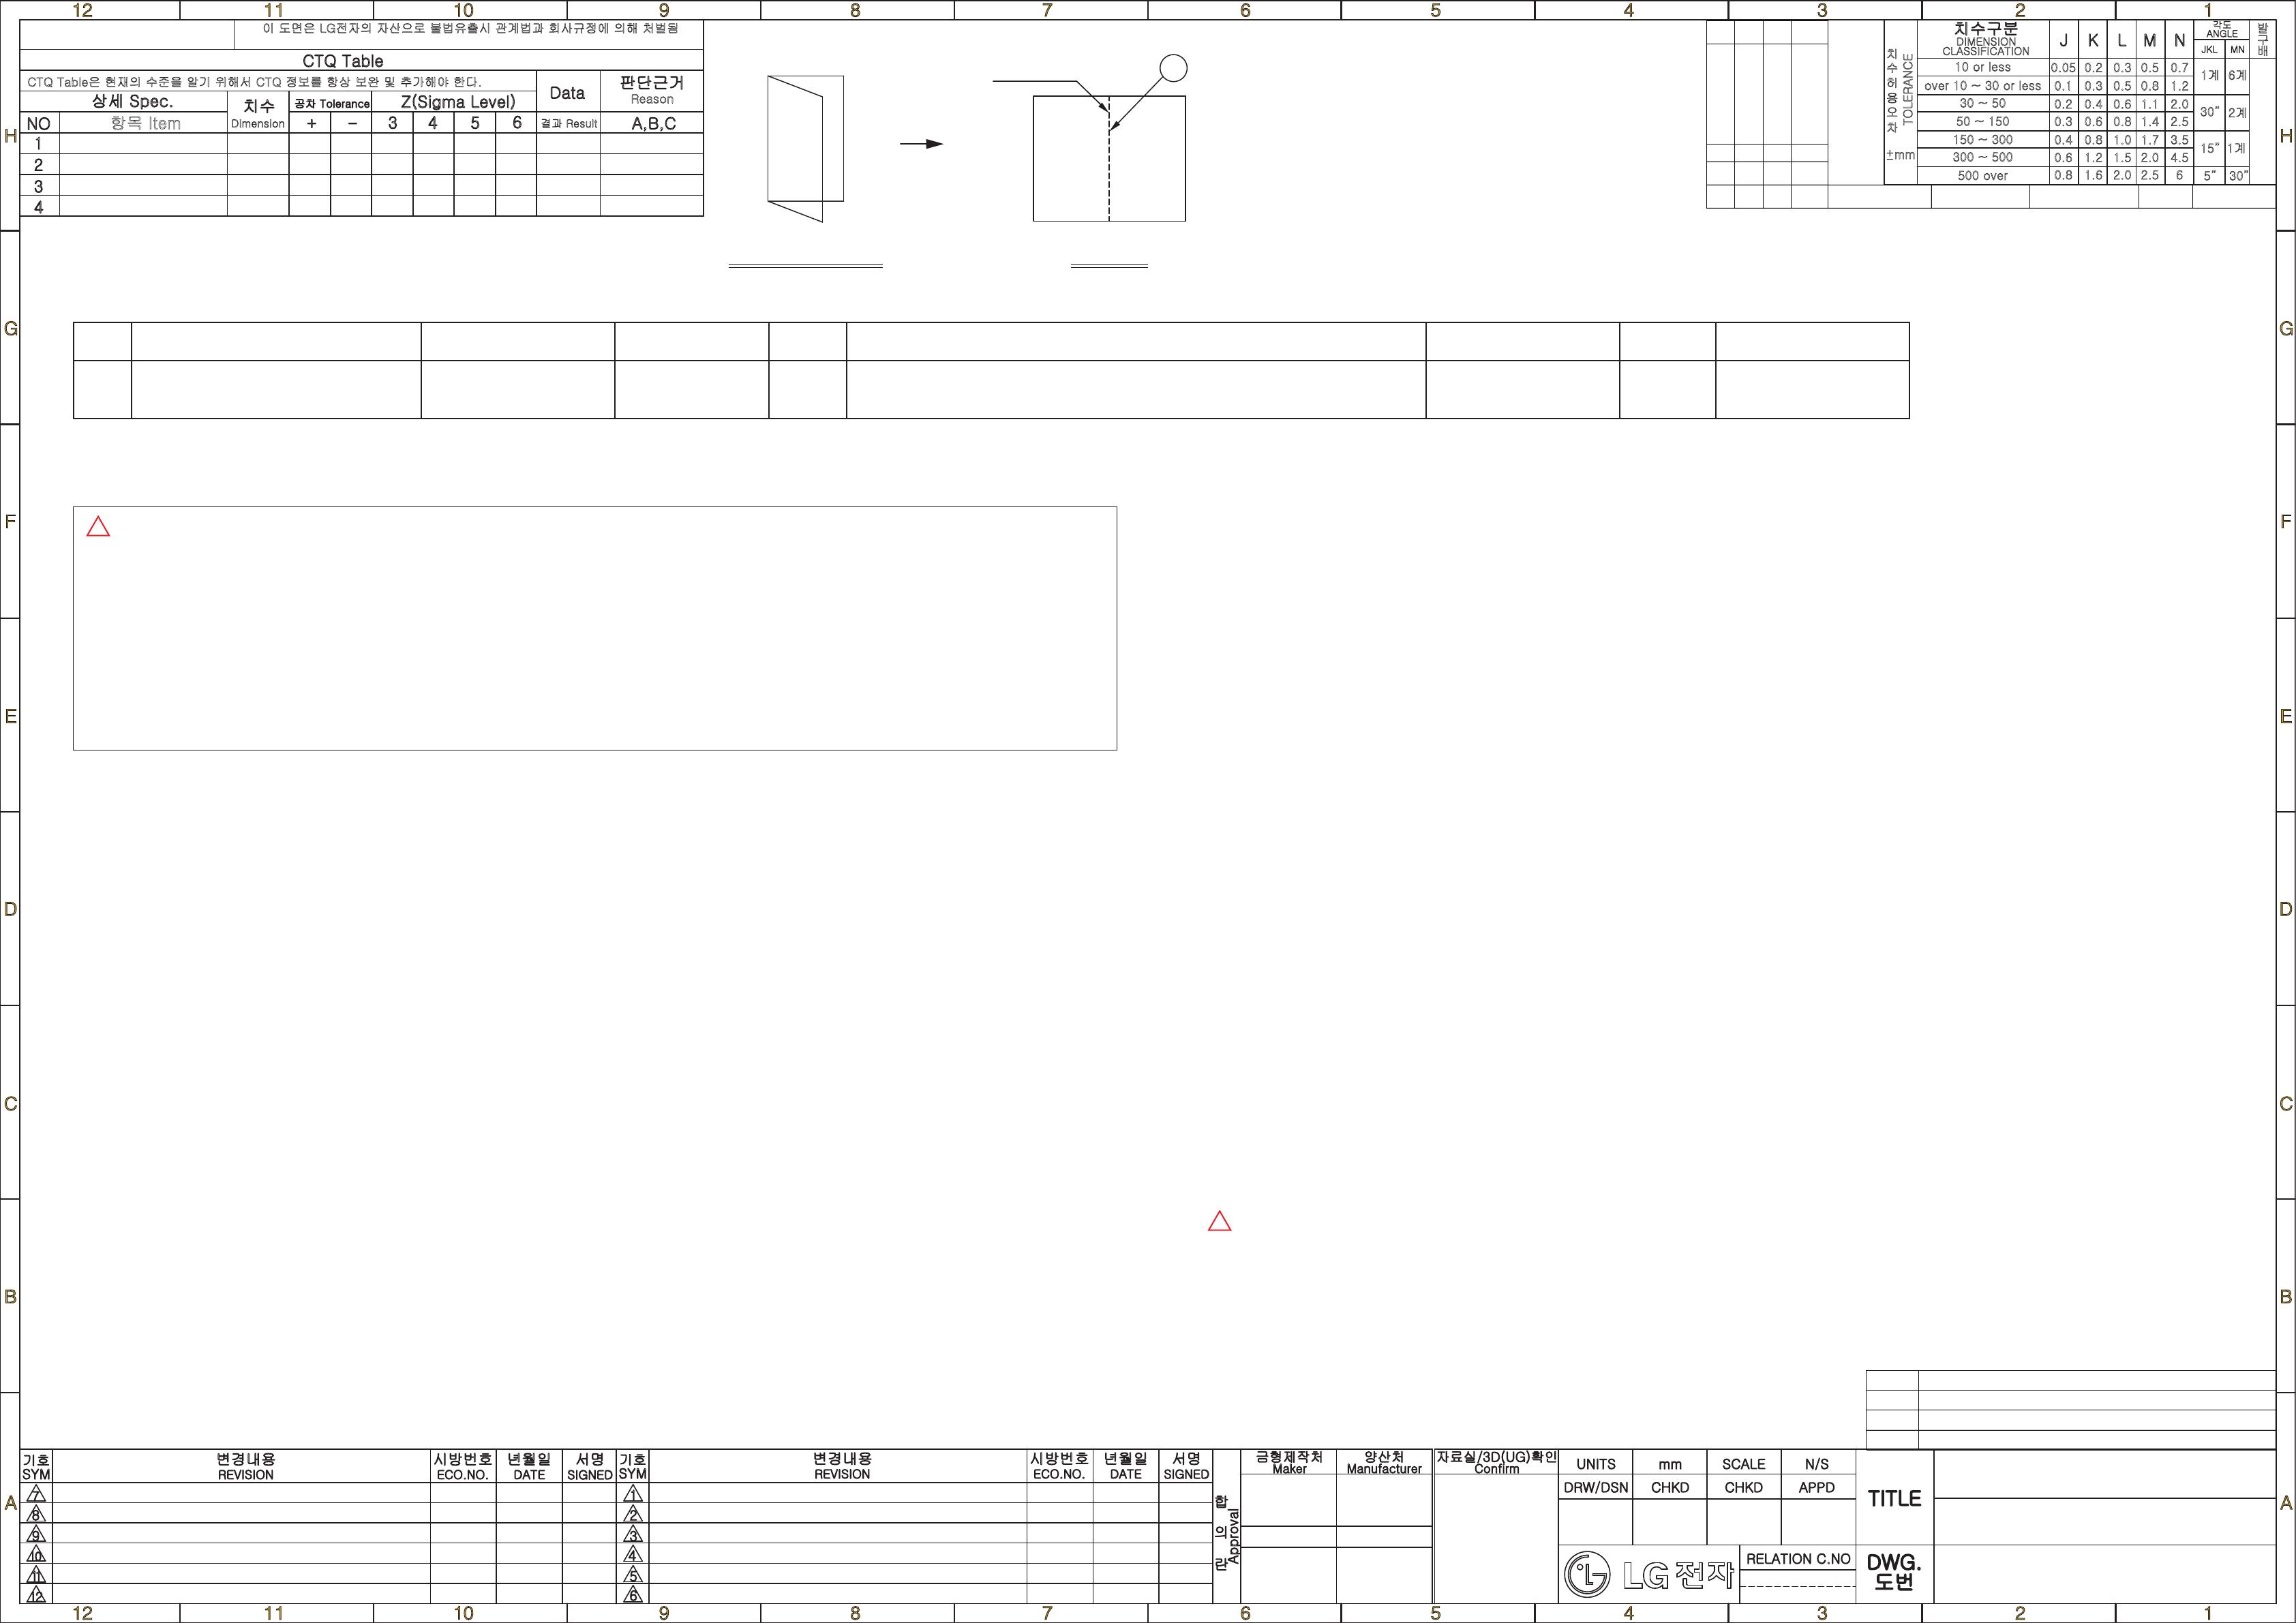
이 도면은 LG전자의 자산으로 불법유출시 관계법과 회사규정에 의해 처벌됨
Reason
Dimension 결과 Result
항목 Item
CTQ Table은 현재의 수준을 알기 위해서 CTQ 정보를 항상 보완 및 추가해야 한다.
Privileged & Confidential by LG Electronics
CTQ Table
상세 Spec.
NO
1
3 4 5
6
A,B,C
+ -
2
3
4
판단근거
치수
공차 Tolerance Z(Sigma Level)
Data
발
DIMENSION
CLASSIFICATION
ANGLE
각도
JKL
MN
TOLERANCE
치
0.05 0.2 0.3
0.5
0.6
0.8
1.0
1.5
2.0
0.5
0.8
1.1
1.4
1.7
2.0
2.5
0.7
1계
30”
15”
5”
6계
2계
1계
30”
1.2
2.0
2.5
3.5
4.5
6
0.3
0.4
0.6
0.8
1.2
1.6
0.1
0.2
0.3
0.4
0.6
0.8
10 or less
over 10 ~ 30 or less
30 ~ 50
50 ~ 150
150 ~ 300
300 ~ 500
500 over
수
허
용
오
차
+
-
mm
구
배
치수구분
J
K L M N
기호
SYM
변경내용
REVISION
시방번호
ECO.NO.
년월일
DATE
서명
SIGNED
기호
1
2
3
4
5
6
SYM
변경내용
REVISION
시방번호
ECO.NO.
년월일
DATE
서명
금형제작처
Maker
양산처
Manufacturer
자료실/3D(UG)확인
UNITS
DRW/DSN
mm
CHKD
SCALE
CHKD APPD
N/S
TITLE
RELATION C.NO
DWG.
도번
Confirm
SIGNED
7
8
9
1
1
1
0
1
2
합
Approval
의
란
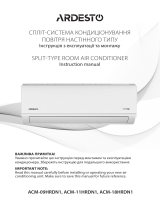
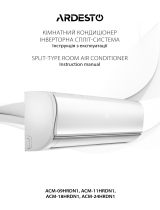
MFL697808
Manual,Owners
PRINTING A-ALL A-ALL SJ, SK Standard Manual for CIS_Multi_TA
MFL697808
2016-11-18
김지수
Add the standard mark for Ukraine and change the contents EFWGC00114 2016-12-08 jinxin
注记:
制作基准:
1. 印刷内容需要与开发提供的文件一致
2. 整体印刷条件和外观标准样品提供LGE批准。
3. “S” 后面的数字表示装订钉个数。(TA不涉及)
4. 材质:胶版纸。印刷颜色:黑色。
ECO-设计基准:
1. 此部品不可添加禁止物质(铅、镉、汞、六价铬、PBB、PBDE),细节请遵照供应商指南及相关标准。
特别是墨水中不得添加Pb、Cd
03
Multi (CIS_TA)
CW
Qty
02
Multi (CIS_CW)
CW
Qty
01
-
CW
Qty
Work
Application
Site
No PART NUMBER DESCRIPTION SPECIFICATION MAKER REMARKER
03
02
01
Work
PRINTING A-ALL A-ALL SJ, SK Standard Manual for CIS_Multi_TA
PRINTING A-ALL A-ALL SJ, SK Standard Manual for CIS_Multi_CW
PRINTING A-ALL A-ALL SJ, SK Standard Manual for EU_Multi
Spec
O
Folding methods Front
Fold line
Work
03
Material Printing color
COVER : Vellum paper 150 g
INTERNAL : Vellum paper 70 g
COVER : BLACK
INTERNAL : BLACK
Size (W x H) Page
194A5 (148 x 210)
Language Folding methods Country
Wireless bindingEnglish+Russian+Kazakh+Ukranian+Belorussian+Uzbekistan CIS
Manufacturing site
TA
1
Spec.
작업주기
1. 인쇄내용은 연구실 승인FILM에 준 할 것.
2. 인쇄상태 및 외관은 연구실 승인 한도견본에 준 할 것.
3. 접는 방법뒤의 S( )라고 표시한 것은 ( )회수만큼 스테이플 작업하는 것을 말함.
4. 우측 접는 방법의 그림은 실물을 폈을때 실선으로 표시한 면이 제 1면이 되도록 놓은 상태임.
친환경주기
1. 본 부품에 금지물질(납,카드뮴,6가크롬,수은,PBB,PBDE)이 포함되지 않도록 하고, LG(65)-B-3514를
참조할 것. 특히, 잉크 내에 납, 카드뮴이 포함되어서는 안됨.
Spec.
WORKING SPECIFICATIONS
1. Printed contents should be satisfied with the film provided by LGE Design Dept.
2. Overall printing condition and appearance satisfied with standard sample provided by LGE for
3. The number behind "S" followed by folding method means the number of staple work.
4. Drawing of Folding Method : Continous lined page means the first page, when the manual is opened.
ECO-DESIGN SPECIFICATIONS
1. The part should not contain prohibited substances (Pb,Cd,Hg,Cr+6,PBB,PBDE) and details should be
complied with LG(65)-B-3514.
2016-11-29
주현경
2016-11-29
정만식
1
1
Contents changed
1) Change the revision no. and date
2) Add the standard mark for Ukraine (The standard mark to be added on the front cover page of each language)
3) Language codes modified (Local languages applied)
4) Add the chinese note
1) 首
2) 追加
3)
4) 追加中文注