BOMANN AKS 713 CB Operating instructions

Category
Portable vacuum cleaners
Type
Operating instructions
2
DEUTSCH
Inhalt
Übersicht der Bedienelemente .....................................Seite 3
Bedienungsanleitung .....................................................Seite 4
Technische Daten .......................................................... Seite 7
Garantie .........................................................................Seite 7
Entsorgung ....................................................................Seite 8
NEDERLANDS
Inhoud
Overzicht van de bedieningselementen ....................Pagina 3
Gebruiksaanwijzing ....................................................Pagina 9
Technische gegevens ................................................Pagina 12
Verwijdering ................................................................Pagina 12
FRANÇAIS
Sommaire
Liste des différents éléments de commande .............. Page 3
Mode d’emploi .............................................................. Page 13
Données techniques .................................................... Page 16
Élimination .................................................................... Page 16
ESPAÑOL
Indice
Indicación de los elementos de manejo ....................Página 3
Instrucciones de servicio ............................................Página 18
Datos técnicos ............................................................Página 21
Eliminación .................................................................Página 21
ITALIANO
Indice
Elementi di comando ..................................................Pagina 3
Istruzioni per l’uso .......................................................Pagina 23
Dati tecnici ..................................................................Pagina 26
Smaltimento ................................................................Pagina 26
ENGLISH
Contents
Overview of the Components ...................................... Page 3
Instruction Manual ........................................................ Page 27
Technical Data .............................................................. Page 30
Disposal ........................................................................ Page 30
JĘZYK POLSKI
Spis treści
Przegląd elementów obłsugi ...................................... Strona 3
Instrukcja obsługi ........................................................Strona 31
Dane techniczne ......................................................... Strona 34
Warunki gwarancji ...................................................... Strona 34
Usuwanie .................................................................... Strona 35
MAGYARUL
Tartalom
A kezelőelemek áttekintése ..........................................Oldal 3
Használati utasítás ........................................................Oldal 36
Műszaki adatok..............................................................Oldal 39
Hulladékkezelés ............................................................Oldal 39
РУССКИЙ
Содержание
Обзор деталей прибора ...............................................стр. 3
Руководство по эксплуатации......................................стр. 40
Технические данные .....................................................стр. 43

3 ......................................
48 ................................................... 
45 .................................................................. 
27
The appliance is designed exclusively for private use and
for the envisaged purpose. This appliance is not t for com-
mercial use.
The mains adaptor is only suitable for use in dry rooms.
Check if the output current, voltage and the polarity of the
mains adaptor match the information on the connected
appliance!
Do not touch the connected mains adapter with wet hands!
If necessary, disconnect the appliance from the power
adaptor.
Ensure that the cable of the mains adapter does not
become kinked, jammed, driven over or come into contact
with heat sources.
Do not use a damaged mains adapter.
Do not repair the appliance yourself, but visit an authorized
specialist.
The device and the mains lead have to be checked regu-
larly for signs of damage. If damage is found the device
must not be used.
Use only original spare parts.
In order to ensure your children’s safety, please keep all
packaging (plastic bags, boxes, polystyrene etc.) out of
their reach.
WARNING:
Do not allow small children to play with the foil. There is a
danger of suffocation!
Instruction Manual
Thank you for choosing our product. We hope you enjoy using
the appliance.
Symbols in these Instructions for Use
Important information for your safety is specially marked. It is
essential to comply with these instructions in order to avoid
accidents and prevent damage to the machine:
WARNING:
This warns you of dangers to your health and indicates pos-
sible injury risks.
CAUTION:
This refers to possible hazards to the machine or other
objects.
NOTE:
This highlights tips and information.
General Notes
Read the operating instructions carefully before putting the
appliance into operation and keep the instructions including the
warranty, the receipt and, if possible, the box with the internal
packing. If you give this device to other people, please also
pass on the operating instructions.
Special Safety Instructions for this Machine
This appliance can be used by children aged from 8 years and
above and persons with reduced physical, sensory or mental capa-
bilities or lack of experience and knowledge if they have been given
supervision or instruction concerning use of the appliance in a safe
way and understand the hazards involved.
Children shall not play with the appliance.
Cleaning and user maintenance shall not be made by children
without supervision.
The device is intended for use with safety extra-low voltage. Con-
nect only to a power supply according to the specications on the
rating label.
Only use the 12 V connection cable provided.
28
Overview of the Components / Delivery scope
1 Dust container release button
2 Multi-function switch
3 Charging indicator lamp
4 Socket for mains adapter
5 Cable storage compartment with 12 V connection cable
6 Dirt collection container
7 Connector for accessories
8 Crevice nozzle, long
9 Crevice nozzle, short
10 Filter cover
11 Permanent lter
12 Brush attachment
13 Attachment for wet vacuuming
14 Power adapter
Unpacking the device
1. Remove the device from its packaging.
2. Check the delivery scope for completeness.
3. Check the device for any transport damage, in order to
prevent hazards.
NOTE:
In case of any transport damage, contact your dealer
immediately. Do not use a damaged device!
4. Remove the transport safety device from the multi-function
switch.
Instructions for Use
The device is especially suitable for quickly vacuuming
small amounts of dry dirt or dust.
It is furthermore suitable for vacuuming a limited amount of
wet dirt or liquids.
The device is operated via charged battery. Charge the bat-
tery using the power adapter provided. Direct power supply
via mains adapter is not possible.
If the rechargeable battery is empty, you can continue using
the vacuum cleaner via 12 V mains operation.
Multi-function switch (2)
Use the multi-function switch to select different operating
modes:
O Device off / charging mode
I Device on in battery mode
II Device on in 12 V power supply mode with connection
cable
Nozzle attachments
The different nozzle attachments are easy to attach and to
remove.
Charging the battery
1. Turn off the device (switch position: O).
2. Connect the mains adapter to the socket (4).
3. Connect the mains adapter to a certied wall socket.
Charge the device for 12 hours before rst-time use.
NOTE:
The indicator lamp lights up red during charging
operation.
The lamp does not indicate the charging status of
the device.
It is normal for the device to heat up during charging.
4. Stop any charging operation after a maximum of 12 hours.
CAUTION:
Always disconnect the plug from the wall socket after 12
hours of charging.
NOTE: on battery life:
Observe the following in order to prolong battery life:
Charge the battery only when it is almost empty.
Charge the device at an ambient temperature between 0°
and + 40°C.
If the connection cable of this device has been damaged, it must be
replaced with a special connection cable available from the manu-
facturer or its customer service.
Do not use any mains adapter other than the one supplied.
Do not vacuum combustibles or ammable liquids!
Avoid vacuuming sharp or pointed objects!
Never vacuum without the lter and lter cover installed.
29
Using the device
Battery operation
Disconnect the device from the mains adapter.
Use the multi-function switch to turn the device on (I) or off
(O).
12 V power supply
Irrespective of the charging level of the battery, you may use
the device at any time with 12 V power supply.
NOTE:
Check the maximum current output of the on-board power
socket. It should use a 6 A fuse.
1. Turn off the device (switch position: O). If necessary,
disconnect the device from the mains adapter.
2. Press the button to open the cable storage compartment.
Extract the cable.
3. Close the cable storage compartment. Pay attention to the
cable guide in the cover.
4. Connect the connection cable to a 12 V on-board voltage
socket. The control indicator of the plug lights up, once the
power supply is connected. If necessary, turn on the igni-
tion of your car.
5. Use the multi-function switch to turn the device on (II) or off
(O).
Vacuuming dry dirt
NOTE:
We recommend using only a dry container and lter for
vacuuming dry dirt.
Attach one of the two crevice nozzles (8/9). On top of that,
you can also attach the brush tool.
Vacuuming wet dirt or liquids
NOTE:
Observe the MAX marking on the container. Maximum
vacuuming capacity: 150 ml.
Empty the collection container before vacuuming liquids or
wet dirt.
Fit the attachment for wet vacuuming (13) or one of the two
crevice nozzles (8/9).
In order to remove the nozzle, hold the end of the nozzle
down to avoid accidental leakage of the liquid.
Emptying the collection container
1. Turn off the device (switch position: O).
2. Keep the device horizontal when opening the collection
container.
3. Press the button (1) to unlock the collection container.
4. First pull the permanent lter from the collection container
and then remove the lter cover.
5. Empty the components.
6. Reinstall the components into the collection container in
reverse order.
7. Attaching the collection container to the housing: First posi-
tion the collection container at the bottom of the housing.
Then lock it at the button (1) on the top.
Cleaning
WARNING:
Always disconnect the appliance from the mains adapter before
cleaning!
If necessary, disconnect the device from the 12 V connection cable
before cleaning.
Under no circumstances should you immerse the motor housing in
water in order to clean it. Otherwise this might result in an electric
shock or re.
CAUTION:
Do not use a wire brush or any abrasive items.
Do not use any acidic or abrasive detergents.
CAUTION:
The single components are not dishwasher-safe.
Wipe the casing with a damp cloth.
30
Components 6 to 13
These components can be rinsed off under running water.
If need be, clean the components in warm soapy water
using a soft brush.
Allow the components to dry before you reassemble the
device.
Storage
Clean the appliance as described and allow it to dry.
We recommend that you keep the appliance in the original
packaging if it will not be used for long periods.
Always store the appliance out of the reach of children in a
dry, well ventilated place.
Troubleshooting
The device does not function.
Possible cause:
The switch position has not been set correctly.
Remedy:
Check the switch position.
Possible cause:
The rechargeable battery is empty.
Remedy:
Recharge the battery or
use the device via 12 V mains operation.
The device does not work with the 12 V connection cable.
Possible cause:
Some cars require the ignition to be turned on in order to use
the on-board power socket.
Possible cause:
The fuse in the plug of the 12 V connection cable is defective.
Remedy:
Replace the fuse. To do so, unscrew the knurled nut. New
fuses (10 A) are available in specialist shops.
Possible cause:
The on-board power socket of your car is defective.
Remedy:
Contact your car technician for help.
Technical Data
Model: .......................................................................AKS 713 CB
Net weight: ........................................................... approx. 1.13 kg
Mains adapter
Protection class: .......................................................................... II
Input: ............................................AC 100-240 V, 50/60 Hz, 0.2 A
Output: ..............................................................DC 18 V, 250 mA
Polarity: ..........................................................................
Battery: ...........................................10 x 1.2 V, 1400 mAh NiMH
Operating time: .......................................... 20 minutes maximum
Charging time: .................................................................12 hours
12 V connection
Voltage: ............................................................................ DC 12 V
Power input: ........................................................................... 5.2 A
The right to make technical and design modications in the
course of continuous product development remains reserved.
This device has been tested according to all relevant current
CE guidelines, such as electromagnetic compatibility and low
voltage directives, and has been constructed in accordance
with the latest safety regulations.
Disposal
Removing the battery / Battery disposal
This appliance contains rechargeable nickel-
metal-hydride batteries.
Remove these batteries before you dispose of
the appliance.
As a consumer you are legally obliged to return
the spent batteries/battery packs.
WARNING:
Disconnect the appliance from the mains before you
remove the batteries!
Only remove the batteries if spent.
Use a small Phillips screwdriver to loosen the 6 screws
from the housing of the device.
Remove both halves of the housing.
Use scissors to cut the wires on the batteries.
Remove the batteries.
You may dispose of them at a collection site for spent bat-
teries or special waste. Ask your local authority for details.
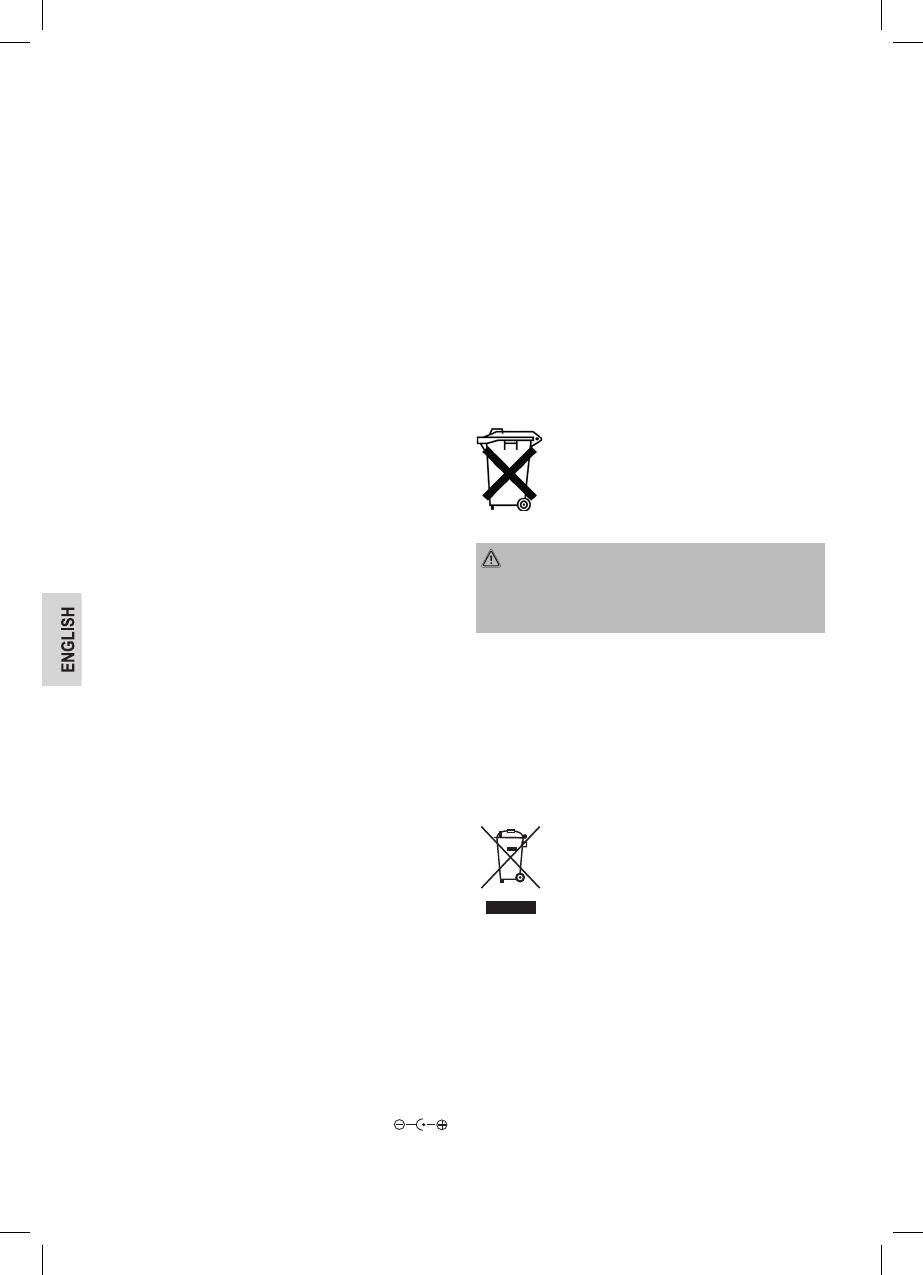
Meaning of the “Dustbin” Symbol
Protect our environment: do not dispose of
electrical equipment in the domestic waste.
Please return any electrical equipment that
you will no longer use to the collection points
provided for their disposal.
This helps avoid the potential effects of incor-
rect disposal on the environment and human health.
This will contribute to the recycling and other forms of reutilisa-
tion of electrical and electronic equipment.
Information concerning where the equipment can be disposed
of can be obtained from your local authority.
Stand 11/15
AKS 713 CB
  • Page 1 1
  • Page 2 2
  • Page 3 3
  • Page 4 4
  • Page 5 5
  • Page 6 6
  • Page 7 7
  • Page 8 8
  • Page 9 9
  • Page 10 10
  • Page 11 11
  • Page 12 12
  • Page 13 13
  • Page 14 14
  • Page 15 15
  • Page 16 16
  • Page 17 17
  • Page 18 18
  • Page 19 19
  • Page 20 20
  • Page 21 21
  • Page 22 22
  • Page 23 23
  • Page 24 24
  • Page 25 25
  • Page 26 26
  • Page 27 27
  • Page 28 28
  • Page 29 29
  • Page 30 30
  • Page 31 31
  • Page 32 32
  • Page 33 33
  • Page 34 34
  • Page 35 35
  • Page 36 36
  • Page 37 37
  • Page 38 38
  • Page 39 39
  • Page 40 40
  • Page 41 41
  • Page 42 42
  • Page 43 43
  • Page 44 44
  • Page 45 45
  • Page 46 46
  • Page 47 47
  • Page 48 48
  • Page 49 49
  • Page 50 50

BOMANN AKS 713 CB Operating instructions

Category
Portable vacuum cleaners
Type
Operating instructions

Ask a question and I''ll find the answer in the document

Finding information in a document is now easier with AI