EN - 8
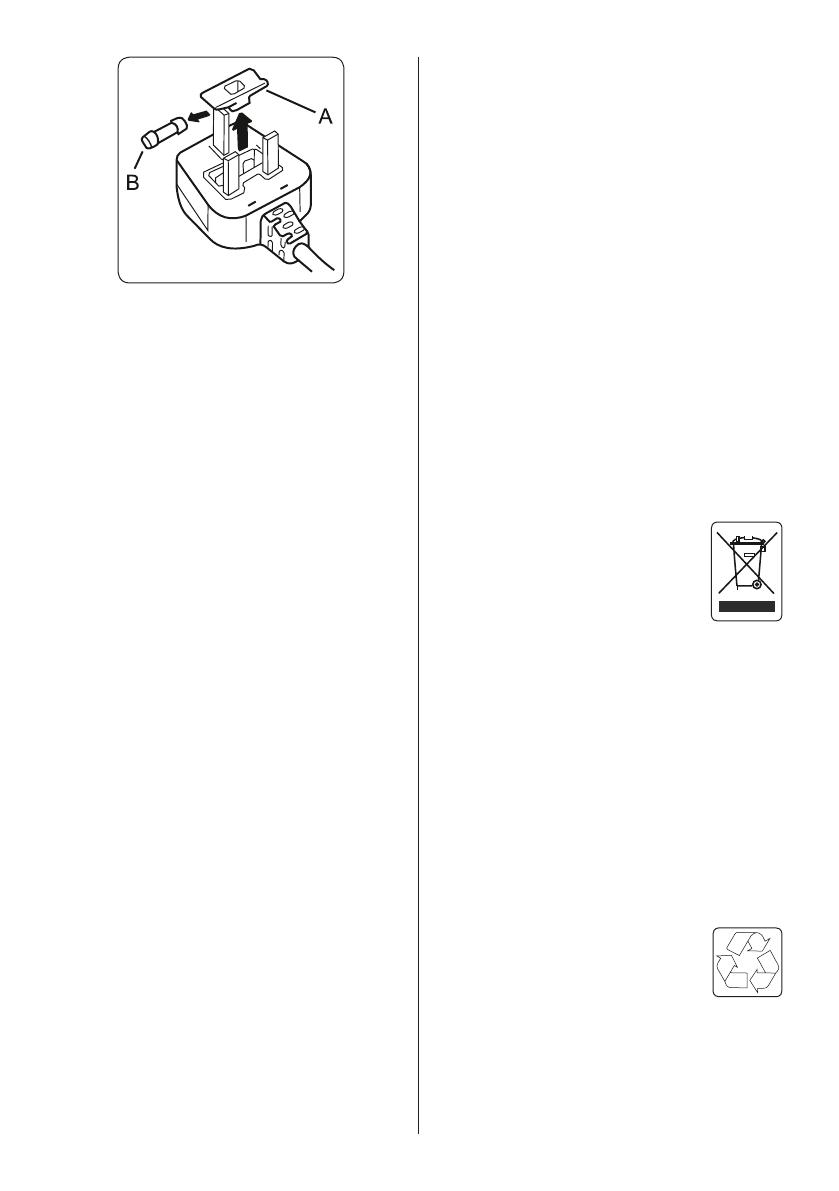
The mains lead of this appliance has been
tted with a BS 1363A 13A fused plug. To
change a fuse in this type of plug, follow
the steps below:
1. Remove the fuse cover and fuse.
2. Fit replacement 13A fuse, ASTA
approved to BS 1362 type, into the fuse
cover.
3. Replace fuse cover.
1.4 During Usage
• Do not connect your fridge freezer to
the mains electricity supply using an
extension lead.
• Do not use damaged, torn or old plugs.
• Do not pull, bend or damage the cord.
• Do not use plug adapter.
• This appliance is designed for use by
adults. Do not allow children to play with
the appliance or hang off the door.
• Never touch the power cord/plug with wet
hands. This may cause a short circuit or
electric shock.
• Do not place glass bottles or cans in the
ice-making compartment as they will
burst when the contents freeze.
• Do not place explosive or ammable
material in your fridge. Place drinks with
high alcohol content vertically in the
fridge compartment and make sure their
tops are tightly closed.
• When removing ice from the ice-making
compartment, do not touch it. Ice may
cause frost burns and/or cuts.
• Do not touch frozen goods with wet
hands. Do not eat ice-cream or ice cubes
immediately after they are removed from
the ice-making compartment.
• Do not re-freeze thawed frozen food. This
may cause health issues such as food
poisoning.
Old and Out-of-order Fridges
• If your old fridge or freezer has a
lock, break or remove the lock before
discarding it, because children may
get trapped inside it and may cause an
accident.
• Old fridges and freezers contain
isolation material and refrigerant with
CFC. Therefore, take care not to harm
environment when you are discarding
your old fridges.
CE Declaration of conformity
We declare that our products meet the
applicable European Directives, Decisions
and Regulations and the requirements
listed in the standards referenced.
Disposal of your old appliance
The symbol on the product or on
its packaging indicates that this
product may not be treated as
household waste. Instead it shall
be handed over to the applicable
collection point for the recycling of electrical
and electronic equipment. By ensuring
this product is disposed of correctly,
you will help prevent potential negative
consequences for the environment and
human health, which could otherwise be
caused by inappropriate waste handling
of this product. For more detailed
information about recycling of this product,
please contact your local city ofce, your
household waste disposal service or the
shop where you purchased the product.
Packaging and the Environment
Packaging materials protect
your machine from damage that
may occur during transportation.
The packaging materials are
environmentally friendly as they are
recyclable. The use of recycled material
reduces raw material consumption and
therefore decreases waste production.
Notes:


