HP OMEN Desktop PC - 880-119ur Installation guide

Type
Installation guide
936167-001 1
Graphics Card Replacement Instructions
Before you be
g
in
Observe the following requirements before removing and
replacing graphics cards.
WARNING: To reduce the risk of serious injury or
damage to the equipment, do not open the chassis cover of
any unit with a 750W power supply. To determine if you
have a 300W, 500W or 750W power supply, refer to the
label on the rear of the computer.
CAUTION: Never open the cover with the power cord
attached or power applied. You might damage your
computer or be injured by the spinning fan blades.
CAUTION: Avoid touching sharp edges inside the
computer.
NOTICE: Static electricity can damage the electronic
components inside the computer. Discharge static electricity
by touching the metal cage of the computer before touching
any internal parts or electronic components.
Tools needed
Phillips #2 screwdriver
Small screws are easily lost. Remove screws over a
surface that enables you to retrieve them if they fall.
NOTE: Computer appearance and features may vary by
model.
NOTE: When using an add-on, discrete graphics card,
you must connect your display to the port on the graphics
card. The covered UMA graphics port that is integrated
into the computer system board does not function when an
add-on graphics card is installed.
NOTE: When using an SLI graphics card configuration,
be sure to connect your display to the port in the primary
graphics card closest to the processor.
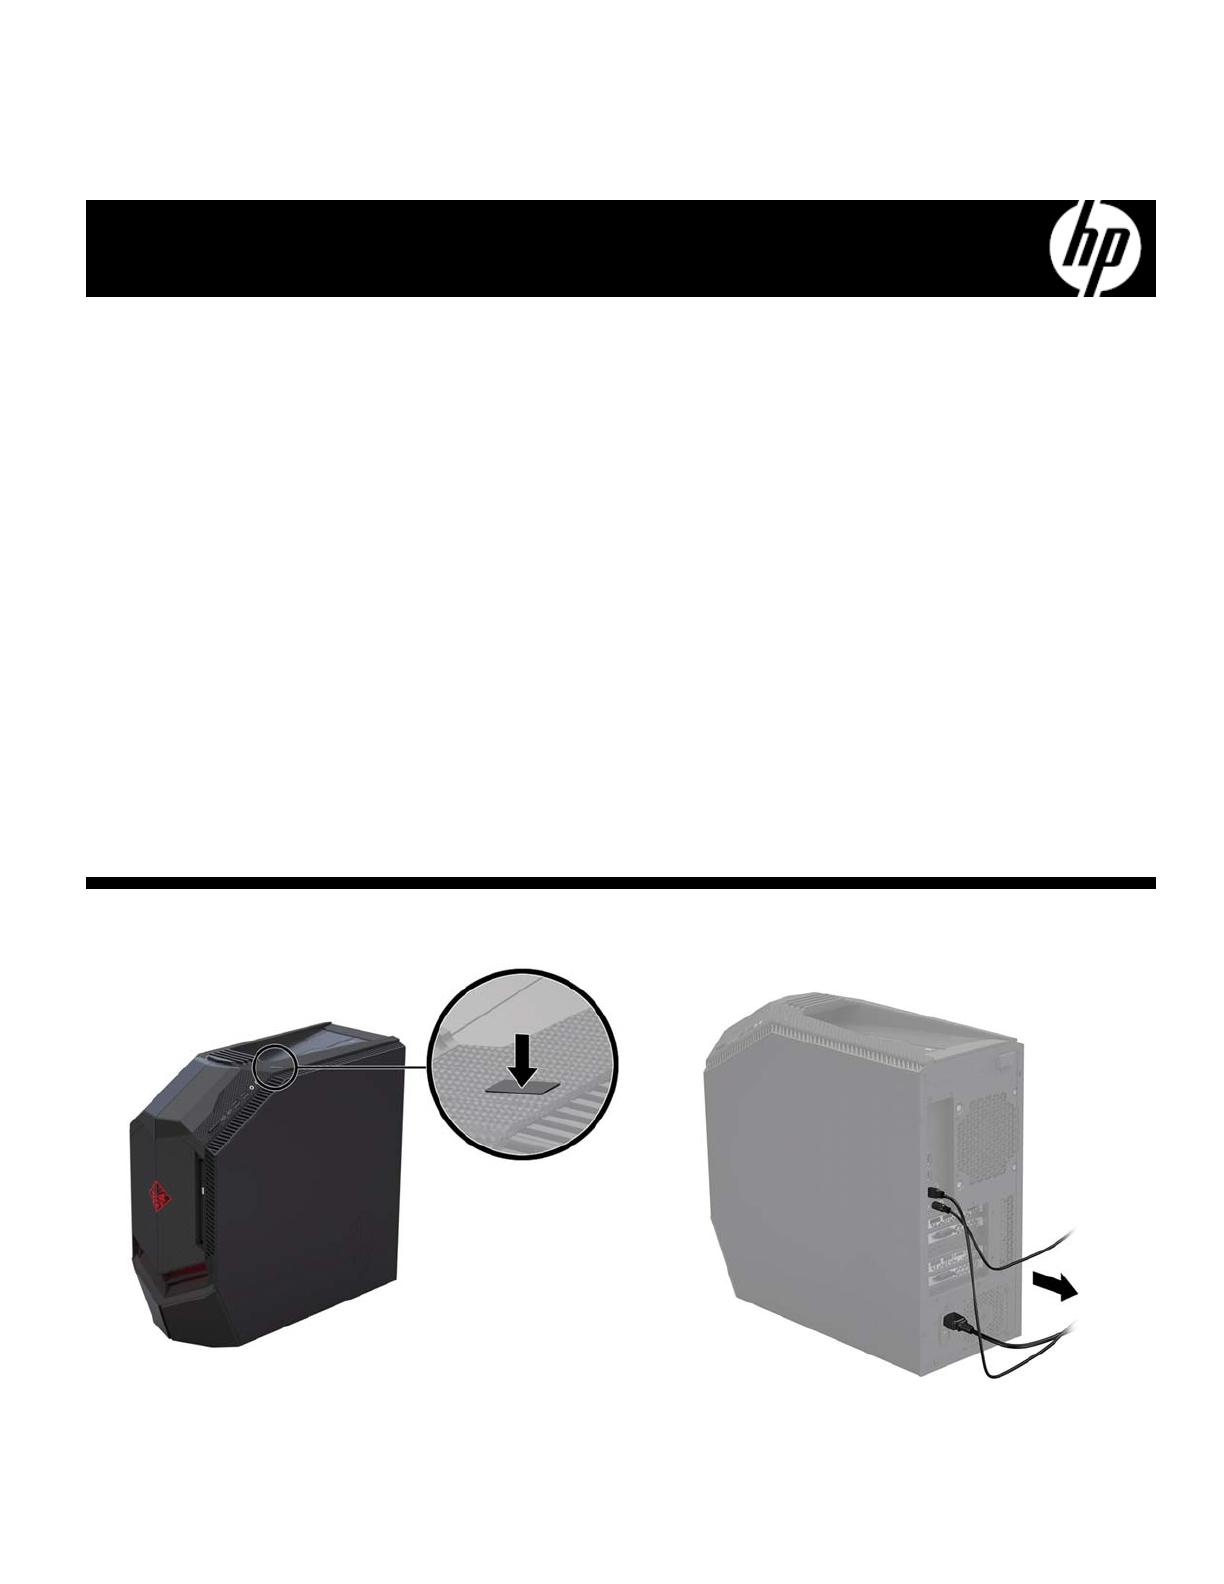
Removing a graphics card
1. Press the power button to turn off the computer.
2. Disconnect the power cord and all attached cables
from the back of the computer.

936167-001
936167-001 2
3. To remove the access panel:
Slide the release latch (1), and then slide the panel back
and pull it away from the computer (2).
4. Locate the graphics card:
1. Memory modules
2. Liquid-filled heat sink
3. Graphics cards
NOTE: All graphics cards are removed using the same
procedures.
5. Remove the SLI bridge, if installed: Lift the bridge up
from atop the graphics cards.
6. Remove the graphics card bracket: Remove the three
screws (1), and then lift the bracket off the graphics
card (2).
936167-001 3
7. Remove the graphics card: Disconnect the power
connector from the top of the card (1). Remove the two
screws from the end of the card (2). Pull the PCIe socket
latch (3), and then lift the graphics card up and out of
the socket (4).
8. Touch the replacement graphics card bag to the metal
of the computer, and then remove the replacement
graphics card from the bag.
Replacing a graphics card
1. Insert the graphics card into the socket (1), replace the
two screws (2), and then connect the power cable to the
card (3).
2. Place the bracket on the back of the graphics card (1),
and then replace the screws (2).
936167-001 4
3. Install the SLI bridge, if necessary: Connect the SLI
bridge to the top of the graphics cards.
4. Position the access panel back into place on the side
of the computer (1), and then slide the release latch to
the locked position (2).
5. Plug the power cord and any additional cables into the
back of the computer.
6. Press the power button to turn on the computer.
© Copyright 2017 HP Development Company, L.P.
The information contained herein is subject to change without notice. The only warranties for
HP products and services are set forth in the express warranty statements accompanying such
products and services. Nothing herein should be construed as constituting an additional warranty.
HP shall not be liable for technical or editorial errors or omissions contained herein.
First Edition: April 2017
PRI NTER: Repl ac e thi s bo x with Pr int ed- I n (PI )
St at ement(s) as p er sp ec.
NOTE: This box is simply a placeholder. PI
St at ement(s) do n ot ha ve to fit ins id e the b ox
but sh ould be pl aced in t hi s area .
  • Page 1 1
  • Page 2 2
  • Page 3 3
  • Page 4 4

HP OMEN Desktop PC - 880-119ur Installation guide

Type
Installation guide

Ask a question and I''ll find the answer in the document

Finding information in a document is now easier with AI