• You have to format the USB stick or your TF card (micro SD) on your computer.
• The playing sequence of the speaker is based upon the file generating sequence. If the file
name has an extension 01, 02, 03.... the speaker will start playing from the 01 file.
• You have to copy your MP3 of WMA format music files into the root directory of the USB or
TF (micro SD) card. It is advisable to remove unnecessary files and catalogue in order to
improve the speed and reduce the reading errors during reading.
*** This image is for reference purposes only
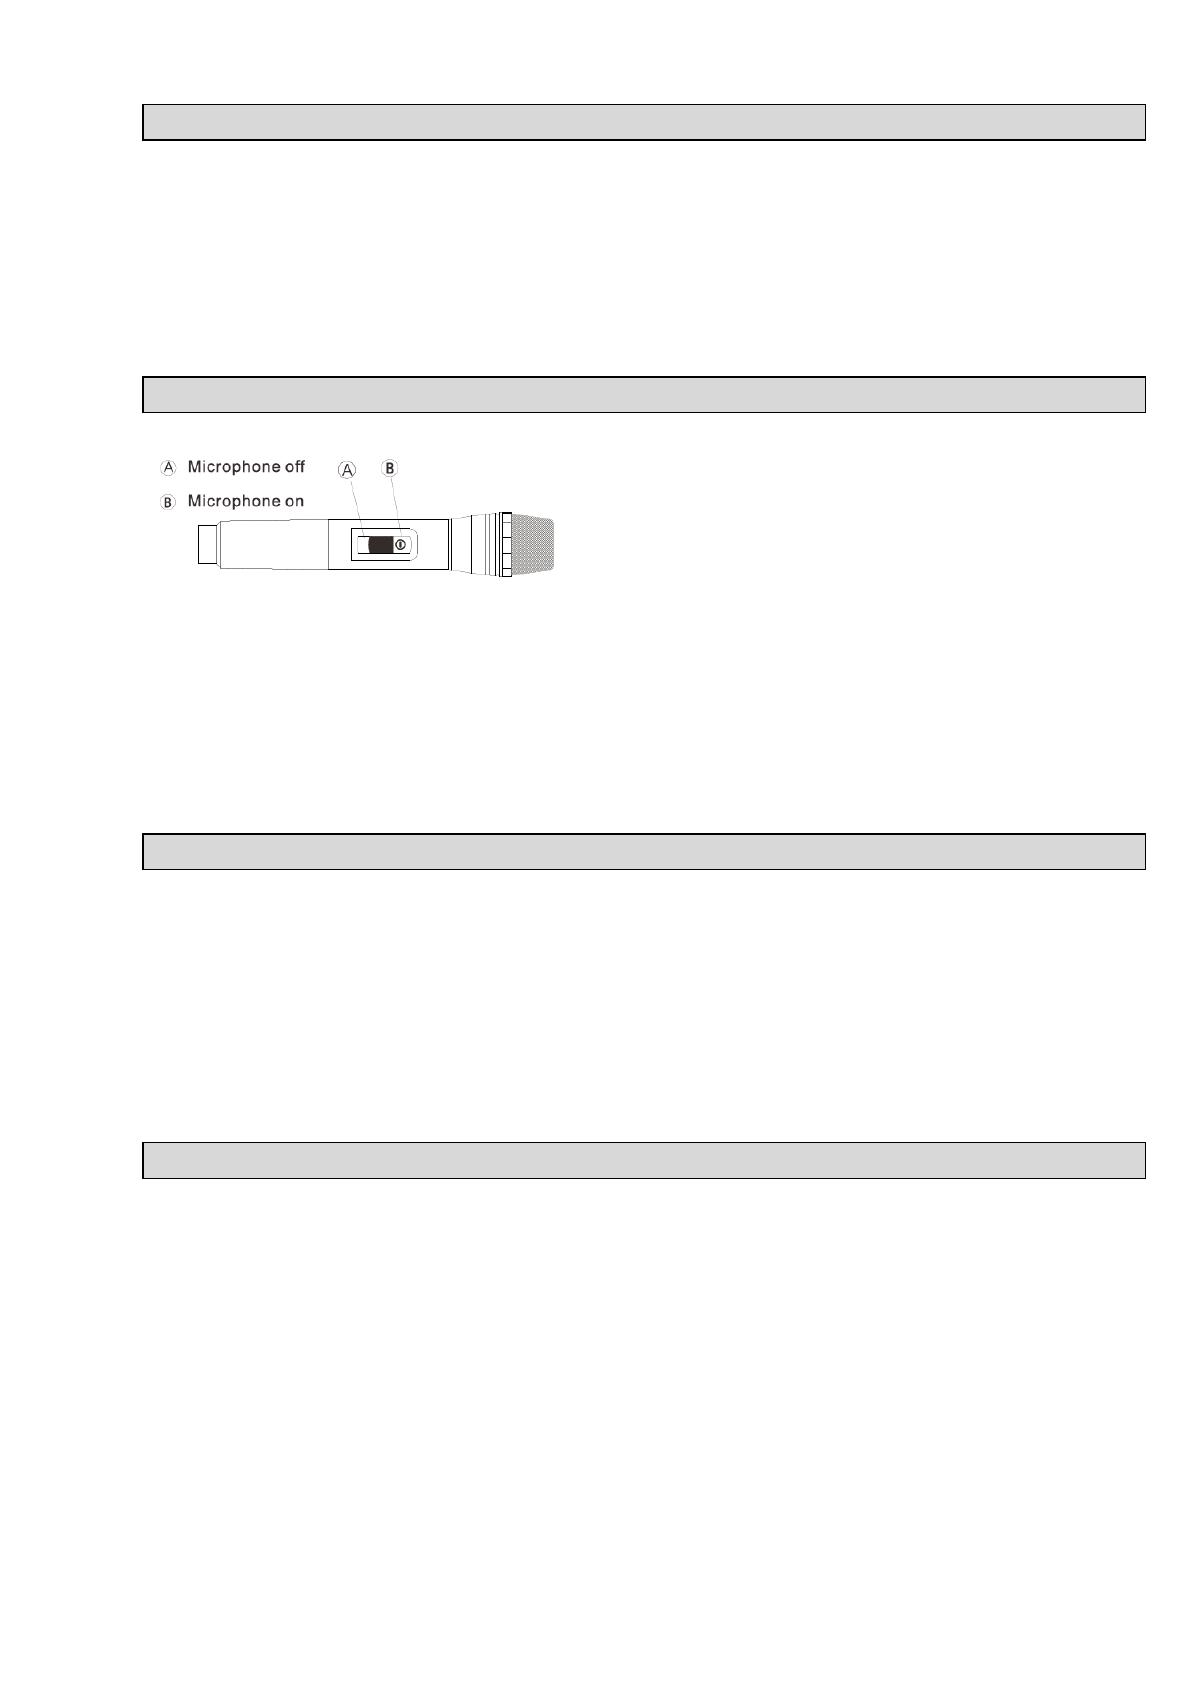
• Open the battery compartment, insert the batteries and ensure that the polarities are
correct.
• Switch ON the power switch on the microphone or ear microphone transmitters. If the
power indicator light does not light up, check if the batteries have been inserted correctly.
• Adjust the volume of the microphone on the stereo.
• During singing, if you would like to interrupt the microphone, place the switch in the middle
(mute status) on the microphone. If you would like to stop, place the switch to OFF.
• Press RECORD to start the recording of the voice onto an external memory device, such as a
USB stick or TF (micro SD) card in the speaker. If the external memory device is used for the
first time, the system will automatically make a new folder named RECORD. All the
recordings will be memorised as REC01, REC02, and so on.
• In record mode, press RECORD/INPUT/REC.PLAY to stop recording.
• Press REC.PLAY to play the recording from your external memory device, press PREV or NEXT
to choose the recording you would like to hear.
• USB flashdrive jack: USB port, Plug&Play.
• TF (micro SD) jack: TF (micro SD) card slot, Plug&Play.
• Supports MP3, WMA and WAV music formats with an outstanding quality, giving you a
superior and brand new listening experience.
• Input selector Key(INPUT): use this to choose your external source (marked on the rear panel
as “LINE” ) you can connect an RCA sound source such as a DVD/Audio/MP3/Bluetooth
device.
• PLAY/PAUSE button: in Play mode, press to suspend playing the song. Press again to
continue.
USB AND TF (MICRO SD) CARD


