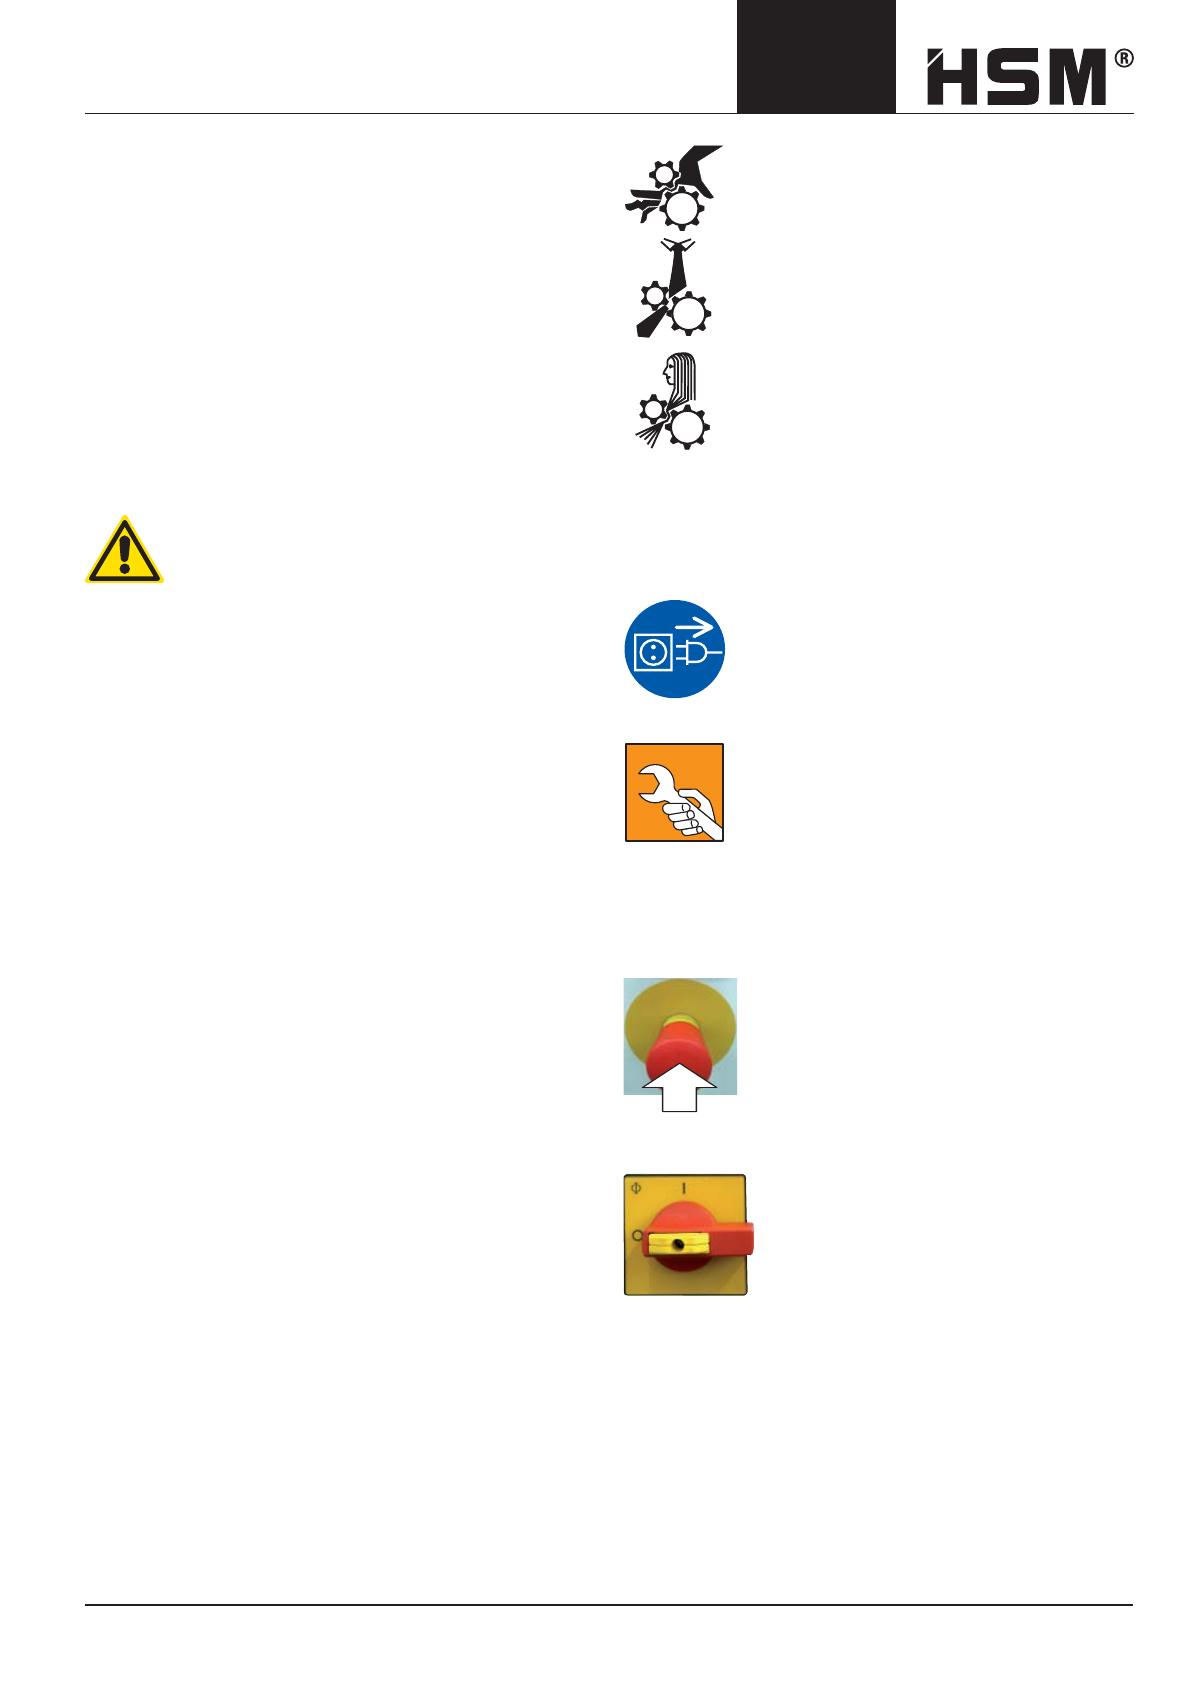
HSM Paper Shredder HSM FA 400.2 User manual

Category
Paper shredders
Type
User manual

This manual is also suitable for

OPERATING MANUAL
SHREDDER
HSM FA 400.2
english
Keep in a safe place for future use! 1.513.999.112 – 0702
2 0702
FA 400.2
Contents
1. Proper use, warranty .................................................................................................................3
2. Safety instructions .....................................................................................................................3
3. Overview ...................................................................................................................................4
4. Dimensions ...............................................................................................................................5
5. Transportation, installation ........................................................................................................6
6. Operating and display elements on the keypad ........................................................................7
7. Start-up, inspecting the safety devices .....................................................................................7
8. Malfunctions ..............................................................................................................................9
9. Maintenance and care ............................................................................................................10
10. Scope of supply, accessories ..................................................................................................12
11. Technical data .........................................................................................................................12
12. Electric wiring diagrams for Solo- and Combination-version ..................................................13
HSM of America LLC
1075 Andrew Drive, Suite C
West Chester
PA 19380
Tel. (610) 918-4894
(800) 613-2110
Fax (610) 918-4899
www.hsmofamerica.com
HSM GmbH + Co. KG
Bahnhofstrasse 115
88682 Salem / Germany
Tel. +49 (0) 75 53 / 822-0
Fax. +49 (0) 75 53 / 822-160
www.hsm-online.de
HSM (UK) Ltd.
14 Attwood Road / Zone 1
Burntwood Business Park
Burntwood
Staffordshire
WS7 3GJ
Tel. +44(0) 1543.272.480
Fax +44(0) 1543.272.080
www.hsmuk.co.uk
0702 3
FA 400.2
Danger of injury
Do not reach into the paper feed
opening.
Splinters can cause injury
Before destroying credit cards and
store cards, CD-ROMs or oppy disks,
you must t a splinter guard (strip
curtain, order no. 1.513.050.445).
Danger of injury during intake
Do not go near the paper feed open-
ing with long hair, loose clothing, ties,
scarves, necklaces, bracelets etc.
Do not destroy any material which
might become tangled, such as tapes,
binder ties or foil.
Switch off the shredder and pull
out the power plug
before moving or cleaning the shred-
der, or any other task outside its
normal scope of use.
Maintenance and service tasks may
only be performed by HSM customer
service and service engineers of our
dealers.
1. Proper use, warranty
The shredder is exclusively designed for destroying
paper and cardboard, as well as store cards, credit cards,
CD-ROMs and oppy disks. Its sturdy drive mechanism is
not damaged by paper clips and staples.
Our general business conditions are applicable. We pro-
vide a one year warranty for the document shredder. The
warranty period is 6 months when used in multiple shifts.
This warranty excludes wear, damage due to improper
handling, natural depreciation, and actions taken by third
parties.
2. Safety instructions
Caution:
It is prohibited to operate one only machine
of a combination-version machine. Only
the combination of document shredder and
HSM baling press ful ls the requirements of
EN 294 (Safety clearances).
Read the operating manual before starting up the
shredder.
Do not remove or modify safety devices which guar-
antee the safe operation of the machine.
Observe all safety instructions attached to the ma-
chine.
The shredder may not be operated by anyone under
16 years of age.
Only open the front door once the machine has come
to a standstill.
Carry out inspection and maintenance regularly.
Switch off the shredder, disconnect the power plug
and call customer service in the following circum-
stances:
- Power cables or plugs are damaged
- Liquid has entered the shredder
- The shredder has been exposed to rain
- The machine does not work properly despite the
operating manual having been observed
- The shredder has been damaged
Operating controls for your safety
Emergency stop button
In the event of danger, press the
emergency stop button immediately.
This switches off the shredder, and
stops the cutting block and feed belt.
Main switch (only Solo-version)
In the event of danger, turn the main
switch to “0”.
You can secure the main switch in
this position with a padlock to prevent
restarting.
4 0702
FA 400.2
3. Overview
1 Main switch (only solo-version)
2 Keypad
3 Emergency stop button
4 Loading tray
5 Option: extra-wide work table
6 Left cover panel
7 Right cover panel
8 Intake conveyor,
paper feed opening
9 Front door
10 Braking swivel castors
11 Oiler on particle cut machines
12 Nameplate
1
10
12
9
3
2
5
4
6
78 11
0702 5
FA 400.2
4. Dimensions
HSM FA 400.2 Solo version
1564
1646
1208
804
1157
HSM FA 400.2 Combi version
1644
1646
1208
804
1157
Transportation dimensions (without tray) Space requirements for operation and
maintenance
804
1262
1646
800
200
1557
200
2414
6 0702
FA 400.2
5. Transportation, installation
Place the shredder in its packaging on a smooth, level
surface.
Remove the packaging.
If you need to move the shredder through narrow
doors, you can wait until it is at its nal location before
tting the loading tray. Without the tray, the machine is
only 805 mm wide.
When moving the shredder, note that it may topple
over.
The shredder can be moved on its rollers.
If using a forklift to transport a Solo machine, you
must rst remove the waste trolley. Then you can
push the forks under the machine from the left or right
side and lift it up.
The shredder may only be placed in dry rooms on a
hard, level oor – not on carpets. The oor load on
each roller is approximately 107 kg.
Place the machine in such a way that the power plug
is easily accessible and the ventilation slots are free.
Solo machine:
- Lock the front castors by pressing down the brake
lever.
- Connect the power plug of the shredder to the 32A
CEE mains socket.
Combination version:
- Push the shredder up to the baling press until the
press and the outlet chute of the shredder touch.
- Bolt the shredder and the baling press together.
- Lock the front castors by pressing down the brake
lever.
- Connect the power plug of the shredder to the com-
bination socket of the baling press.
The machine must be connected to a power source
which meets the speci cations on the nameplate.
Make sure the power cable is unobstructed and that
nobody can tread on it.
No platforms or other raised surfaces may be placed
near the shredder if they encroach on the speci ed
safety clearances.
Fitting the loading tray:
Fasten the tray on both sides at the top with the Phil-
lips screws (1) and at the bottom with the 2 nuts (2).
1
2
0702 7
FA 400.2
Ready for operation
Green LED
Waste bag full
Red LED
Start button
The shredder switches on.
The feed belt moves in the intake
direction.
Stop button
The cutting block and feed belt stop.
The shredder is in standby mode.
Reverse button
The cutting block and feed belt run in
reverse.
Paper jam or overload
Red LED
Door open
Red LED
7. Start-up, inspecting the safety
devices
Attaching the waste bag (Solo version)
Open the front door and pull out the waste trolley.
You can modify the trolley from a double-chamber to a
single-chamber system by removing the brackets (1).
1
Put in a new waste bag and fold it approximately 20
cm over the top frame tube. When using a two-cham-
ber system, make sure that there is also around 20
cm of plastic foil below the brackets (1).
Push in the waste trolley and close the front door.
Switching on the shredder
Pull out the emergency stop button.
Solo-version: Turn the main switch to the I
position.
Combination-version: Turn the main switch
on the baling press to the I position.
The green "Ready for operation" LED
lights up.
Note:
There is a safety switch on the front door
of the shredder. The machine can only be
switched on when the door is shut.
Press the green start button.
The cutting block and feed belt start up.
Caution!
The feed belt can run in reverse if the phase
wires in the power plug are incorrectly con-
nected.
Turn off the main switch immediately and
pull out the power plug!
Have an electrician change two of the three
phase wires
6. Operating and display elements on the keypad
8 0702
FA 400.2
Place the material to be shredded on the loading tray and
then place batches on the feed belt.
If material that is not supposed to be shred-
ded is mistakenly placed onto the belt, never
attempt to pull it out.
Press the stop button.
The drive stops.
Press the reverse button.
The cutting block and feed belt run in
reverse.
You can now remove the material from the
belt and start the shredder again by press-
ing the start button.
Waste bag full
The red LED on the keypad lights up. The
shredder switches off automatically.
Press the reverse button for approx. 3
seconds.
Part of the material is pulled back into
the apparatus.
Open the front door and shake the waste
trolley.
The cut material spreads in the cut mate-
rial sack and does not fall into the interior
of the shredder.
Pull the waste trolley out and change the
cut material sack.
Push the trolley back in and start the
shredder again by pressing the green start
button.
Inspecting the safety devices
Check that the safety devices are working
properly:
At the start of each shift
After any maintenance or repair work
Do not start the machine until you have
checked the emergency stop button and the
door switch and found them to be in perfect
working order. If any defect arises during
operation stop the machine immediately and
make sure it is corrected.
Checking the emergency stop button
Press the emergency stop button
while the machine is running.
The shredder must switch off immedi-
ately. The cutting block and the feed
belt must stop.
The machine will only start again once
you have pulled out the emergency
stop button again.
Inspecting the door switch
Open the front door.
The red "door open" LED must light up.
The cutting block and feed belt must
stop.
After you close the door, the LED should go
out and you can start the machine again by
pressing the start button.
Shredding material
0702 9
FA 400.2
8. Malfunctions
Check the following before calling customer service:
• Is the power plug connected?
• Is the shredder switched on?
• Is the front door closed?
• Is the waste bag full?
• Is there a paper jam in the shredder?
• Has the motor been overloaded?
Paper jam (excessive paper feed)
The red LED on the keypad blinks
The cutting block automatically runs in
reverse for several seconds.
Caution!
The blade rollers can still cause injuries
even while they are not running. Do not
reach into the cutting apparatus! Wear
safety gloves!
Do not alternately press the "Forwards" and
"Reverse" buttons to remove the blockage.
This will damage the shredder.
Take out the pile of paper.
Press the green start button and put less
paper on the feed belt.
Electric motor overheated
The red LED on the keypad lights up.
The shredder switches off automatically.
Let the motor cool down for 20 - 30 min-
utes.
Press the green start button.
Door open
The red LED on the keypad lights up.
The shredder switches off automatically.
Close the front door.
Press the green start button.
Stopping the shredder
Press the stop button.
The cutting block and feed belt stop.
The shredder switches to standby mode.
Switching off the shredder
Turn the main switch on the paper shred-
der or the baling press to 0.
You can secure the main switch in this
position using a padlock.
10 0702
FA 400.2
Note:
Do not tighten the chain too much, as this
will cause premature wear on the chain and
bearings.
9. Maintenance and care
Cleaning the cutting block
Strip cut machines: (1 x daily)
Switch off the shredder.
Squirt special cutting apparatus oil through
the paper feed opening onto the blade roll-
ers.
Order no. 1.235.997.401 for a 250 ml bottle
Order no. 1.235.997.500 for 5 litre con-
tainer
Let the cutting apparatus run forwards and
backwards several times without feeding
in any paper.
This loosens paper dust and particles.
Cross cut machines:
If the cutting quality de-
teriorates or the machine
becomes noisy:
Let the shredder run without
feeding in any paper.
Push the lever of the oiler
down several times.
Make sure the oil level in
the container is between the
MIN and MAX markings.
Order no. 1.235.997.500 for
5 litre container
If you need to tighten the
chain:
Remove the right cover
panel.
Loosen the nuts and
push the motor and the
tensioning screws until
the chain sags by
4 – 10 mm.
Tighten the nuts again.
Put the cover panels and
the tray back on.
The sag of the chain
should be 4 – 10 mm.
Checking the chain tension (twice yearly)
Switch off the shredder.
Pull out the power plug.
Remove the tray and the left cover panel.
MIN
MAX
0702 11
FA 400.2
Greasing the drive chains and cogs (twice
yearly)
Switch off the shredder.
Pull out the power plug.
Remove the tray and the cover panels.
Grease the cogs and the drive chains from
the motor to the cutting apparatus, the cut-
ting block to the feed belt and the cutting
block to the regulating roller.
Recommended lubricating grease: K2K in
accordance with DIN 51502/DIN 51825
Put the side cover panels and the tray
back on.
Tightening the feed belt
The feed belt should not slip when loaded with material.
Switch off the shredder.
Loosen the hex nuts
(1) on the left and
right sides of the
snub roller.
Loosen the lock nuts
(2) of the tensioning
bolts (3).
Tighten the feed belt
evenly using the
tensioning bolts.
Note:
Only tighten the feed belt until it stops slip-
ping. The feed belt bearing may be dam-
aged if it is tightened too much.
Tighten the hex nuts on the snub roller and
the lock nuts on the tensioning bolts again.
1
123
2 3
You must check that the feed belt runs
straight:
Switch on the shredder and let it run for
10 minutes. During this time, the feed belt
must run in the middle of the snub roller. If it
slips to the left or right edge, you must alter
the setting of the snub roller.
Checking the feed belt for wear
The surface of the feed belt can become worn after long
periods of use. If you can see the fabric inlay in the belt, it
must be replaced. Please notify our customer service.
Cleaning the shredder:
Switch off the shredder and disconnect the power
plug.
Only use a soft cloth and mild soapy water for
cleaning. Never use scouring agent, cleaning uid,
petroleum or thinners.
12 0702
FA 400.2
11. Technical data
10. Scope of supply, accessories
Machine on pallet with a wooden frame, strapped with
packing tape and packed in foil
4 waste bags, order no. 1.513.995.000 for 2-chamber
system (Solo version)
1 waste bag, order no. 1.513.995.100 for 1-chamber
system (Solo version)
Special cutting block oil
For strip cut machines: 250 ml bottle, order no.
1.235.997.401
For cross cut machines: 5 l container with spout, order
no. 1.235.997.500
• Operating manual
Accessories: strip curtain, order no. 1.513.050.445
Cutting type Strip cut Cross cut
Cut size (mm) 11,8 5,8 5,8 x 50
Safety level DIN 32757 – 1 1 2 3
Cutting capacity (sheets), DIN A4, 70g/m
2
80g/m
2
180
144
130
104
120
96
Cutting speed 210 mm/s 220 mm/s
Effective width 428 mm
Weight approx. 425 kg
Waste container volume
(Solo machines)
1-chamber system
2-chamber system
460 l
2 x 230 l
Power supply 3 x 400 V, 50 Hz
Rated power 4 kW
Max. current 21 A
Fuse rate 25 A
Plug CEE 32A
Sound level (idling / under load) 61 dB(A) / 75 dB(A)
0702 13
FA 400.2
12. Electric wiring diagrams
400 V / Solo
Legend:
=AV: Shredder
+S: in switch cabinet
+MA: on machine
+BF: Keypad
Solo
400 V / 50 Hz
14 0702
FA 400.2
400 V / Solo
0702 15
FA 400.2
400 V / Solo
16 0702
FA 400.2
Combination
400 V / 50 Hz
0702 17
FA 400.2
18 0702
FA 400.2
0702 19
FA 400.2
20 0702
FA 400.2
Declaration of Conformity
Machinery directive 98 / 37 / EG
EMC directive 89 / 336 / EWG
Low voltage directive 73 / 23 / EWG
The manufacturer HSM GmbH + Co. KG, Bahnhofstrasse 115, D-88682 Salem declares herewith, that the paper shredder (Solo
machine) HSM FA 400.2 corresponds with the above mentioned EC Machine Directive including all relevant modi cations.
Applied standards and technical speci cations:
EN 60204-1:1997-12 EN ISO 12100-1:2003-11
EN ISO 12100-2:2003-11 EN 294:1992-06
EN 55014-1:200-10 + A1:2001-10 + A2:2002-10 EN 55014-2:1997-02 + A1:2001-12
EN 61000-3-2:2000-12 EN 61000-3-3:1995-01 + A1:2001-06
Caution:
It is prohibited to operate only one machine of a combination-version machine. Only the combination of document
shredder and HSM baling press ful ls the requirements of EN 294.
Salem, 01.12.2004
Rolf Gasteier - Technical Director
Machine type inspection for compliance with the requirements of the EC Machine Directive was carried out by the „Administration“/
Inspection Authority Committee of Experts, Subject Area „Of ce Machines and Devices“, on the premises of the Verwaltungs-
Berufsgenossenschaft, Deelbögenkamp 4, D-22297 Hamburg. This inspection authority is the authority responsible in accordance
with Annex V of the EC Machine Directive.
  • Page 1 1
  • Page 2 2
  • Page 3 3
  • Page 4 4
  • Page 5 5
  • Page 6 6
  • Page 7 7
  • Page 8 8
  • Page 9 9
  • Page 10 10
  • Page 11 11
  • Page 12 12
  • Page 13 13
  • Page 14 14
  • Page 15 15
  • Page 16 16
  • Page 17 17
  • Page 18 18
  • Page 19 19
  • Page 20 20

HSM Paper Shredder HSM FA 400.2 User manual

Category
Paper shredders
Type
User manual
This manual is also suitable for

Ask a question and I''ll find the answer in the document

Finding information in a document is now easier with AI