Whirlpool ACM 700/NE User guide

Category
Hobs
Type
User guide
DEUTSCH Installation Seite 2 Bedienungsanleitung Seite 4
ENGLISH Installation Page 2 Instructions for use Page 10
FRANÇAIS Installation Page 2 Mode d’emploi Page 16
NEDERLANDS Installatie Pagina 2 Gebruiksaanwijzing Pagina 22
ESPAÑOL Instalación Página 2 Instrucciones de uso Página 28
PORTUGUÊS Instalação Página 2 Instruções de utilização Página 34
ITALIANO Installazione Pagina 2 Istruzioni per l’uso Pagina 40
ΕΛΛΗΝΙΚΑ Εγκατάσταση Σελίδα 2 Οδηγίες χρήσης Σελίδα 46
SVENSKA Installation Sidan 2 Bruksanvisning Sidan 52
NORSK Installasjon Side 2 Bruksanvisning Side 58
DANSK Installation Side 2 Brugervejledning Side 64
SUOMI Asennus Sivu 2 Käyttöohje Sivu 70
POLSKI Instalacja Strona 2 Instrukcja obsługi Strona 76
ČESKY Instalace Strana 2 Návod k použití Strana 82
SLOVENSKY Inštalácia Strana 2 Návod na používanie Strana 88
MAGYAR Üzembe helyezés Oldal 2 Használati útmutató Oldal 94
РУССКИЙ Установка Стр. 2 Инструкции по пользованию прибором Стр 100
БЪЛГАРСКИ Инсталиране Страница 2 Инструкции за употреба Страница 106
ROMÂNĂ Instalarea Pagina 2 Instrucţiuni de utilizare Pagina 112
УКРАЇНСЬКА Встановлення Сторінка 2 Інструкція з експлуатації Сторінка 118
210 mm 145 mm
210 mm145 mm
210 mm
145 mm
180 mm145 mm
210 mm 280/180 mm
145 mm
180 mm 240 mm
145 mm
145 mm
145 mm
180 mm 210 mm
GB10
YOUR SAFETY AND THAT OF OTHERS IS VERY IMPORTANT
This manual and the appliance itself provide important safety messages, to be read and always observed.
All messages relevant to safety specify the potential risk to which they refer and indicate how to reduce the risk of injury, damage and electric shocks due to incorrect
use of the appliance. Make sure to comply with the following:
- The appliance must be disconnected from the power supply before carrying out any installation operation.
- Installation and maintenance must be carried out by a specialised technician, in compliance with the manufacturer’s instructions and the local safety regulations
in force. Do not repair or replace any part of the appliance unless specifically stated in the user manual.
- The appliance must be earthed.
- The power cable must be long enough for connecting the appliance, fitted in the cabinet, to the power supply.
- For installation to comply with the current safety regulations, an omnipolar switch with minimum contact gap of 3mm is required.
- Do not use multi-sockets or extension cords.
- Do not pull the appliance’s power cable.
- The electrical components must not be accessible to the user after installation.
- The appliance is designed solely for domestic use for cooking food. No other use is permitted (e.g. heating rooms). The Manufacturer declines any liability for
inappropriate use or incorrect setting of the controls.
- The appliance must not be used by persons (including children) with reduced physical, sensory or mental abilities, or without experience or knowledge of it,
unless supervised or instructed in its correct use by a person responsible.
- The accessible parts can become very hot during use. Children must be kept away from the appliance and watched over to ensure that they do not play with it.
- Do not touch the appliance heating elements during and after use. Do not allow the appliance to come into contact with cloths or other flammable materials until
all the components have cooled sufficiently.
- Do not place flammable materials on or near the appliance.
- Overheated oils and fats catch fire easily. Pay attention when cooking food products rich in fat and oil.
- Do not place metal objects, such as kitchen utensils (knives, forks, spoons, lids, etc.), on the cooking zone, as they can become very hot.
- A separator panel (not supplied) must be installed in the compartment under the appliance.
- If the surface of the hob is damaged (glass cracked or broken), do not use the appliance. Call the After-Sales Service.
- The appliance is not intended to be operated by means of an external timer or separate remote control system.
IMPORTANT SAFETY INSTRUCTIONS
This is the danger symbol, regarding safety, warning of potential risks to users and others.
All safety messages will be preceded by the danger symbol and the following words:
DANGER
Indicates a hazardous situation which, if not avoided, will result in serious injury.
WARNING
Indicates a hazardous situation which, if not avoided, could result in serious injury.
ENGLISH Installation Page 2 Instructions for use Page
GB11
Disposal of packing
The packing material is 100% recyclable and marked with the recycling symbol ( ). The various parts of the packing must not be dispersed in the environment, but
disposed of in compliance with local regulations.
Disposal
This appliance is marked in conformity with European Directive 2002/96/EC on Waste Electrical and Electronic Equipment (WEEE).
By ensuring that this appliance is correctly disposed of, the user can help prevent potentially negative consequences for the environment and health.
The symbol on the appliance or the accompanying documentation indicates that this product should not be treated as domestic waste but must be taken to an
appropriate collection point for recycling WEEE.
Energy saving
For optimum results, it is advisable to:
Use pots and pans with bottom width equal to that of the cooking zone.
Only use flat-bottomed pots and pans.
When possible, keep pot lids on during cooking.
Use a pressure cooker to to save even more energy and time.
Place the pot in the middle of the cooking zone marked on the hob.
- This appliance, intended to come into contact with food products, complies with Regulation ( ) no. 1935/2004, and has been designed, manufactured and
marketed in conformity with the safety requirements of “Low Voltage” Directive 2006/95/EC (replacing 73/23/EEC as amended) and protection requirements of
“EMC” Directive 2004/108/EC.
Use a magnet to check if the pot is suitable for the induction hob: pots and pans are unsuitable if not magnetically detectable.
- Make sure pots have a smooth bottom, otherwise they could scratch the hob. Check dishes.
- Never place hot pots or pans on the surface of the hob’s control panel. This could result in damage.
SAFEGUARDING THE ENVIRONMENT
DECLARATION OF CONFORMITY
BEFORE USE
IMPORTANT: The cooking zones will not switch on if pots are not the right size. Only use pots bearing the symbol “INDUCTION SYSTEM” (Figure
opposite). Place the pot on the required cooking zone before switching the hob on.
EXISTING POTS AND PANS
RECOMMENDED POT BOTTOM WIDTHS
NOOK
Ø
28 cm
XL
Ø
17 cm 28 cm
Ø
21 cm
L
Ø
15 cm 21 cm
Ø
18 cm
M
Ø
14.5 cm
Ø
12 cm 18 cm
Ø
10 cm 14.5 cm
GB12
After unpacking the product, check for any damage during transport. In case of problems, contact the dealer or the After-Sales Service.
PREPARING THE CABINET FOR FITTING
Connection to the terminal block
For the electrical connection, use an H05RR-F cable as specified in the table below.
Important:
- Based on the wiring diagram (see figure) either keep or remove the metal jumpers between the screws on the terminal block L1-L2 and N1-N2.
- Make sure all six screws on the terminal block are tightened after connecting the cables.
Example of jumper present (left) or removed (right). See the wiring diagram for details (the jumpers can be between L1-L2 and between N1-N2).
INSTALLATION
WARNING
- Install a separator panel under
the hob.
- The lower part of the product
must not be accessible after
installation.
- In case of installation of an
undertop oven, do not interpose
the separator panel.
The distance between the underside of the appliance and the separator panel must respect the dimensions given in the figure.
In order to ensure the correct operation of the product, do not obstruct the minimum required clearance between the hob and the top of the unit (min. 5 mm).
If an oven is installed beneath the hob, make sure the oven is equipped with a cooling system.
Do not install the hob above a dishwasher or washing-machine, so that the electronic circuits do not come into contact with steam or moisture which could
damage them.
In the case of flush-mounted installation, call the After-Sales Service to request assembly of screws kit 4801 211 00112.
To remove the hob from the worktop use a screw driver (not supplied) unlocking the springs from the bottom side of the appliance.
ELECTRICAL CONNECTION
WARNING
- Disconnect the appliance from the power supply.
- Installation must be carried out by qualified personnel who know the current safety and
installation regulations.
- The manufacturer declines all liability for injury to persons or animals and for damage to property resulting from failure to observe the
regulations provided in this chapter.
- The power cable must be long enough to allow the hob to be removed from the worktop.
- Make sure the voltage specified on the dataplate located on the bottom of the appliance is the same as that of the home.
Wires Number x size
230 V ~ +
3 x 4 mm
2
230-240 V ~ +
3 X 4 mm
2
(Australia only)
230 V 3 ~ +
4 x 1.5 mm
2
400 V 3N ~ +
5 x 1.5 mm
2
400 V 2N ~ +
4 x 1.5 mm
2
min 5 mm
min 20 mm
min 5 mm
400 V 3N ~ 230 V ~
230-240 V ~ (Australia only)
230 V ~ (UK only)
400 V 2N ~ 230 V 3 ~ (Belgium only) 400 V 2N ~ (Holland only)
230 V
230 V
230 V
230 V
230 V
230 V
230 V
230 V
230 V
230 V
230 V
CBA
GB13
Connect the yellow/green earth wire to the terminal with the symbol .
This wire must be longer than the other wires.
1. Remove the terminal block cover (A), undoing the screw and inserting the cover in the terminal block hinge (B).
2. Insert the power cable in the cable clamp and connect the wires to the terminal block as indicated in the connection diagram located near it.
3. Secure the power cable with the cable clamp.
4. Close the cover (C) and screw it on the terminal block with the previously removed screw.
Each time the power is connected, the hob performs an automatic check for a few seconds.
If the hob already has a power cable, follow the instructions attached to the cable. Connect the appliance to the power supply by means of a multipole switch with
minimum contact gap of 3mm.
Control Panel Description
Control panel
Switching the hob ON/OFF
To switch the hob on, press the button for approx. 2 seconds until the cooking zone displays light up. To switch off, press the same button until the displays switch
off. All the cooking zones are deactivated
If the hob has been in use, the residual heat indicator “H” remains lit until the cooking zones have cooled down.
If within 10 seconds of switching on, no function is selected, the hob switches off automatically.
Switching on and adjusting cooking zones
After switching the hob on and placing the pot on the chosen cooking zone, adjust the power level using the + button. Upon activation, the display shows level 5.
Each cooking zone has various power levels, adjustable with the +/- buttons, going from “1”: min. power, to “9”: max. power. Some cooking zones have a fast boil
function (Booster), shown on the display with the letter “P”.
Fast boil function (Booster)
This function, only present on some cooking zones, makes it possible to exploit the hob’s maximum power (for example to bring water to the boil very quickly). To select this
function, press the button “+” until “P” appears on the display or, after switching the hob on, press the “-” button for the selected cooking zone. In this case too, “P” appears
on the display. After 10 minutes’ use of the booster function, the appliance automatically sets the zone to level 9.
Deactivation of cooking zones
Select the cooking zone to be switched off by pressing the “+” or “-” key (a dot lights up at the bottom right hand side of the heat setting indicator).
Press the key “-” to set the level to “0”.
The cooking zone can also be switched off by pressing the “+” and “-” buttons at the same time. The cooking zone switches off and the residual heat indicator “H” lights
up.
Control panel lock
This function locks the hob controls to prevent accidental switching on by children. To activate the control panel lock function, switch on the hob and hold button for three
seconds; an acoustic signal and a luminous indicator above the key signal activation. The control panel is locked except for the deactivation function. To deactivate the control panel
lock, repeat the activation procedure. The luminous dot goes off and the hob is active again.
The presence of cleaning water, liquid spilled from pots or any objects resting on the button below the symbol can accidentally activate or deactivate the control panel
lock function.
INSTRUCTIONS FOR USE
Control panel lock
Cooking zone controls and corresponding display
On/Off
Timer
the symbols are not active!
To select the desired
functions, touch the
areas below.
- button
Power indicator display
Selected cooking zone indication
+ button
Cooking zone
positioning
GB14
Timer
The timer can be used to set cooking time for a maximum of 99 minutes (1 hour and 39 minutes) for one cooking zone only.
Select the cooking zone to be used with the timer (an illuminated dot appears to the bottom right hand side of the heat setting indicator on the
display), then set the desired cooking time using the buttons “+” and “-” of the timer function (see figure above). A few seconds after the button
is pressed, the timer begins the countdown (the luminous dot of the selected cooking zone starts flashing). Once the set time has elapsed, an
acoustic signal sounds and the cooking zone switches off automatically.
To deactivate the timer, press the “-” button until the display shows “0:0” or press the “+” and “-” buttons of the timer at the same time.
Important: The timer function can only be used with one cooking zone at a time.
Minute minder
The minute minder can only be used when the hob is not in use and allows a maximum setting of 99 min.
Press the “+” button under the timer indicators: the display shows the minutes ready for setting.
Select the time desired using the buttons + and -.
After a few seconds the minute minder starts to count down. Once the set time has elapsed an acoustic signal sounds.
Important: The minute minder function can only be used when the hob is switched off; if it is then switched on, the minute minder countdown is automatically
cancelled.
Control panel warnings.
Residual heat indicator.
The hob is fitted with a residual heat indicator for each cooking zone. These indicators alert the user when cooking zones are still hot.
If the display shows , the cooking zone is still hot. If the residual heat indicator of a given cooking zone is lit, that zone can be used, for example, to keep a
dish warm or to melt butter.
When the cooking zone cools down, the display goes off.
Incorrect or missing pot indicator.
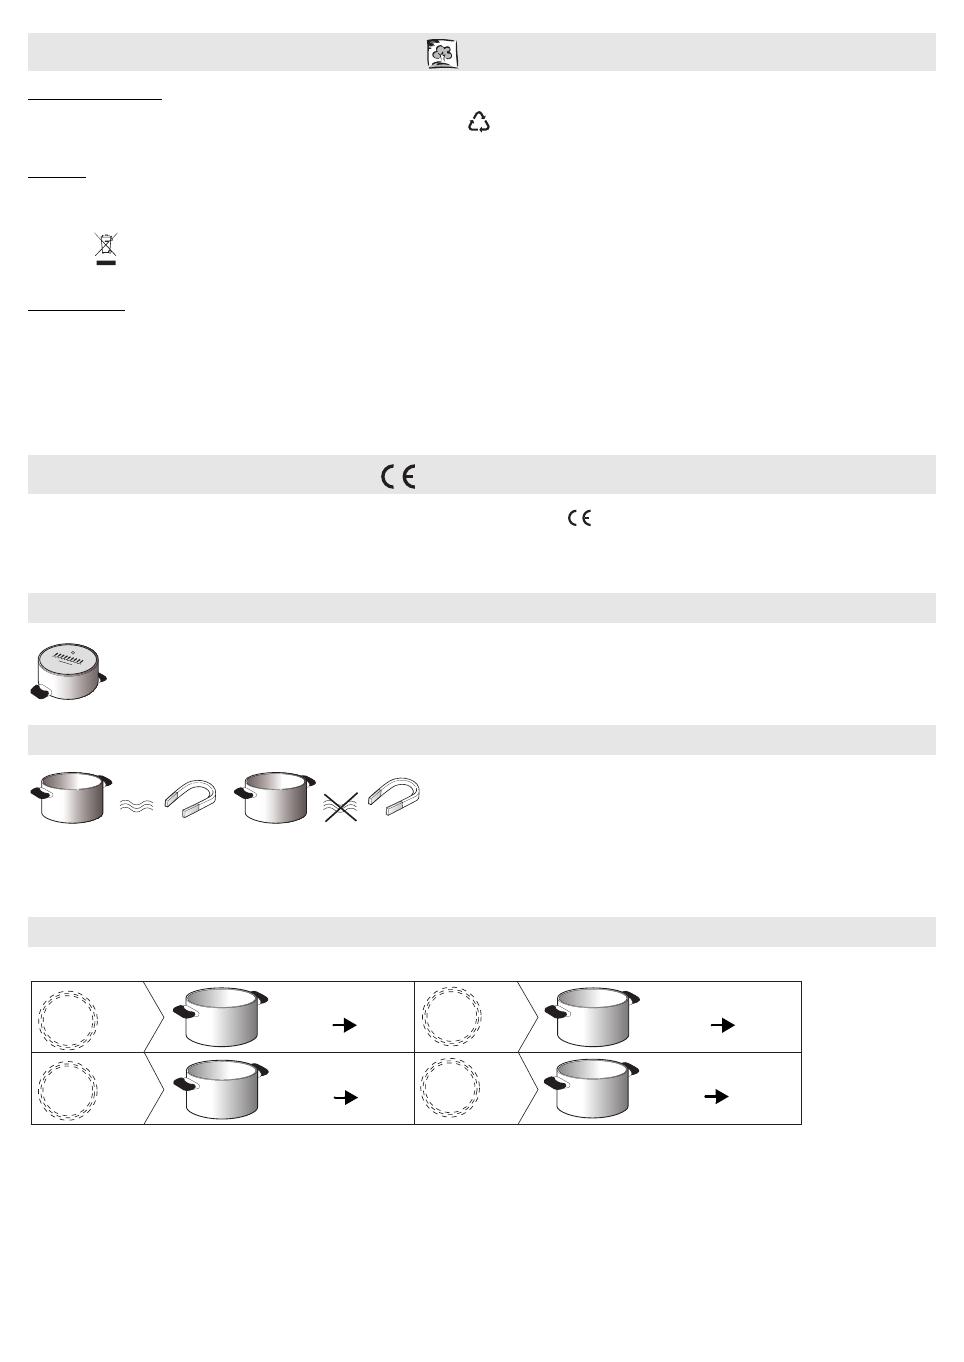
The hob features an automatic pot detection system for all cooking zones. If no pot is detected, the display with the cooking zone power level indicator
flashes. Make sure the pot is correctly positioned and that it has the characteristics given in the section “Before use”.
IMPORTANT: Do not use abrasive sponges or scouring pads. Their use could eventually ruin the glass.
After each use, clean the hob (when it is cool) to remove any deposits and stains due to food residuals.
Sugar or foods with a high sugar content damage the hob and must be immediately removed.
Salt, sugar and sand could scratch the glass surface.
Use a soft cloth, absorbent kitchen paper or a specific hob cleaner (follow the Manufacturers instructions).
Read and follow the instructions given in the section “Instructions for use”.
Make sure there is not a power outage.
Dry the hob thoroughly after cleaning it.
If, when the hob is switched on, alphanumeric codes appear on the display, consult the following table for instructions.
If the hob cannot be switched off after using it, disconnect it from the power supply.
CLEANING
WARNING
- Do not use steam cleaners.
- Before cleaning, make sure the cooking zones are switched off and that the residual heat indicator (“H”)
is not displayed.
TROUBLESHOOTING GUIDE
ERROR CODE DESCRIPTION POSSIBLE CAUSES ERROR ELIMINATION
The hob switches off and after 30 seconds emits
an acoustic signal every 4 seconds.
Permanent pressure on the control
zone
Water or kitchen utensils on the control
zone
Clean the control zone
C81, C82
The control panel switches off
because of excessively high
temperatures
The internal temperature of electronic
parts is too high
Wait for the hob to cool down before
using it again.
F42 or F43 The connection voltage is wrong
The sensor detects a discrepancy between
the appliance voltage and that of the
mains supply
Disconnect the hob from the mains
and check the electrical connection
F12, F21, F25, F36, F37, F40, F47, F56, F58, F60 Call the After-Sales Service and specify the error code
GB15
Before contacting the After-sales Service:
1. See if you can solve the problem yourself with the help of the “Troubleshooting guide”.
2. Switch the appliance off and then on again it to see if the problem has been eliminated.
If the problem persists after the above checks, contact the nearest After-Sales Service.
Always specify:
a brief description of the fault;
the product type and exact model;
the Service number (the number after the word Service on the rating plate), located under the appliance (on the metal plate). The Service number is also given in
the warranty booklet;
your full address;
your telephone number.
If any repairs are required, contact an authorised After-Sales Service Centre (to ensure the use of original spare parts and correct repairs). Spare parts are available
for 10 years.
NOTE:
When using the 28 cm dual zone (where present) for quick preparations that require perfectly uniform heat distribution (for example, pancakes), make sure the diameter of
accessories used does not exceed 24 cm. For delicate cooking (for example, melting chocolate or butter) use the smaller diameter single zones.
AFTER-SALES SERVICE
POWER LEVEL TABLE
Power level Type of cooking Level use
(indicating cooking experience and habits)
Max. power
Boost Fast heating
Ideal for rapidly increasing the temperature of food to fast boiling in the case of water or rapidly
heating cooking liquids
8-9 Frying - boiling
Ideal for browning, starting to cook, frying deep frozen products, fast boiling
High power
7-8
Browning - sautéing - boiling -
grilling
Ideal for sautéing, maintaining a lively boil, cooking and grilling (for a short period of time, 5-10
minutes)
6-7
Browning - cooking - stewing -
sautéing - grilling
Ideal for sautéing, maintaining a light boil, cooking and grilling (for a medium period of time, 10-20
minutes), preheating accessories
Medium power
4-5
Cooking - stewing - sautéing -
grilling
Ideal for stewing, maintaining a gentle boil, cooking (for a long period of time). Creaming pasta
3-4
Cooking - simmering -
thickening - creaming
Ideal for long-cooking recipes (rice, sauces, roasts, fish) with liquids (e.g. water, wines, broth, milk),
creaming pasta
2-3
Ideal for long-cooking recipes (less than a litre in volume: rice, sauces, roasts, fish) with liquids (e.g.
water, wines, broth, milk)
Low power
1-2
Melting - defrosting - keeping
food warm - creaming
Ideal for softening butter, gently melting chocolate, thawing small products and keeping just-cooked
food warm (e.g. sauces, soups, minestrone)
1
Ideal for keeping just-cooked food warm, for creaming risottos and for keeping serving dishes warm
(with induction-suitable accessory)
OFF
Zero
power
Support surface
Hob in stand-by or off mode (possible end-of-cooking residual heat, indicated by an “H”)
Attach here one of the two stickers giving the
product data, included in the warranty booklet.
  • Page 1 1
  • Page 2 2
  • Page 3 3
  • Page 4 4
  • Page 5 5
  • Page 6 6
  • Page 7 7
  • Page 8 8
  • Page 9 9
  • Page 10 10
  • Page 11 11
  • Page 12 12
  • Page 13 13
  • Page 14 14
  • Page 15 15
  • Page 16 16
  • Page 17 17
  • Page 18 18
  • Page 19 19
  • Page 20 20
  • Page 21 21
  • Page 22 22
  • Page 23 23
  • Page 24 24
  • Page 25 25
  • Page 26 26
  • Page 27 27
  • Page 28 28
  • Page 29 29
  • Page 30 30
  • Page 31 31
  • Page 32 32
  • Page 33 33
  • Page 34 34
  • Page 35 35
  • Page 36 36
  • Page 37 37
  • Page 38 38
  • Page 39 39
  • Page 40 40
  • Page 41 41
  • Page 42 42
  • Page 43 43
  • Page 44 44
  • Page 45 45
  • Page 46 46
  • Page 47 47
  • Page 48 48
  • Page 49 49
  • Page 50 50
  • Page 51 51
  • Page 52 52
  • Page 53 53
  • Page 54 54
  • Page 55 55
  • Page 56 56
  • Page 57 57
  • Page 58 58
  • Page 59 59
  • Page 60 60
  • Page 61 61
  • Page 62 62
  • Page 63 63
  • Page 64 64
  • Page 65 65
  • Page 66 66
  • Page 67 67
  • Page 68 68
  • Page 69 69
  • Page 70 70
  • Page 71 71
  • Page 72 72
  • Page 73 73
  • Page 74 74
  • Page 75 75
  • Page 76 76
  • Page 77 77
  • Page 78 78
  • Page 79 79
  • Page 80 80
  • Page 81 81
  • Page 82 82
  • Page 83 83
  • Page 84 84
  • Page 85 85
  • Page 86 86
  • Page 87 87
  • Page 88 88
  • Page 89 89
  • Page 90 90
  • Page 91 91
  • Page 92 92
  • Page 93 93
  • Page 94 94
  • Page 95 95
  • Page 96 96
  • Page 97 97
  • Page 98 98
  • Page 99 99
  • Page 100 100
  • Page 101 101
  • Page 102 102
  • Page 103 103
  • Page 104 104
  • Page 105 105
  • Page 106 106
  • Page 107 107
  • Page 108 108
  • Page 109 109
  • Page 110 110
  • Page 111 111
  • Page 112 112
  • Page 113 113
  • Page 114 114
  • Page 115 115
  • Page 116 116
  • Page 117 117
  • Page 118 118
  • Page 119 119
  • Page 120 120
  • Page 121 121
  • Page 122 122
  • Page 123 123

Whirlpool ACM 700/NE User guide

Category
Hobs
Type
User guide

Ask a question and I''ll find the answer in the document

Finding information in a document is now easier with AI