Pyle PLR381 User manual
- Category
- Car media receivers
- Type
- User manual
This manual is also suitable for
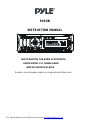
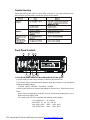
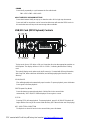
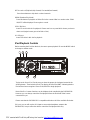
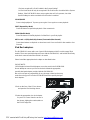
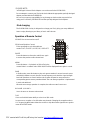
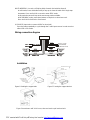
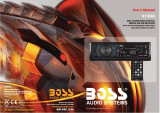
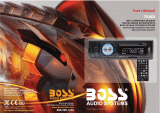
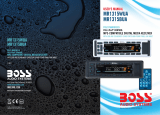
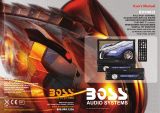
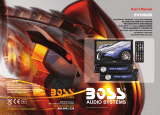
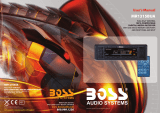
Pyle PLR381 is a multifunctional car audio system with AM/FM digital PLL tuning radio, MMC/SD USB/IPOD player. It features various sound adjustment options, including volume, bass, treble, balance, and fader. You can also customize the system settings, such as turning on/off the TA (Traffic Announcement) function, setting the clock, and adjusting the display brightness. The system allows you to play music from multiple sources, including USB drives, SD cards, iPods, and auxiliary devices. It also includes a remote control for convenient operation.
Pyle PLR381 is a multifunctional car audio system with AM/FM digital PLL tuning radio, MMC/SD USB/IPOD player. It features various sound adjustment options, including volume, bass, treble, balance, and fader. You can also customize the system settings, such as turning on/off the TA (Traffic Announcement) function, setting the clock, and adjusting the display brightness. The system allows you to play music from multiple sources, including USB drives, SD cards, iPods, and auxiliary devices. It also includes a remote control for convenient operation.


-
 1
1
-
 2
2
-
 3
3
-
 4
4
-
 5
5
-
 6
6
-
 7
7
-
 8
8
-
 9
9
-
 10
10
-
 11
11


Pyle PLR381 User manual
- Category
- Car media receivers
- Type
- User manual
- This manual is also suitable for
Pyle PLR381 is a multifunctional car audio system with AM/FM digital PLL tuning radio, MMC/SD USB/IPOD player. It features various sound adjustment options, including volume, bass, treble, balance, and fader. You can also customize the system settings, such as turning on/off the TA (Traffic Announcement) function, setting the clock, and adjusting the display brightness. The system allows you to play music from multiple sources, including USB drives, SD cards, iPods, and auxiliary devices. It also includes a remote control for convenient operation.
Ask a question and I''ll find the answer in the document
Finding information in a document is now easier with AI
Related papers

Other documents
-
 Boss Audio Systems 758DBI User manual
-
 Boss Audio Systems 615UA User manual
-
 Boss Audio Systems 754DI Owner's manual
-
 Boss Audio Systems Marine Digital Media User manual
-
 Boss Audio Systems BV9982I User manual
-
Curtis iMode IP220 User manual
-
 Boss Audio Systems DVD/CD AM/FM Receiver User manual
-
 Boss Audio Systems mr1315bua User manual
-
Lanzar SDN71BT User manual
-
Craig CMP837 BUN Owner's manual


