Whirlpool WDO 93F B K User guide

Type
User guide

Whirlpool WDO 93F B K is an extractor hood designed to effectively remove cooking fumes and odors from your kitchen. With its powerful motor, it can extract up to 650 m³/hr of air, ensuring a cleaner and fresher environment while you cook. Equipped with three fan speeds, you can adjust the extraction power to suit your cooking needs. The hood also features two LED lights to illuminate your cooking area, providing better visibility while you cook. Its sleek and stylish design complements any modern kitchen décor.

Whirlpool WDO 93F B K is an extractor hood designed to effectively remove cooking fumes and odors from your kitchen. With its powerful motor, it can extract up to 650 m³/hr of air, ensuring a cleaner and fresher environment while you cook. Equipped with three fan speeds, you can adjust the extraction power to suit your cooking needs. The hood also features two LED lights to illuminate your cooking area, providing better visibility while you cook. Its sleek and stylish design complements any modern kitchen décor.

EN
User and maintenance manual
EN3
IMPORTANT SAFETY INSTRUCTIONS
These instructions are also available on the website: docs.whirlpool.eu
YOUR SAFETY AND THAT OF OTHERS IS PARAMOUNT.
This manual and the appliance itself provide important safety warnings that must be read and heeded at all
times.
This is the safety warning symbol, which alerts users to potential hazards to themselves and others.
All safety messages are preceded by the warning symbol and the following words:
DANGER
indicates a hazardous situation which, if not avoided, will cause
serious injury.
WARNING
indicates a hazardous situation which, if not avoided, could cause
serious injury.
All safety messages indicate the nature of the potential hazard/warning and how to reduce the risk of injury,
harm and electric shock resulting from improper use of the appliance. Always comply with the following
instructions:
Installation and maintenance must be carried out by a qualied technician, in compliance with the
manufacturer’s instructions and the local safety regulations. Do not repair or replace any part of the
appliance unless specically stated in the user manual.
The appliance must be disconnected from the mains before carrying out any kind of installation work.
It is compulsory to earth the appliance (however, it is not necessary for class II hoods identied by the
symbol on the specications label).
The power cable must be long enough to connect the appliance to the power supply socket.
Do not pull on the power cable to unplug the appliance.
After installation, the electrical components must not be accessible to the user.
Do not touch the appliance with wet hands and do not operate it when barefoot.
This appliance may not be used by children (aged 8 and above), persons with any physical, sensory or
mental impairment, or persons lacking experience or knowledge of the appliance, unless they are
supervised or given instruction on how to use it safely and are made aware of the hazards its use might
entail. Children must not play with the appliance. Cleaning and user maintenance must not be carried out
by children unless they are under adult supervision.
Do not repair or replace any part of the appliance unless specically recommended in the manual. Any
defective parts must be replaced with original spare parts. All other maintenance work must be carried
out by a qualied technician.
Children must be supervised to ensure that they do not play with the appliance.
When drilling holes into the wall or ceiling, take care not to damage any electrical wiring and/or
pipework.
Ventilation ducts must always discharge exhaust air to the outside.
EN4
Exhaust air must not be discharged through a ue used for extracting fumes produced by gas-burning or
any other fuel-burning appliances; it must have a separate outlet. All national exhaust air regulations
must be observed.
If the hood is used at the same time as other appliances that use gas or other fuels, the negative pressure
of the room must not exceed 4Pa (4x10-5bar). Please ensure, therefore, that the room is adequately
ventilated.
The manufacturer does not accept any liability for inappropriate use of the appliance or for incorrect
setting of the controls.
Regular maintenance and cleaning ensure that the appliance works correctly and achieves optimum
performance. Regularly clean all stubborn surface dirt, to avoid a build-up of grease. Regularly remove
and then clean or replace the lters.
Failure to observe the instructions for cleaning the hood and cleaning and replacing the lters may result
in a re.
The extractor hood must never be opened without the grease lters tted and should be regularly
monitored.
If three or more gas cooking zones are in use, the hood should be set at power setting 2 or higher. This
prevents the build-up of excess heat in the appliance.
Wear protective gloves when carrying out any installation and maintenance work.
This product is not suitable for outdoor use.
When the hob is in use, accessible parts of the hood may become hot.
KEEP THESE INSTRUCTION
EN5
Declaration of Conformity
This product has been designed, manufactured and marketed in compliance with:
- the ecodesign requirements of European Regulations n. 66/2014, n. 327/2011, n. 244/2009, n. 245/2009, n.1194/2012, n. 2015/1428;
The appliance's electrical safety can only be guaranteed if it is correctly connected to an approved earthing system.
Energy saving tips
Switch on the hood at the lowest speed setting when you start cooking and allow it to run for a few minutes after you have nished cooking.
Only increase the speed if there is a lot of smoke or steam and only use the "Boost" setting(s) in extreme situations.
Replace the carbon lter(s) when necessary, to maintain ecient odour reduction.
Clean the grease lter(s) when necessary, to maintain eciency.
Use a pipe with the maximum diameter specied in this manual, to optimise eciency and reduce noise levels to a minimum.
INSTALLATION
After unpacking the appliance, check that it has not been damaged in transit. In the event of problems, contact the dealer or your nearest After-sales Service. To
prevent any damage, only remove the appliance from its polystyrene base at the time of installation.
PREPARING FOR INSTALLATION
WARNING
this appliance is heavy; the hood must be lifted and installed by two or more people.
The product must be installed in such a way as to ensure that the hood and electronic components are easily accessible should any maintenance operations need to
be carried out.
Position the metal box containing the electronic components at a distance of not less than 65 cm from the gas hob or in any case 65 cm from the hood suction point.
We recommend installing the metal box containing the electronic components at least 10 cm above oor level (e.g.: oven sides or hob).
Before installation, also check the minimum distances specied in the hob manual.
If the installation instructions for the hob specify a greater distance between the hob and the hood, this distance must be observed.
ELECTRICAL CONNECTION
Check that the voltage specied on the appliance identication plate is the same as the mains voltage.
This information is found on the inside of the hood, under the grease lter.
The power cable (type H05VV-F 3x0.75mm
2
) must only be replaced by an authorised electrician. Contact an authorised Service Centre.
If the hood is tted with an electric plug, connect the appliance to a socket which complies with current regulations and which is in an accessible location. If no plug
is tted (direct wiring to the mains), or if the socket is not in an accessible location, install a standardised two-pole circuit breaker that will allow complete isolation
from the mains in the event of category III overvoltage, in compliance with the wiring regulations.
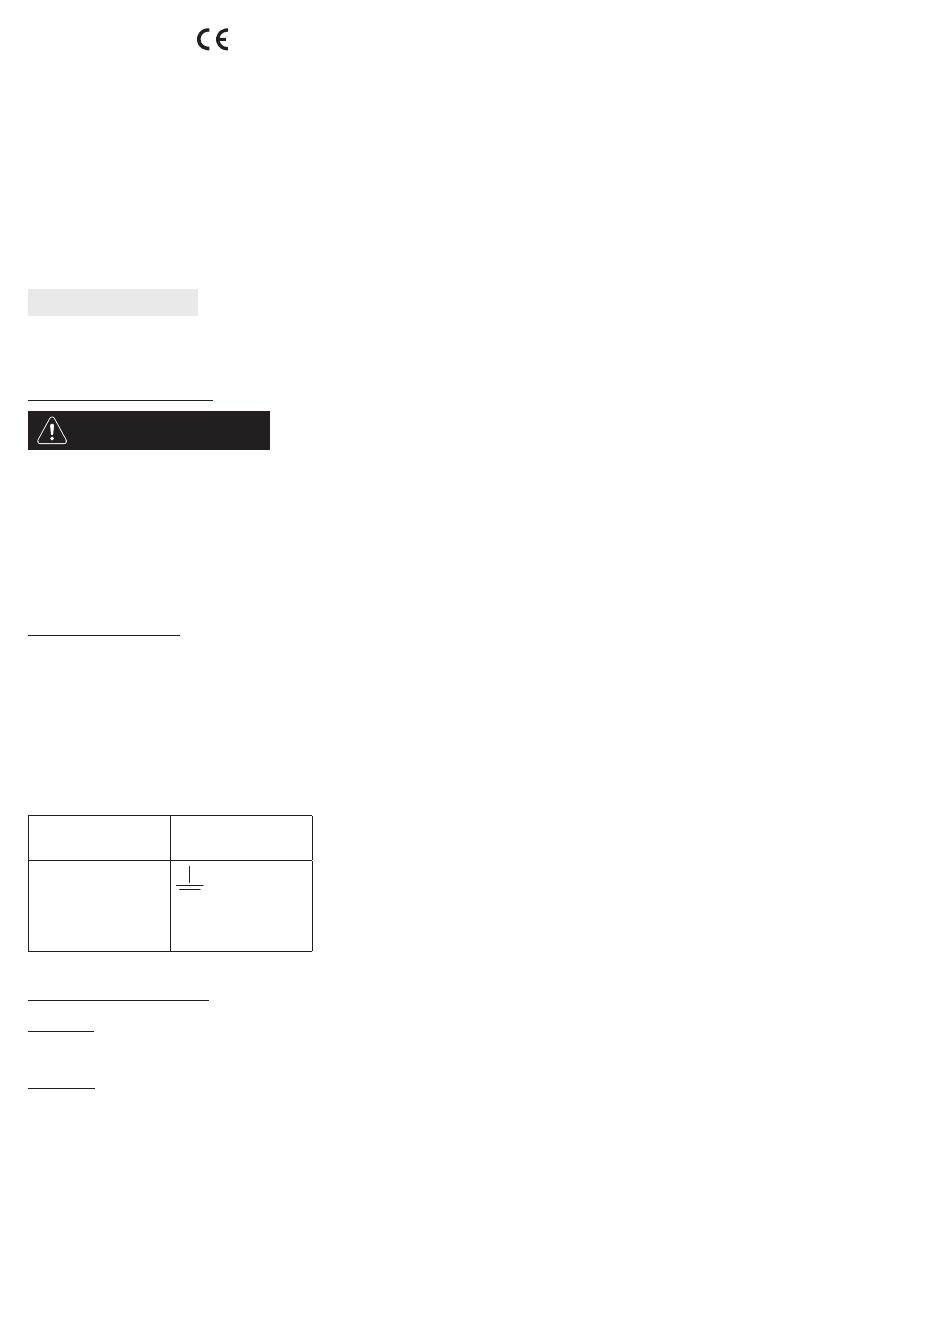
If the cable is not tted with a plug, connect the wires according to the following table:
Mains voltage and
frequency
Wire connection
220-240V – 50Hz
: yellow/green
N : blue
L : brown
GENERAL RECOMMENDATIONS
Before use
Remove any protective cardboard, transparent lm and adhesive labels from the accessories. Check whether the appliance has been damaged in transit.
During use
Do not place heavy items on the appliance as this may cause damage. Do not expose the appliance to atmospheric agents.
EN6
SAFEGUARDING THE ENVIRONMENT
Disposing of packaging material
The packaging material is 100% recyclable and is marked with the recycling symbol (
). Do not dispose of the various packaging carelessly, but do so
responsibly and in full compliance with local authority regulations governing waste disposal.
Scrapping the product
- This appliance is marked in compliance with European Directive 2012/19/EU on Waste Electrical and Electronic Equipment (WEEE).
- By ensuring that this product is disposed of correctly, you will help prevent potentially negative consequences for the environment and human health.
- The
symbol on the product or on the accompanying documentation indicates that it should not be treated as domestic waste but must be taken to an
appropriate collection centre for the recycling of electrical and electronic equipment.
Scrapping household appliances
This appliance is manufactured using recyclable or reusable materials. Scrap the appliance in accordance with local regulations on waste disposal. Before
scrapping, cut o the power cable so that the appliance cannot be connected to the mains.
For further information on the treatment, recovery and recycling of household appliances, contact the competent local authority, the domestic waste
collection service or the shop where you purchased the product.
AFTER-SALES SERVICE
Before calling the After-sales Service:
1. Check whether you can solve the problem yourself by following the suggestions given in the Troubleshooting guide.
2. Switch the appliance o and on again to see if the fault persists.
If the fault persists after carrying out the above checks, contact the nearest After-sales Service.
Always provide:
A brief description of the fault;
The type and exact model of the appliance;
The Service number (the number after the word "SERVICE" on the identication plate), located on the inside of the appliance. The Service number is also stated
in the warranty booklet;
Your full address;
Your telephone number;
If any repairs are required, please contact an authorised After-sales Service Centre (to ensure that original spare parts are used and repairs are carried out correctly).
EN7
PRODUCT DESCRIPTION
FIRST TIME USE
Once you have opened the glass pane, you will need to install the grease lters and the aesthetic grill. The grease lters are inserted as shown in g.11. Place them
inside the product and click them into place. The lters can be removed by following these steps in the reverse order.
To ensure that the product works as it should, open the glass pane as follows.
Push the front part of the pane down as indicated in g.9. This will release the pane and you will have an opening of around 2cm. You will need to turn the pane
until it is at a 45° or 90° opening angle depending on requirements (see gure10).
Once you have opened the glass pane, you can activate the extraction motor.
Air Vent (for the suction versions)
Connect the hood and discharge holes on the walls with a diameter equivalent to the air outlet (connection ange).
Using the tubes and discharge holes on walls with smaller dimensions will cause a diminution of the suction performance and a drastic increase in noise.
Any responsibility in the matter is therefore declined.
! Use a duct of the minimum indispensable length.
! Use a duct with as few elbows as possible (maximum elbow angle: 90°).
! Use an air outlet duct measuring 220 x 90mm, or with an equivalent cross-section, across its entire length.
! Avoid drastic changes in the duct cross-section.
! The company declines any responsibility whenever these regulations are not respected.
Filtering or ducting?
! Your cooker hood is ready to be used in suction version.
To use the hood in ltering version the special lter installation kit must be installed.
Check if the lter installation kit is furnished or must be bought separately.
Please note: If furnished, in certain cases, the additional activated carbon ltering system may be installed on the hood. Information about the conversion of the
hood from suction version to ltering version is present in the Manual “Safety Instructions & Installation.
Ducting version
In this case the fumes are conveyed outside of the building by means of a special pipe.
ATTENTION! The exhausting pipe is not supplied and must be purchased apart. Diameter of the exhausting pipe must be equal to that of the connection ring.
ATTENTION! If the hood is supplied with active charcoal lter, then it must be removed.
Filter version
The aspirated air will be degreased and deodorised before being fed back into the room.
To use this version of the hood, you will need to purchase the lter installation kit containing long-life carbon lters (g. 13) and a selection of pipes for guiding the
air on one side of the unit.
EN8
CONTROL PANEL
T1. Timer ON/OFF button
T2. Decrease extraction speed (power)/OFF 1 button
T3. ON/increase extraction speed (power) button (1-2-3-intensive)
T3
L2 - L3
T2
L1
T1
T1. Timer ON/OFF button: Press to program automatic switch-o:
Speed 1: 20 minutes
Speed 2: 15 minutes
Speed 3: 10 minutes
Intensive speed: 5 minutes
T2. Decrease extraction speed (power) button
OFF 1: Press to gradually decrease the speed until the hood switches o.
OFF 2: Press and hold at any speed.
T3. ON/increase extraction speed (power) button (1-2-3-intensive).
Intensive speed runs for around 5 minutes and then speed 2 is applied automatically.
Filter saturation indicator
The hood indicates when the lters need servicing:
Grease lter (after approx. every 40hours of use): All the LEDs light up blue.
Activated carbon odour lter (after approx. every 160hours of use): All the LEDs light up blue; LEDs L2 and L3 ash.
Resetting the lter saturation
After servicing the lters, press and hold buttons T1 and T3. LEDs L1, L2 and L3 will ash blue briey before switching o.
Activating the active carbon odour lter saturation indicator.
This indicator is normally deactivated. To activate it, proceed as follows:
With the hood switched o, press and hold buttons T1 and T2 at the same time: L1 will switch on, followed by L2 and L3. Release the buttons. LEDs L2 and L3
will ash briey to show that the indicator has been activated.
To deactivate the carbon lter saturation LED: Repeat the steps described above. LEDs L1, L2 and L3 will switch on. Release the buttons. LEDs L2 and L3 will
switch o to show that the indicator has been deactivated.
EN9
CLEANING AND MAINTENANCE
CLEANING
Do not use steam-cleaning equipment.
Disconnect the appliance from the mains.
IMPORTANT: Do not use corrosive or abrasive detergents. If any such products unintentionally come into contact with the appliance, clean the appliance
immediately with a damp cloth. Do not use alcohol.
Clean the surfaces with a damp cloth. If it is very dirty, add a few drops of washing-up detergent to the water. Finish o with a dry cloth.
IMPORTANT: Do not use abrasive sponges or metallic scrapers or scourers. Over time, these can ruin the enamel surfaces.
Use detergents specically designed for cleaning the appliance and follow the manufacturer’s instructions.
IMPORTANT: Clean the lters at least once a month to remove oil and grease residue.
MAINTENANCE OF THE GREASE FILTERS
This must be cleaned once a month (or when the lter saturation indication system - if envisaged on the model in possession - indicates this necessity) using non
aggressive detergents, either by hand or in the dishwasher, which must be set to a low temperature and a short cycle.
When washed in a dishwasher, the grease lter may discolour slightly, but this does not aect its ltering capacity.
Open the extractor panel (turn upwards).
Please note: It is not necessary to remove the panel.
Pull out the handle to remove the lter.
Once the lter has been washed and left to dry, proceed in reverse order to ret the lter.
MAINTENANCE OF THE CHARCOAL FILTER (for ltration models only)
This lter retains the unpleasant odours produced during cooking.
The carbon lter can be cleaned every two months using hot water and a suitable detergent. It can also be cleaned in the dishwasher at 65 °C (running a full wash
cycle without anything else inside).
Carefully remove any excess water, then take the pad out of the plastic frame and place it in the oven for 10minutes at 100 °C to dry it completely.
Replace the pad every 3years, or sooner if it appears damaged.
Once you have removed the grease lters, you can insert the carbon lters (g.13) (not provided).
TROUBLESHOOTING
Problem Solutions
The appliance does not work. Check the mains voltage and whether the appliance is connected to the power supply;
Check that a speed has been selected;
Switch the appliance o and on again to see if the fault persists.
The hood is not extracting air suciently. Check that the air extraction speed is set to the desired level;
Check that the lters are clean;
Check the air vents for any obstructions.
The hood has turned o during normal functioning. Check that the power has not been disconnected;
Check that the omnipolar disconnection device has not tripped.
EN10
EN11
EN12
Fig. 15
400011307452
Ed. 10/18
  • Page 1 1
  • Page 2 2
  • Page 3 3
  • Page 4 4
  • Page 5 5
  • Page 6 6
  • Page 7 7
  • Page 8 8
  • Page 9 9
  • Page 10 10
  • Page 11 11
  • Page 12 12
  • Page 13 13
  • Page 14 14

Whirlpool WDO 93F B K User guide

Type
User guide

Whirlpool WDO 93F B K is an extractor hood designed to effectively remove cooking fumes and odors from your kitchen. With its powerful motor, it can extract up to 650 m³/hr of air, ensuring a cleaner and fresher environment while you cook. Equipped with three fan speeds, you can adjust the extraction power to suit your cooking needs. The hood also features two LED lights to illuminate your cooking area, providing better visibility while you cook. Its sleek and stylish design complements any modern kitchen décor.

Ask a question and I''ll find the answer in the document

Finding information in a document is now easier with AI