GST1811
Owner’s Manual
CAUTION-Prevention of Burns
1. To avoid burns, do not touch metal parts of the grill until they have completely cooled for at least 45 minutes or unless you
are wearing protective gear such as pot holders, gloves, BBQ mittens, etc.
2. Always open the grill lid carefully and slowly as heat and steam trapped within the grill could cause severe burns.
3. Clean and inspect the grill each use.
DANGER – Gas
Safety
Liquid propane (LP) gas is flammable and hazardous if handled improperly. Become aware of its characteristics before using any
propane product.
•
Propane Characteristics: Flammable, explosive under pressure, heavier than air and settles in pools in low areas.
•
In its natural state, propane has no odor. For your safety, an odorant has been added.
•
Contact with propane could cause freeze burns to the skin.
•
This grill is shipped from the factory for propane gas use only.
•
Never use a propane cylinder with a damaged body, valve, collar or footing.
•
Dented or rusted propane cylinders may be hazardous and should be checked by your propane gas supplier.
•
Never keep a filled container in a hot car or car trunk. Heat will cause the gas pressure to increase, which may open the
release valve and allow gas flow to escape.
Safe Locations for Use of This Outdoor Grill
DANGER
•
Never use this outdoor grill inside any building, garage, shed or breezeway, or
inside any boat, trailer or recreational vehicle, to prevent a possible fire and to
prevent the possibility of carbon monoxide poisoning or asphyxiation.
•
Always place your grill on a hard and level surface far away from combustible
materials and structures. An asphalt or blacktop surface may not be acceptable
for this purpose
•
This outdoor gas appliance is not intended to be installed in or on recreation
vehicles and
/
or boats.
•
Do not use this appliance under overhead combustible surface or covered area (e.g., awnings, umbrellas, porches or
gazeboes). Keep all combustible surfaces at least 12” (30CM) away
•
Always confirm that this grill is not positioned under the overhang
of a house, a garage or other structure before lighting it. An
overhang
will serve to deflect flare-ups and radiated heat into the structure itself, which could result in a fire.
•
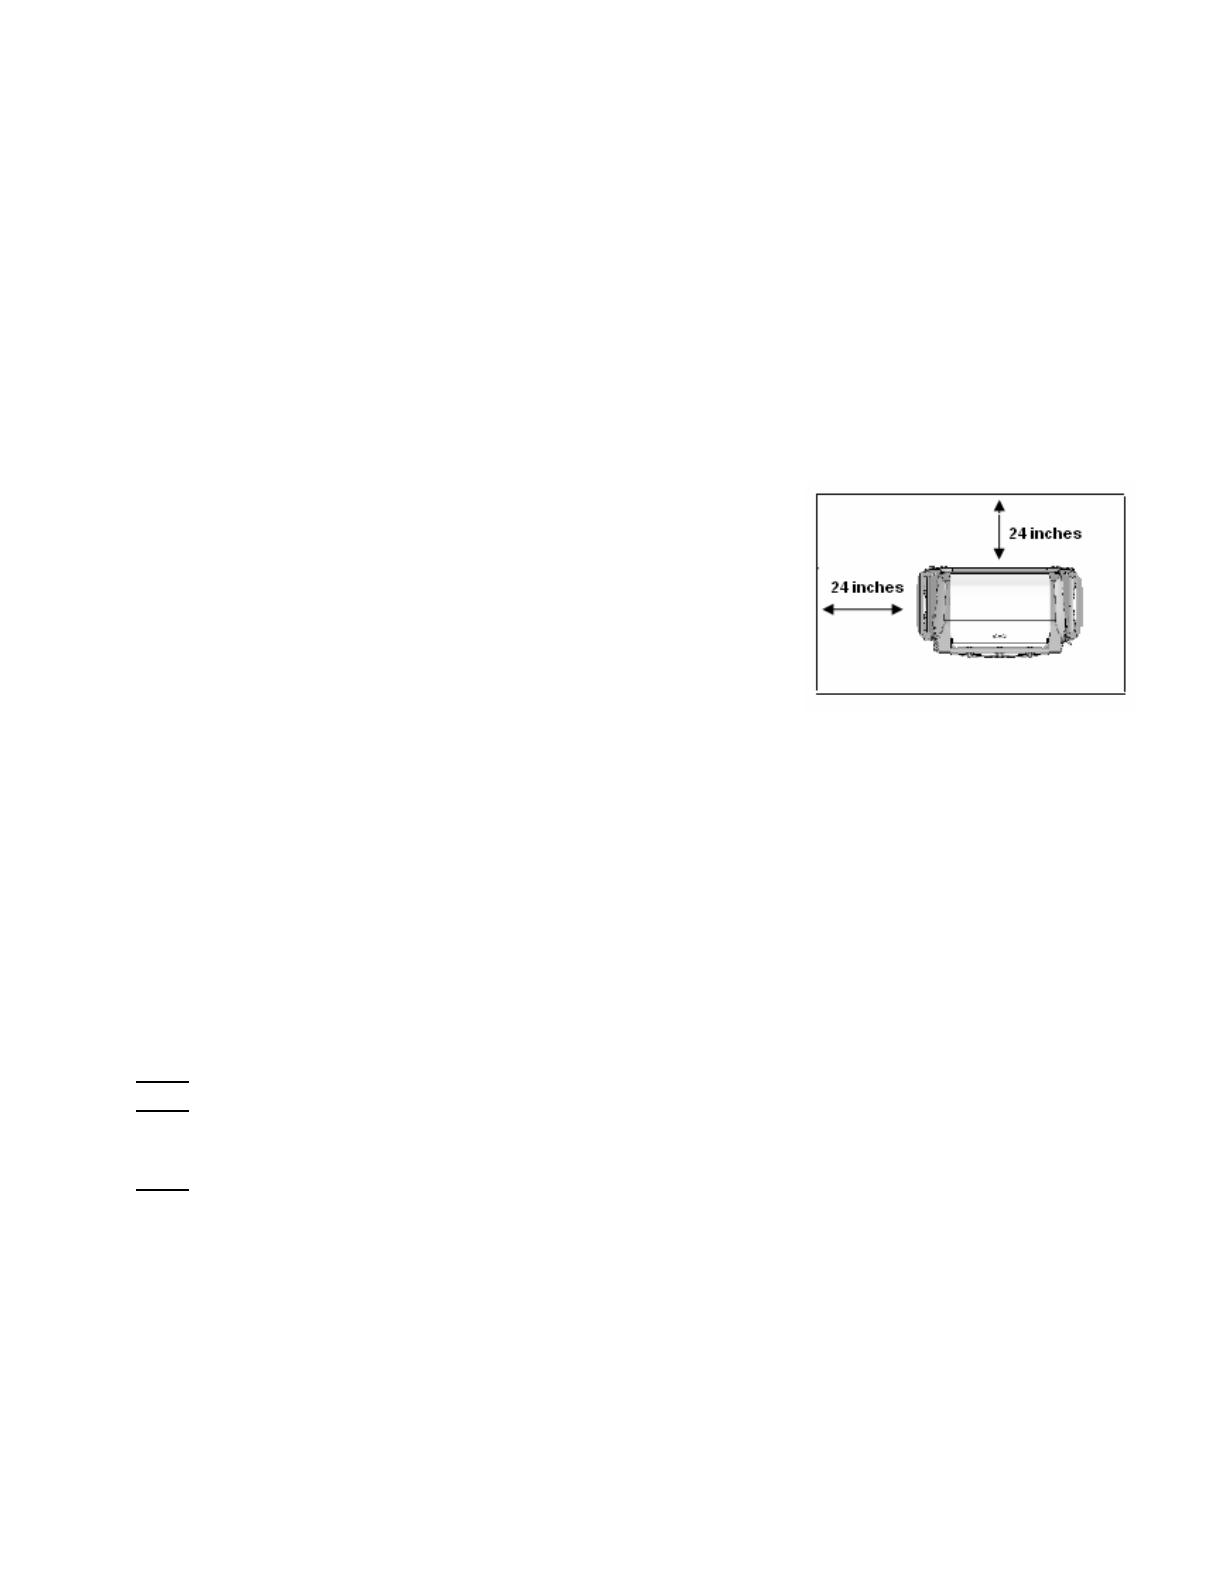
Always
confirm that this grill is positioned
more than 24 inches (61 cm) away from any combustible
materials or surface
before lighting it, and that no gasoline or other volatile substances are stored in the vicinity of this grill. The temperature of a
grease fire or of the radiated heat might otherwise be sufficient to ignite nearby combustible or volatile substances.
(As the fig. shown on right).
•
Always
locate
this grill
where there will be ample combustion and ventilation air,
but never position it in the direct path of a
strong wind.
•
Never store or
use gasoline or other flammable or volatile substances in
the vicinity of this grill or in the vicinity
of any other
heat-generating appliance, because of
the danger of starting a fire.
CAUTION
•
It
is essential
to keep the grill’s
valve
compartment,
burners
and circulating air passages
clean.
•
Inspect the
grill
before each use:
Step 1
. Inspect all connections and make certain they are secure.
Step 2
Check and clean the burner venturi tube for insects and insect nest by removing the burner and inserting a bottle brush
cleaner into the tube to make sure the passage is clear.
*** A clogged tube can lead to a fire at the regulator valve.
Step 3
Ensure that the regulator valve nozzle is pointing straight and completely inserted into the venturi tube.
GENERAL
INFORMATION
1. A propane gas cylinder
is
required for operation.
2. This gas grill is NOT intended for commercial use.


![[email protected]GPC2619J](http://vs1.manuzoid.com/store/data/000271866_2-4bbcacc57d373eaaba9a24e22dd00fcc-160x210.png)


