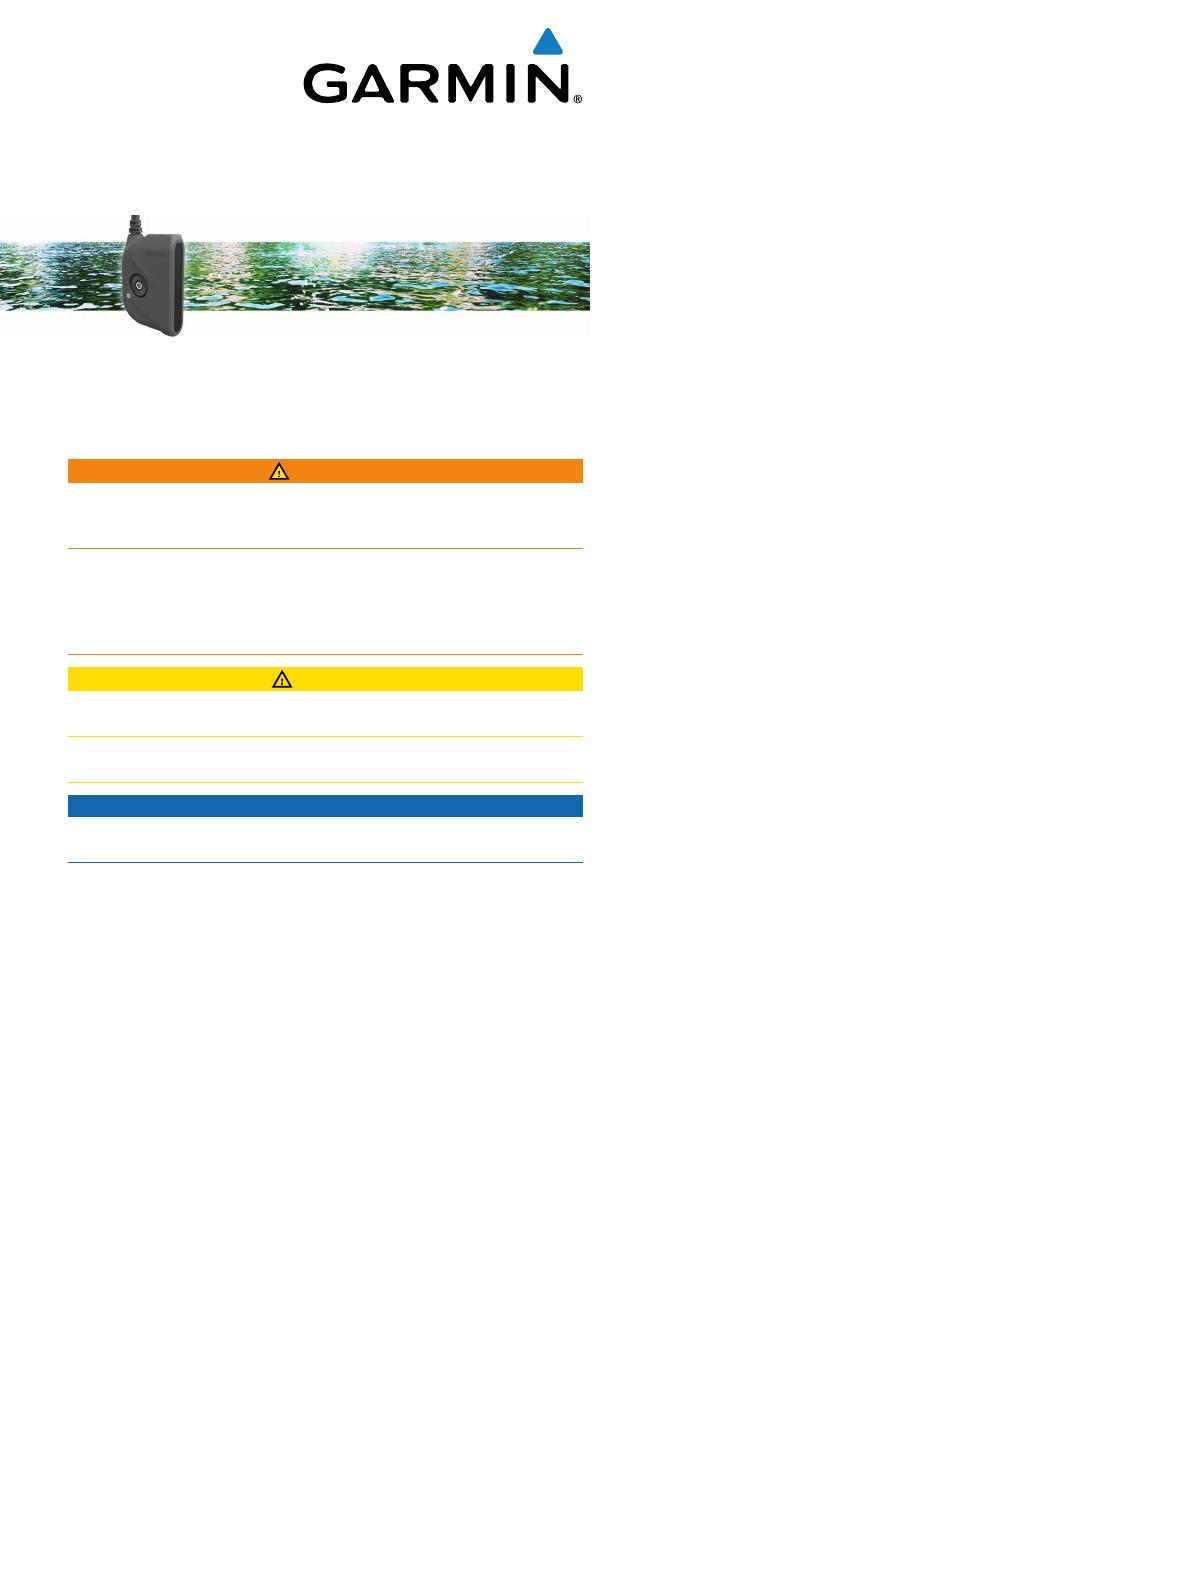
Panoptix
PS21-TR
Installation Instructions
Important Safety Information
WARNING
See the Important Safety and Product Information guide in the
chartplotter or fishfinder product box for product warnings and
other important information.
You are responsible for the safe and prudent operation of your
vessel. Sonar is a tool that enhances your awareness of the
water beneath your boat. It does not relieve you of the
responsibility of observing the water around your boat as you
navigate.
CAUTION
Failure to install and maintain this equipment in accordance with
these instructions could result in damage or injury.
Always wear safety goggles, ear protection, and a dust mask
when drilling, cutting, or sanding.
NOTICE
When drilling or cutting, always check what is on the opposite
side of the surface.
To obtain the best performance and to avoid damage to your
boat, you must install the Garmin
®
device according to these
instructions.
Read all installation instructions before proceeding with the
installation. If you experience difficulty during the installation,
contact Garmin Product Support.
Software Update
You may need to update the device software when you install
the device or add an accessory to the device.
Loading the New Software on a Memory Card
You must copy the software update to a memory card using a
computer that is running Windows
®
software.
NOTE: You can contact Garmin customer support to order a
preloaded software update card if you do not have a computer
with Windows software.
1
Insert a memory card into the card slot on the computer.
2
Go to www.garmin.com/support/software/marine.html.
3
Select Download next to the software bundle that
corresponds with your chartplotter.
NOTE: The software download includes updates for all
devices connected to the chartplotter. Select the correct
bundle that corresponds to the chartplotter to be updated.
You can select See All Devices in this Bundle to confirm the
devices included in your download.
4
Read and agree to the terms.
5
Select Download.
6
If necessary, select Run.
7
If necessary, select the drive associated with the memory
card, and select Next > Finish.
8
Extract the files to the memory card.
NOTE: The software update can take several minutes to load
onto the memory card.
Updating the Device Software
Before you can update the software, you must obtain a
software-update memory card or load the latest software onto a
memory card.
1
Turn on the chartplotter.
2
After the home screen appears, insert the memory card into
the card slot.
NOTE: In order for the software update instructions to
appear, the device must be fully booted before the card is
inserted.
3
Follow the on-screen instructions.
4
Wait several minutes while the software update process
completes.
5
When prompted, leave the memory card in place and restart
the chartplotter manually.
6
Remove the memory card.
NOTE: If the memory card is removed before the device
restarts fully, the software update is not complete.
Registering Your Device
Help us better support you by completing our online registration
today.
Go to my.garmin.com.
Keep the original sales receipt, or a photocopy, in a safe
place.
Contacting Garmin Product Support
Go to www.garmin.com/support for in-country support
information.
In the USA, call 913-397-8200 or 1-800-800-1020.
In the UK, call 0808 238 0000.
In Europe, call +44 (0) 870 850 1241.
Tools Needed
#2 Phillips screwdriver
3 mm flat screwdriver
Mounting Considerations
Placement of the transducer on a trolling motor depends on
the type of trolling motor you have installed on your boat.
You can mount the transducer on the motor of some
electrically steered trolling motors, but you must make sure
you can safely deploy and retract the trolling motor with the
transducer attached.
You must mount the transducer so it does not obstruct the
motor from being placed in its storage cradle or prevent the
motor from being stowed and deployed correctly.
Mounting the transducer near strong magnetic fields
interferes with the ability of the internal compass to measure
the earth's magnetic field, and prevents calibration. Failure to
properly calibrate causes some map features to be
unavailable, and waypoints created in LiveVü Forward use
the boat heading instead of the transducer orientation to
calculate your position.
You must mount the transducer as far from the motor as
possible while keeping the transducer submerged. Placing
the transducer on the barrel of the trolling motor or too close
March 2016
Printed in Taiwan 190-01949-02_0B
to the motor on the shaft, can prevent proper compass
calibration.
To use the compass, you must mount the transducer on the
shaft. The compass does not work when you mount the
transducer on the motor.
Effective Forward Range
The transducer has an effective forward range of between five
and eight times the depth of the water. For example, in 3 m
(10 ft.) of water, the effective forward range is from 15 to 24 m
(from 50 to 80 ft.). Water conditions and bottom conditions affect
the actual range.
Installing the Transducer on a Trolling Motor
Shaft
Assembling the Trolling Motor Shaft Mount Hardware
Use the M6 screws
À
to attach the back of the trolling mount
bracket
Á
to the front of the trolling mount bracket
Â
around
the trolling motor shaft.
Installing the Transducer on the Trolling Motor Shaft
Mount
NOTICE
You must secure the transducer cable to the shaft or other
secure location during installation. Damage to the transducer
cable wire or the cable jacket can cause transducer failure.
You should mount the transducer as far from the motor as
possible. Placing the transducer too close to the motor can
prevent proper compass calibration. Without successful
compass calibration, the chartplotter does not display direction
and coverage area indicators, but all other features function
normally.
1
Use the enclosed knob
À
or mounting bolt to attach the
transducer
Á
to the trolling motor mount bracket
Â
.
2
Use cable ties to secure the transducer cable to the shaft or
other secure location.
3
Route the Ethernet cable to the network switch or to the back
of the chartplotter.
4
Route the power cable to a switched or unswitched
10-35 Vdc power source.
Adjusting the Transducer Angle on the Trolling Motor
Shaft
The transducer should be tilted downward for optimal imagery.
1
With the transducer mounted on the trolling motor shaft, tilt
the transducer downward between 15
À
and 30 degrees
Á
from the horizontal center of the trolling motor.
2
Tighten the knob or mounting bolt so the device does not
move during use.
2
Installing the Transducer on a Trolling Motor
Assembling the Trolling Motor Mount Hardware
1
Insert the hose clamp
À
through the slot on the trolling motor
mount
Á
.
2
Slide the hose clamp around the trolling motor.
3
Tighten the hose clamp.
Installing the Transducer on a Trolling Motor
NOTICE
You must secure the transducer cable to the shaft or other
secure location during installation. Transducer cable wire
damage or damage to the cable jacket can cause transducer
failure.
1
Use the enclosed knob
À
or mounting bolt to attach the
transducer
Á
to the trolling motor mount bracket
Â
.
2
Secure the transducer cable to the shaft or other secure
location.
3
Route the Ethernet cable to the network switch or to the back
of the chartplotter.
4
Route the power cable through a switched or unswitched 10
to 35 Vdc power source.
Adjusting the Transducer Angle on the Trolling Motor
The transducer should be tilted downward for optimal imagery.
1
With the transducer mounted on the trolling motor, tilt the
transducer downward between 15
À
and 30 degrees
Á
from
the horizontal center of the trolling motor.
2
Tighten the knob or mounting bolt so the device does not
move during use.
Connecting the Transducer to Power and the
Garmin Marine Network
Before you can connect the device to the Garmin Marine
Network and power, you must mount the device on the trolling
motor.
WARNING
When connecting the power cable, do not remove the in-line
fuse holder. To prevent the possibility of injury or product
damage caused by fire or overheating, the appropriate fuse
must be in place as indicated in the product specifications. In
addition, connecting the power cable without the appropriate
fuse in place voids the product warranty.
1
Route the cables using the appropriate tie wraps, fasteners,
and sealant to secure the cables along the route, and through
any bulkheads or the deck.
2
Install the o-ring and locking collar on the Garmin Marine
Network connector.
3
Connect the bare-wire end of the power cable to a 10 to
35 Vdc power source and to the ground.
4
Select an option:
To connect the network cable on a boat equipped with a
GMS
10 network port expander, connect the network
cable to a port on the GMS 10.
To connect the network cable on a boat not equipped with
a GMS 10 network port expander, connect the network
cable to the network or the Panoptix port on your
chartplotter.
Cable Routing Grommets
When routing cables through your boat, it may be necessary to
drill holes to route the cables. Cable routing grommets can be
used to cover cable installation holes. The grommets do not
create a waterproof seal. If necessary, apply a marine sealant
after installation to weatherproof around the grommet and the
3
cable. You can purchase grommets from your Garmin dealer or
directly from Garmin at www.garmin.com.
Installing Locking Rings on the Cables
Before you install locking rings on the cables, you must route the
cables.
To help make the cable-routing process easier, the locking rings
are packaged separately from the cables. Each locking ring is
packaged in a small bag with a number on the label for easy
identification.
1
Separate the two halves of the locking ring
À
.
2
Insert the o-ring
Á
into the end of the connector.
3
Align the two halves
Â
of the locking ring over the cable and
snap them together.
Installation Diagram
+
-
Item Description
À
Chartplotter
Á
Panoptix PS21-TR
Â
Power source (switch is optional)
Calibrating the Compass
Before you can calibrate the compass, the transducer must be
installed on the shaft far enough away from the trolling motor to
avoid magnetic interference, and deployed in the water.
Calibration must be of sufficient quality to enable the internal
compass.
NOTE: To use the compass, you must mount the transducer on
the shaft. The compass does not work when you mount the
transducer on the motor.
You can begin turning your boat before calibrating, but you must
fully rotate your boat 1.5 times during calibration.
1
From a ForwardVü or LiveVü Forward sonar page, select
MENU > Sonar Setup > Installation.
2
If necessary, select Use AHRS.
3
Select Calibrate Compass.
4
Follow the on-screen instructions.
Maintenance
Cleaning the Transducer
Aquatic fouling accumulates quickly and can reduce your
device's performance.
1
Remove the fouling with a soft cloth and mild detergent.
2
If the fouling is severe, use a scouring pad or putty knife to
remove growth.
3
Wipe the device dry.
Anti-Fouling Paint
To prevent corrosion on metal hulls and to slow the growth of
organisms that can affect a vessel's performance and durability,
you should apply a water-based anti-fouling paint to the hull of
your vessel every six months.
NOTE: Never apply ketone-based anti-fouling paint to your
vessel, because ketones attack many types of plastic and could
damage or destroy your transducer.
Specifications
Specification Measurement
Dimensions (W x H x L) 32 x 118 x 84 mm (1.3 x 4.6 x 3.3 in.)
Weight 340 g (.75 lb.)
Max. power usage 8 W
Operating voltage From 10 to 35 Vdc
Operating temperature range From 0 to 40°C (from 32 to 104°F)
Storage temperature range From -40 to 70°C (from -40 to 158°F)
Material ASA plastic
Maximum range* 91.4 m (300 ft.)
Frequency 417 kHz
Fuse rating 4.0 A mini 32 Vdc
*Dependent upon transducer placement, water salinity, bottom
type, and other water conditions.
Garmin
®
and the Garmin logo are trademarks of Garmin Ltd. or its subsidiaries, registered
in the USA and other countries. Panoptix
is a trademark of Garmin Ltd. or its
subsidiaries. These trademarks may not be used without the express permission of
Garmin.
© 2016 Garmin Ltd. or its subsidiaries
www.garmin.com/support
  • Page 1 1
  • Page 2 2
  • Page 3 3
  • Page 4 4

Ask a question and I''ll find the answer in the document

Finding information in a document is now easier with AI