EN
Quick guide
THANK YOU FOR BUYING A WHIRLPOOL PRODUCT
In order to receive a more complete assistance, please
register your product on www . whirlpool . eu/ register
Before using the appliance carefully read the Safety
Instruction.
PRODUCT DESCRIPTION
FIRST TIME USE
AIR VENT (FOR THE SUCTION VERSIONS)
Connect the hood and discharge holes on the walls with a diameter
equivalent to the air outlet (connection ange).
Using the tubes and discharge holes on walls with smaller dimensions
will cause a diminution of the suction performance and a drastic
increase in noise.
Any responsibility in the matter is therefore declined.
! Use a duct of the minimum indispensible length.
! Use a duct with as few elbows as possible (maximum elbow angle: 90°).
! Avoid drastic changes in the duct cross-section.
! The company declines any responsibility whenever these regulations
are not respected.
FILTERING OR DUCTING?
! Your cooker hood is ready to be used in suction version.
To use the hood in ltering version the special ACCESSORY KIT must be
installed.
Check if the ACCESSORY KIT is furnished or must be bought separately.
Note: If furnished, in certain cases, the additional activated carbon ltering
system may be installed on the hood. Information about the conversion of
the hood from suction version to ltering version is present in the Manual
“Safety Instructions & Installation”.
DUCTING VERSION
In this case the fumes are conveyed outside of the building by means
of a special pipe connected with the connection ring located on top of
the hood.
Attention! The exhausting pipe is not supplied and must be purchased
apart. Diameter of the exhausting pipe must be equal to that of the
connection ring.
Attention! If the hood is supplied with active charcoal lter, then it
must be removed.
FILTER VERSION
The aspirated air will be degreased and deodorised before being fed
back into the room.
In order to use the hood in this version, you have to install a system of
additional ltering based on activated charcoal.
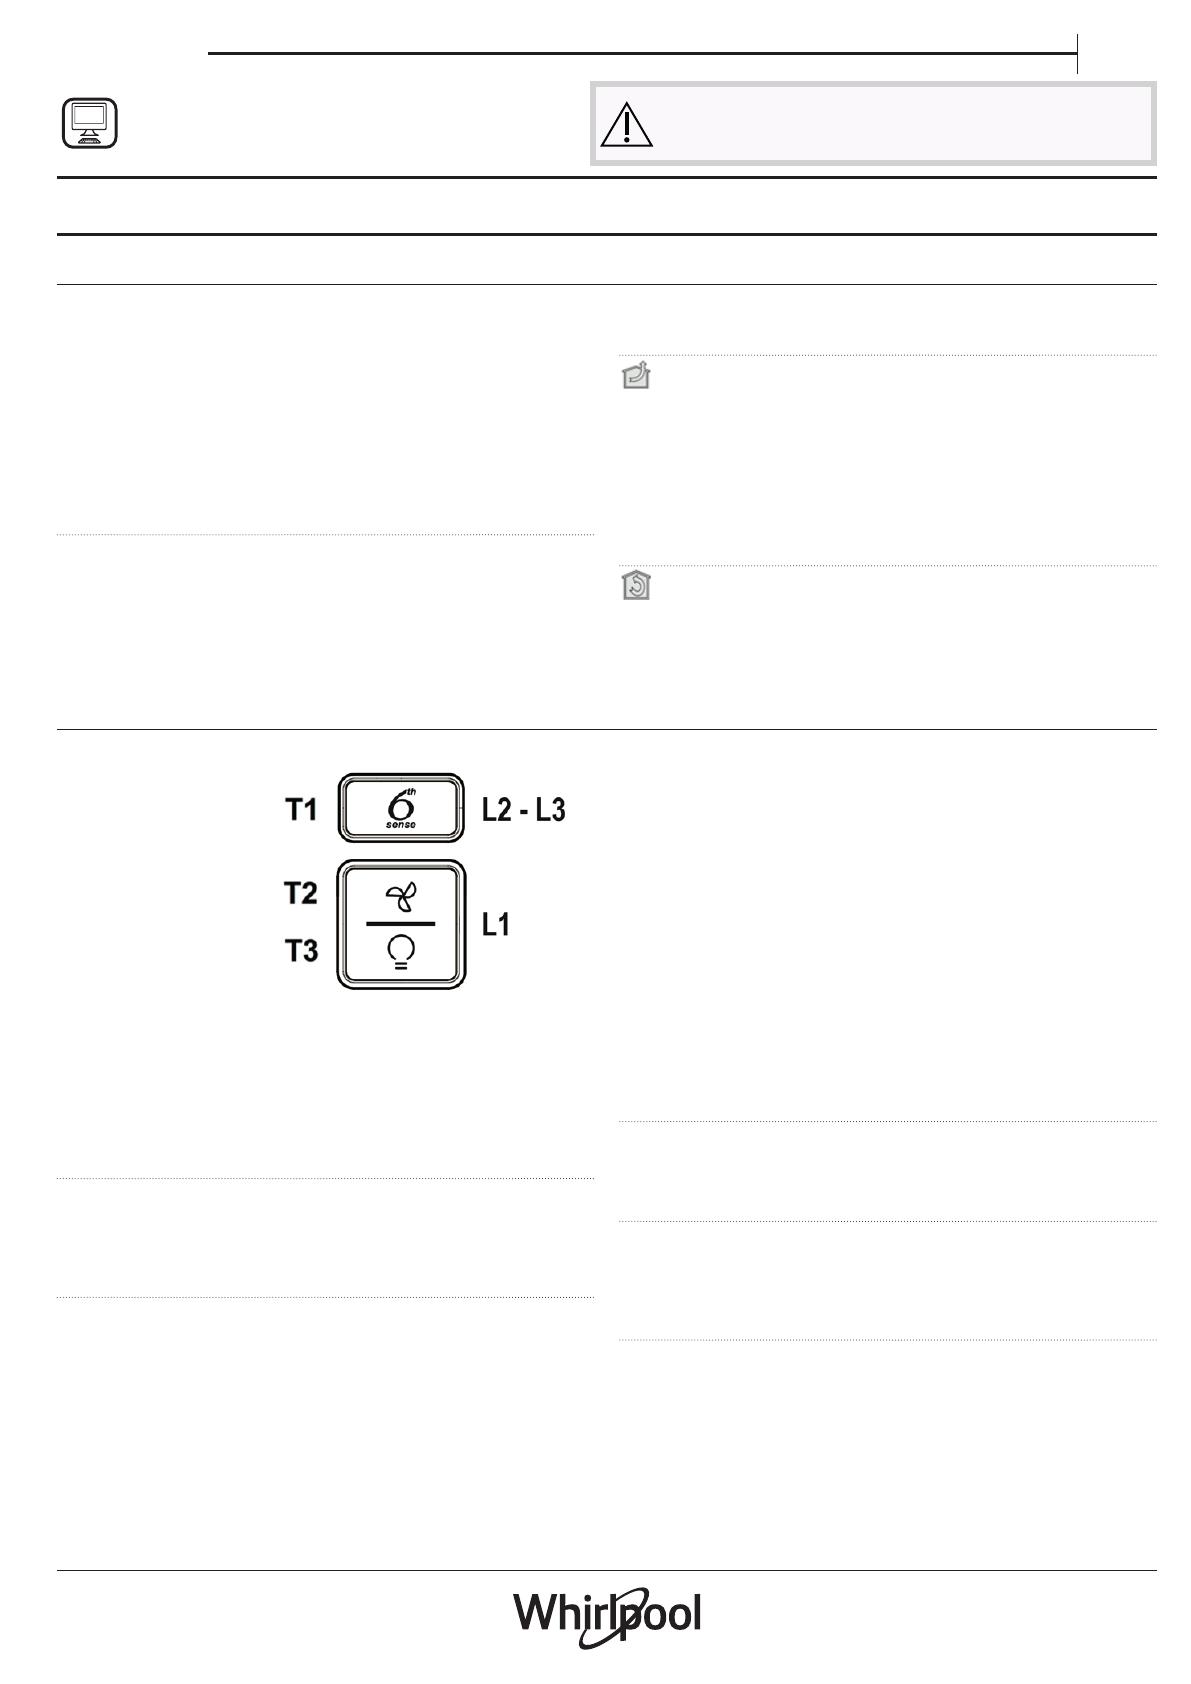
CONTROL PANEL
T1. ON/OFF button “Automatic operation
(sensor)” - see the function list in the
next paragraph
T2. Suction speed (power) control button:
1, 2, 3, intensive
Note: Intensive speed lasts for about 5
minutes, then it is automatically set to
speed 2.
T3. ON/OFF button (short press) and light
intensity setting (long press).
CAUTION! This hood has an automatic operation system (see
paragraph "Automatic operation (sensor)").
Calibration occurs automatically each time the hood is reconnected
to the electrical network (e.g.: the rst time it is installed after a
blackout). It can also be performed manually (see paragraph "Setting
of parameters for Automatic Operation - Manual setting").
During calibration, which lasts for 5 minutes, the controls will ash and
only the lights button can be used.
FILTER SATURATION INDICATOR
The hood signals when necessary to perform lter maintenance:
Grease lter (every 40 hours of use): all Leds with red light.
Activated charcoal odour lter (every 160 hours of operation): all
LEDs with red light, LEDs L2 and L3 blink.
RESET FILTER SATURATION
After performing lter maintenance, press and hold buttons T1 and T3,
Leds L1, L2 and L3 blink briey in red and then turn o for good.
• Activation indicator for odour lter saturation with activated
charcoal: This indicator is normally disabled. To enable it, proceed
as follows:
With the hood o, press and hold simultaneously T1 and T2: L1
turns on rst, then L2 and L3 and after that, when the buttons are
released, the Leds L2 and L3 ash briey to indicate successful
activation.
• Disabling the LED for charcoal lter saturation: repeat
the operation above; rst the LEDs L1, L2 and L3 turn on
simultaneously, then only L1, and after that, when the buttons
are released, the leds L1, L2 and L3 turn on again to indicate
successful disabling.
AUTOMATIC OPERATION SENSOR
CAUTION! We recommend running the “Automatic operation
settings” procedure (see below) before running the unit in automatic
mode.
AUTOMATIC OPERATION SENSOR
The hood will turn on at the speed most suited to the cooking
conditions detected by its sensor.
To activate this function:
Press button T1 briey, LED L1 will turn on white.
PARAMETER SETTING FOR AUTOMATIC OPERATION
Parameter setting duly takes place automatically whenever the hood
is connected to the mains (for example: with the rst installation or
after a power cut) or manually.
Note: All the manual operations of calibration, selection, setting and
logical connection described below are possible with the hood OFF
and automatic operation OFF (T1 OFF- L1 OFF).


