10
OI-212-10EG
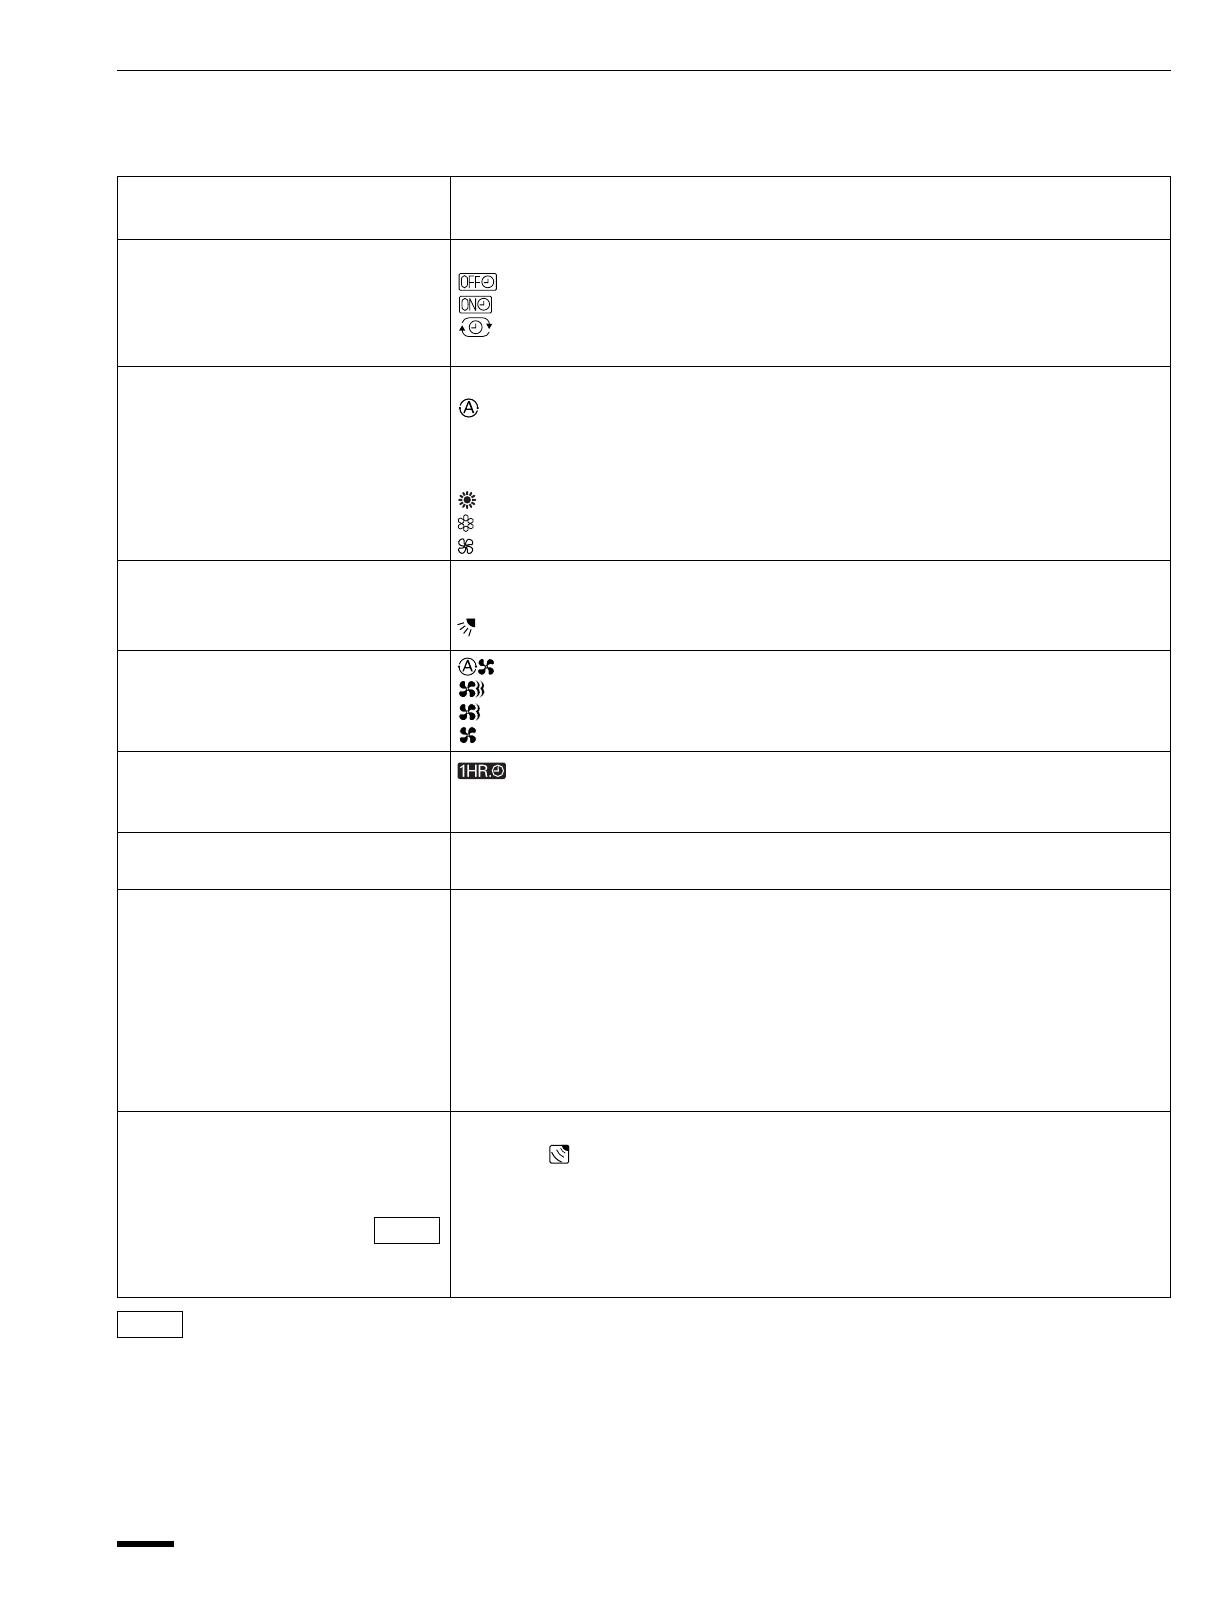
Remote Control Unit (continued)
Program button For details, see “Setting the Timer”.
Press this button to select the mode you want to program.
TIMER SELECT button No display : The timer does not operate.
: The air conditioner stops at the set time.
: The air conditioner starts at the set time.
: The air conditioner stops and starts, or starts and stops, at the
set times every day.
MODE selector button Use this button to select the AUTO, HEAT, COOL or FAN mode.
(AUTO)
: When this setting is selected, the air conditioner calculates the
difference between the thermostat setting and the room temperature
and automatically switches to the “COOL” or “HEAT” mode as
appropriate.
(HEAT) : The air conditioner makes the room warmer.
(COOL)
: The air conditioner makes the room cooler.
(FAN)
: The air conditioner works only as a circulation fan.
FLAP button Press this button to select the sweep function, which moves the flap up and
down automatically.
: The flap moves up and down automatically.
FAN SPEED selector button
: The air conditioner automatically decides the fan speeds.
: High fan speed
: Medium fan speed
: Low fan speed
1 HR. TIMER button : When you press this button, regardless of whether the unit is
(1-HOUR OFF TIMER) operating or stopping, the unit operates for one hour and then
shuts down.
ACL button (ALL CLEAR) Puts the remote control unit into pre-operation status. Always press this
button after replacing the batteries.
ADDRESS switch
•
Change the address switch to prevent mixing of signals from remote control
units when two Sanyo air conditioners are installed next to each other.
Normally, the remote control address switch is set to A. For the second
indoor unit, both addresses of the remote control unit and the indoor unit
must be changed. The second remote control unit address must be changed
to B by breaking off the tab ”A“. And the second indoor unit address must
be changed from 1 to 2 by switching the slide switch in the indoor unit. For
more information, please contact the dealer where you made the purchase.
•
Normally, the tabs on the remote control unit should not be bent.
SENSOR button When you press this button (use a small-tipped object such as a ballpoint
pen), the mark will appear at the display. And the room temperature is
detected by the sensor which is built into the indoor unit and the air
conditioner is controlled accordingly.
NOTE If the remote control is located near a heat source, such as a space heater or
in direct sunlight, press the SENSOR button to switch to the sensor on the
indoor unit.
NOTE The remote control unit sends the temperature signal to the air conditioner regularly at five minute intervals.
If the signal from the remote control unit stops for more than ten minutes due to the loss of the remote
control unit or other trouble, the air conditioner will switch to the temperature sensor which is built into
the indoor unit and control the room temperature. In these cases, the temperature around the remote
control unit may differ from the temperature detected at the air conditioner’s position.


