English
INSTALLATION
Connecting to a Computer
1. Ensure the projector and your
computer are turned off.
2. Connect one end of the VGA cable
to the “VGA IN” connector on the
projector; connect the other end to
the VGA connector on the computer
and tighten the screws.
3. Connect one end of the power cord
into the AC power socket on the
projector; connect the other end to an
electrical outlet.
Powering On the Projector
1. Remove the lens cap.
2. Turn on the projector first and then
the computer.
3. Adjust the position, focus and zoom.
4. Run your presentation.
Powering Off the Projector
1. Press the power button twice.
2.
Do not turn off and unplug the
projector for at least one minute after
turning it on.
INTERFACE CONNECTOR
Quick Start
Bahasa Indonesia
PEMASANGAN
Menghubungkan ke komputer
1. Pastikan projektor dan komputer
dalam keadaan tidak menyala.
2. Hubungkan satu ujung kabel VGA
dengan konektor “VGA IN” pada
projektor, lalu hubungkan ujung
lainnya dengan konektor VGA pada
computer kemudian kencangkan
bautnya.
3. Hubungkan satu ujung kable daya
dengan soket daya AC pada projektor,
lalu hubungkan ujung lainnya dengan
sumber listrik.
Menyalakan Projektor
1. Buka tutup lensa.
2. Nyalakan projektor terlebih dahulu
kemudian baru nyalakan komputer.
3. Sesuaikan posisi, fokus, dan zoom.
4. Mulailah presentasi.
Mematikan Projektor
1. Tekan tompol daya dua kali.
2. Jangan matikan dan lepas kabel
proyektor minimal selama satu menit
setelah dihidupkan.
KONEKTOR PENGHUBUNG
Memulai dengan Cepat
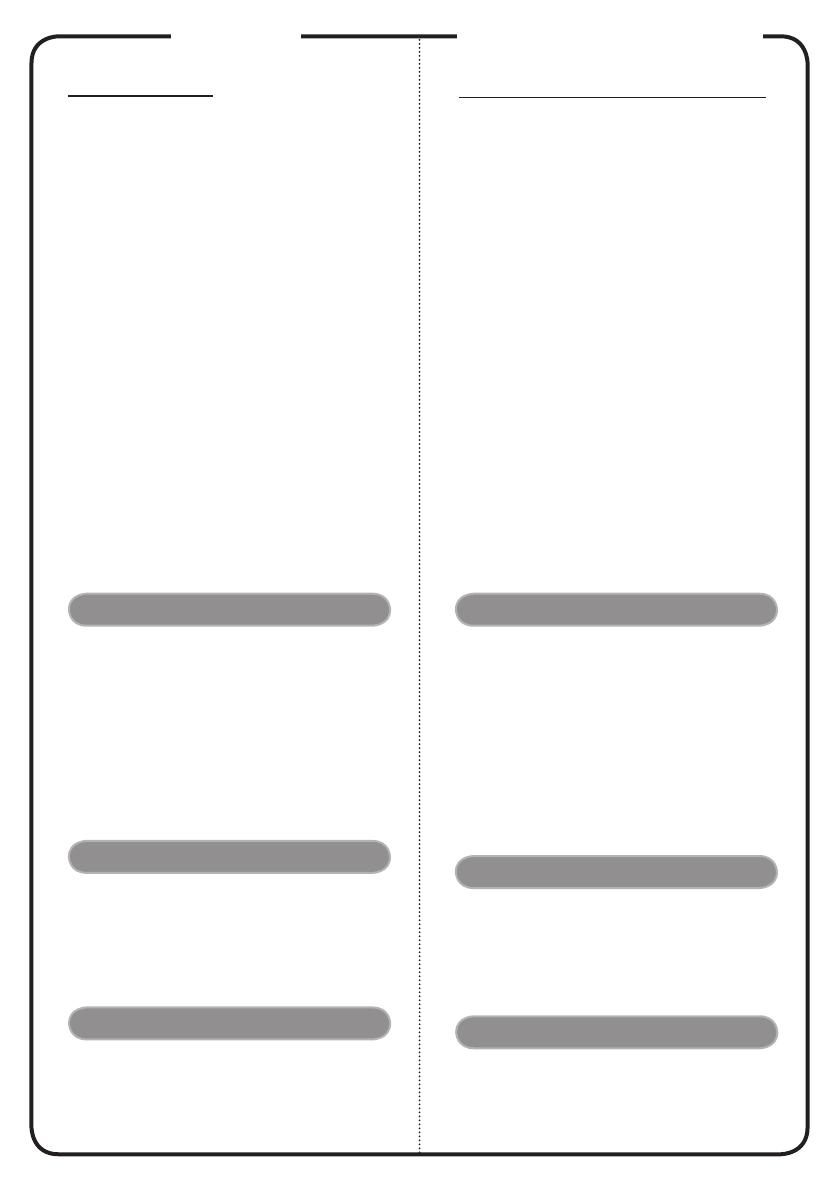
Note:
•
(
*
)
optional
•
Connector interface is subject to model’s specifications.
•
USB cable needs powered extender if the length is over 5 m.
•
Some smartphones require a converter (supplied by smart-
phone maker) to enable the MHL function.
1. Power Cord
2. VGA Cable
3. Audio Cable Jack/Jack
(
*
)
4. VGA to Component/HDTV Adapter
(
*
)
5. 3 RCA Component Cable
(
*
)
6. S-Video Cable
(
*
)
7. Composite Video Cable
(
*
)
8. Audio Cable Jack/RCA
(
*
)
9. RS232 Cable
(
*
)
10. USB Cable
(
*
)
11.
HDMI Cable
(
*
)
12. MHL Cable (MicroUSB to HDMI)
(
*
)
13. Lan Cable
(
*
)
1. Kabel Daya
2. Kabel VGA
3. Kabel Audio Jack/Jack
(
*
)
4. VGA ke komponen/adapter HDTV
(
*
)
5. 3 kabel komponen RCA
(
*
)
6. Kabel S-Video
(
*
)
7. Kabel Video Composite
(
*
)
8. Kabel Audio Jack/RCA
(
*
)
9. Kabel RS232
(
*
)
10. Kabel USB
(
*
)
11. Kabel HDMI
(
*
)
12. Kabel MHL (MicroUSB ke HDMI)
(
*
)
13.
Kabel LAN
(
*
)
Catatan:
•
(
*
)
optional
•
Interface konektor tergantung pada spesifikasi model.
•
Kabel USB memerlukan kabel ekstensi aktif jika panjang
yang diperlukan lebih dari 5 m.
•
Smartphone tertentu memerlukan konverter (disediakan
oleh produsen smartphone terkait) untuk mengaktifkan
fungsi MHL.


