14
Handset - settings and operation Butler Outdoor 2010 - Twin - Triple
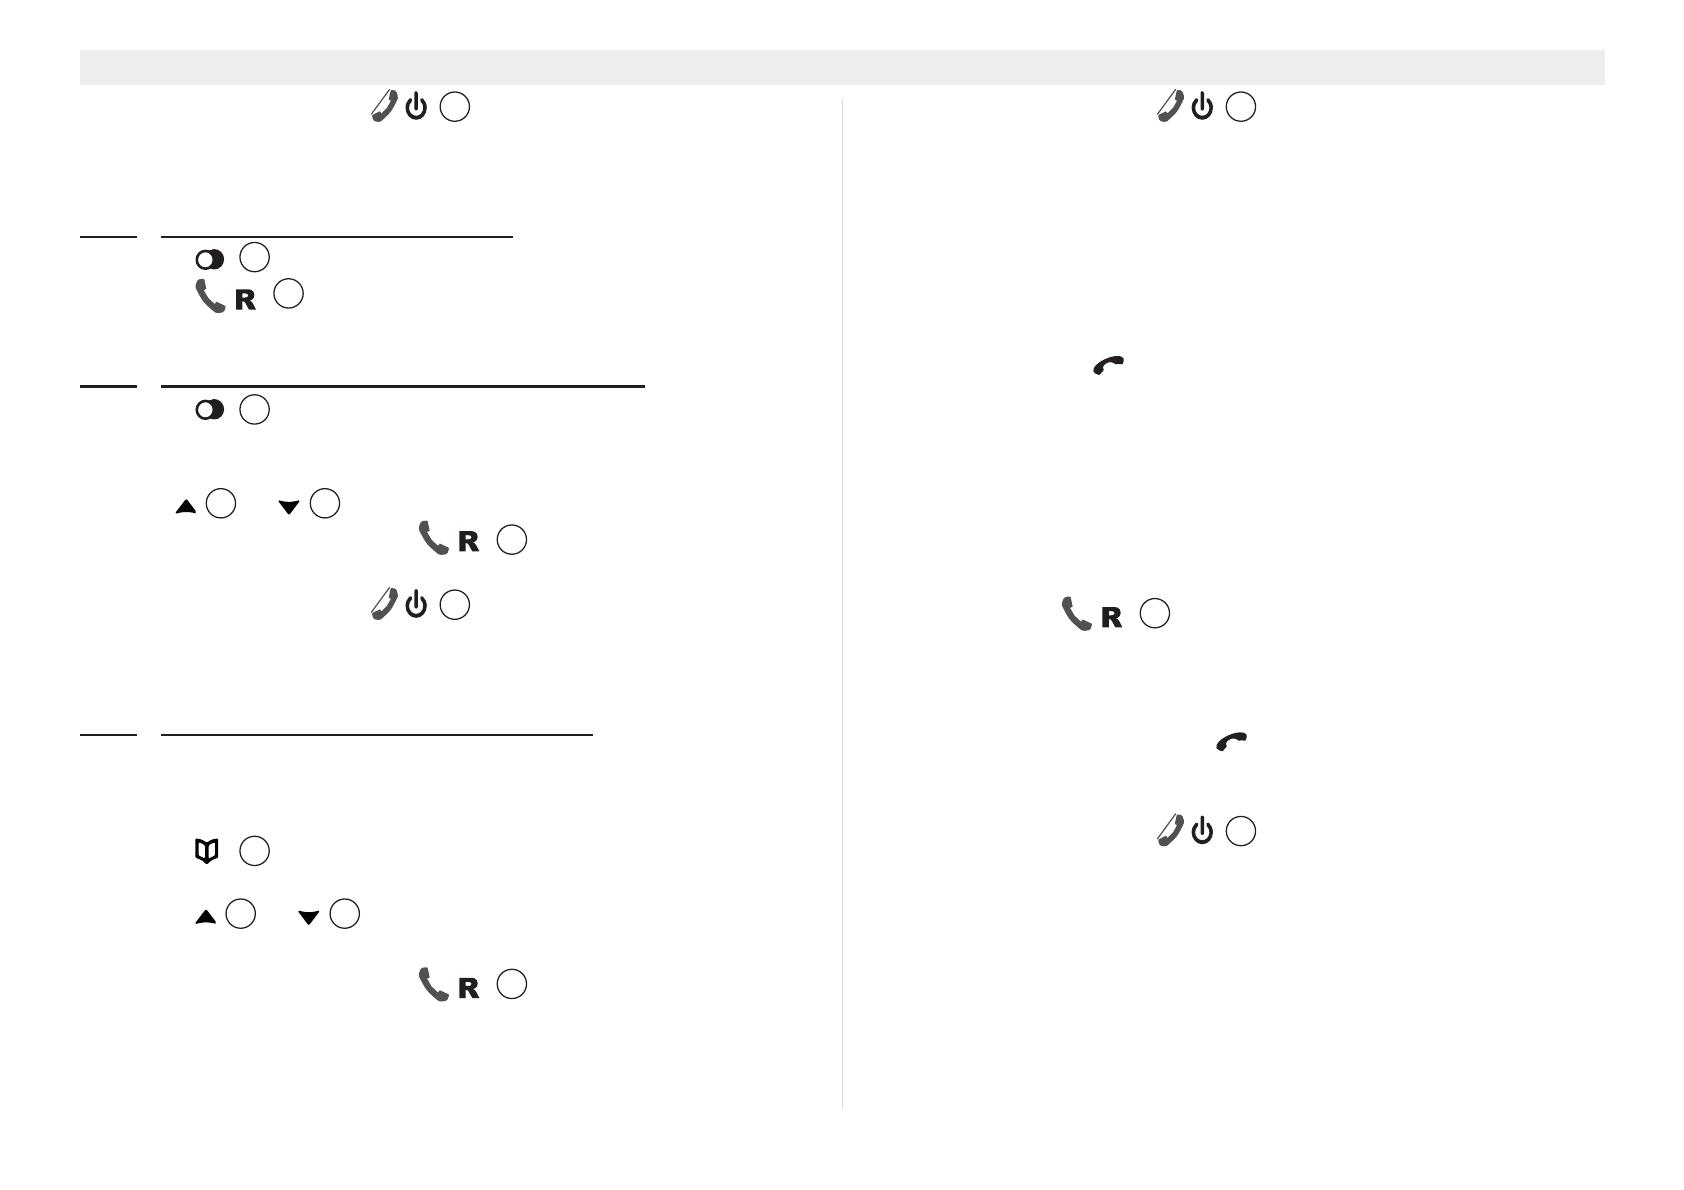
4. To end the call, press or (if auto hang-up is set on,
see “4.25 Auto hang-up”) replace the handset on the base
station or charging station.
4.4.3
Redial the last number called
1. Press .
2. Press .
• The last number you called is automatically dialled.
4.4.4
Redial one of the last 10 numbers called
1. Press .
• The last number you called appears in first position in the
display.
2. Use or to select the telephone number you want.
3. Press the answer call key .
• The telephone number in the display is automatically dialled.
4. To end the call, press or (if auto hang-up is set on,
see “4.25 Auto hang-up”) replace the handset on the base
station or charging station.
4.4.5
Calling a number in the phone book
The telephone has a phone book in which you can save telephone
number with names (see also section “6 Phone book”). To dial a
number from the phone book:
1. Press .
• The first number in the phone book appears in the display.
2. Press or repeatedly to select the number you
want, or enter the first character of the name and scroll further.
3. Press the answer call key .
• The telephone number in the display is automatically dialled.
4. To end the call, press or (if auto hang-up is set on,
see “4.25 Auto hang-up”) replace the handset on the base
station or charging station.
4.5 Answering a call
The handset starts to ring during an incoming external or internal
call.
• All registered handsets ring when there is an incoming call.
• The call symbol
flashes in the display.
• The caller's number appears in the display if you have caller
ID (CLIP). Contact your telephone line provider for more
information. The caller's name is also shown in the display if:
– the number is stored with the name in the phone book;
– the network transmits the name along with the phone
number.
1. You have the following options for answering a call:
– Press to answer the call.
– Pick up the handset from the base station or charging
station (function only possible if auto talk has been
activated, see “4.24 Auto talk”).
• During the call, the symbol , the transmitted caller number
and name are shown for 10 seconds, then the call duration is
shown in the display.
2. To end the call, press or (if auto hang-up is set on,
see “4.25 Auto hang-up”) replace the handset on the base
station or charging station.
4.6 The calls list
When you receive a call, the caller's number, the date and time
appear on the handset display. If the name is stored in the phone
book, this is also shown. You need to have the "caller ID" (CLIP)
6
9
14
9
4 15
14
6
16
6
14
6


