0478 111 9930 A - EN
46
– Before opening the discharge flap or
removing the grass catcher box.
– When the machine has to be tilted for
transportation.
– Before adjusting the cutting height.
5.8 Maintenance and repairs
Before beginning cleaning, adjustment,
repair and maintenance operations:
● Park the machine on firm and level
ground
● Stop the engine and allow it to cool
down
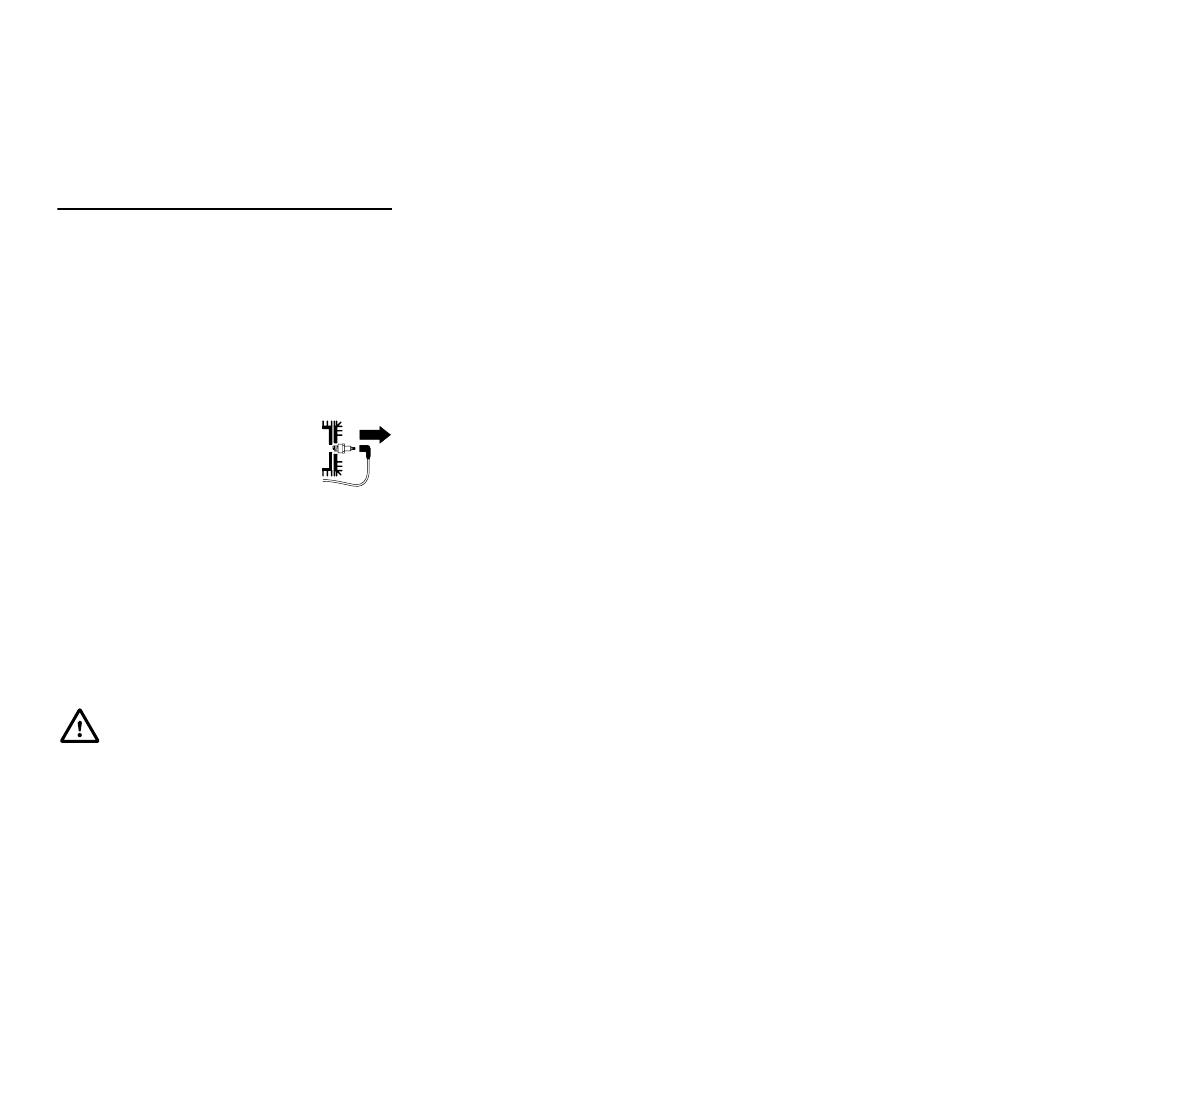
● Detach the spark plug
socket.
Caution – risk of injury!
Keep the spark plug socket
away from the spark plug; an inadvertent
ignition spark can result in fires or electric
shocks.
Inadvertent contact between the spark
plug and the spark plug socket can result
in unwanted starting of the engine.
MB 545 VE: Additionally remove the
battery.
Allow the machine to cool down before
working on or around the engine, exhaust
manifold or muffler in particular.
Temperatures of 80° C and above can be
reached. Danger of burns!
Direct contact with engine oil can be
dangerous. Engine oil must not be spilled.
VIKING recommends leaving the task of
topping up engine oil or performing engine
oil changes to a VIKING specialist dealer.
Cleaning:
The complete machine must be cleaned
thoroughly following use. (Ö 14.2)
Empty the fuel tank (e.g. by running it
empty) before placing the machine in the
cleaning position.
Remove accumulated clipping deposits
using a stick. Clean the underside of the
mower with water and a brush.
Never use high-pressure cleaners and do
not clean the machine under running water
(e.g. using a garden hose).
Do not use aggressive cleaning agents.
These can damage plastics and metals,
impairing the safe operation of your
VIKING machine.
In order to prevent fire hazards, keep the
area around the air vents, cooling ribs and
the area of the exhaust free from
e.g. grass, straw, moss, leaves or
escaping grease.
Maintenance operations:
Only maintenance operations described in
this instruction manual may be carried out.
Have all other work performed by a
specialist dealer.
If you do not have the necessary expertise
or auxiliary equipment, please always
contact a specialist dealer.
VIKING recommends that you have
maintenance operations and repairs
performed exclusively by a VIKING
specialist dealer.
VIKING specialist dealers regularly attend
training courses and are provided with
technical information.
Only use tools, accessories or
attachments approved for this machine by
VIKING or technically identical parts.
Otherwise, there may be a risk of
accidents resulting in personal injury or
damage to the machine. If you have any
questions, please consult a specialist
dealer.
The characteristics of original VIKING
tools, accessories and spare parts are
optimally adapted to the machine and the
user's requirements. Genuine VIKING
spare parts can be recognised by the
VIKING spare parts number, by the
VIKING lettering and, if present, by the
VIKING spare parts symbol. On smaller
parts, only the symbol may be present.
For safety reasons, fuel-carrying
components (fuel line, fuel cock, fuel tank,
tank cap, connections, etc.) must be
checked regularly for damage and leaks
and replaced by a technician if necessary
(VIKING recommends VIKING specialist
dealers).
Always keep warning and information
stickers clean and readable. Damaged or
missing stickers must be replaced by new,
original plates from your VIKING specialist
dealer. If a component is replaced with a
new component, ensure that the new
component is provided with the same
stickers.
Only perform work on the cutting unit when
wearing thick work gloves and exercising
extreme care.
Ensure that all nuts, pins and screws (in
particular the blade fastening screw) are
securely tightened so that the machine is
in a safe operating condition.
Replace damaged exhaust silencers and
guard plates.
Risk of injury due to the mowing
blade!
Pulling the recoil starter rope starts
the work tool rotating. Always
ensure sufficient distance between
the mowing blade and your body,
particularly your hands and feet,
when you pull the recoil starter
rope.


