E - 6 E -
7
CAUTION
In order to prevent electric leakage and injury, and protect your household goods
Be sure to follow…
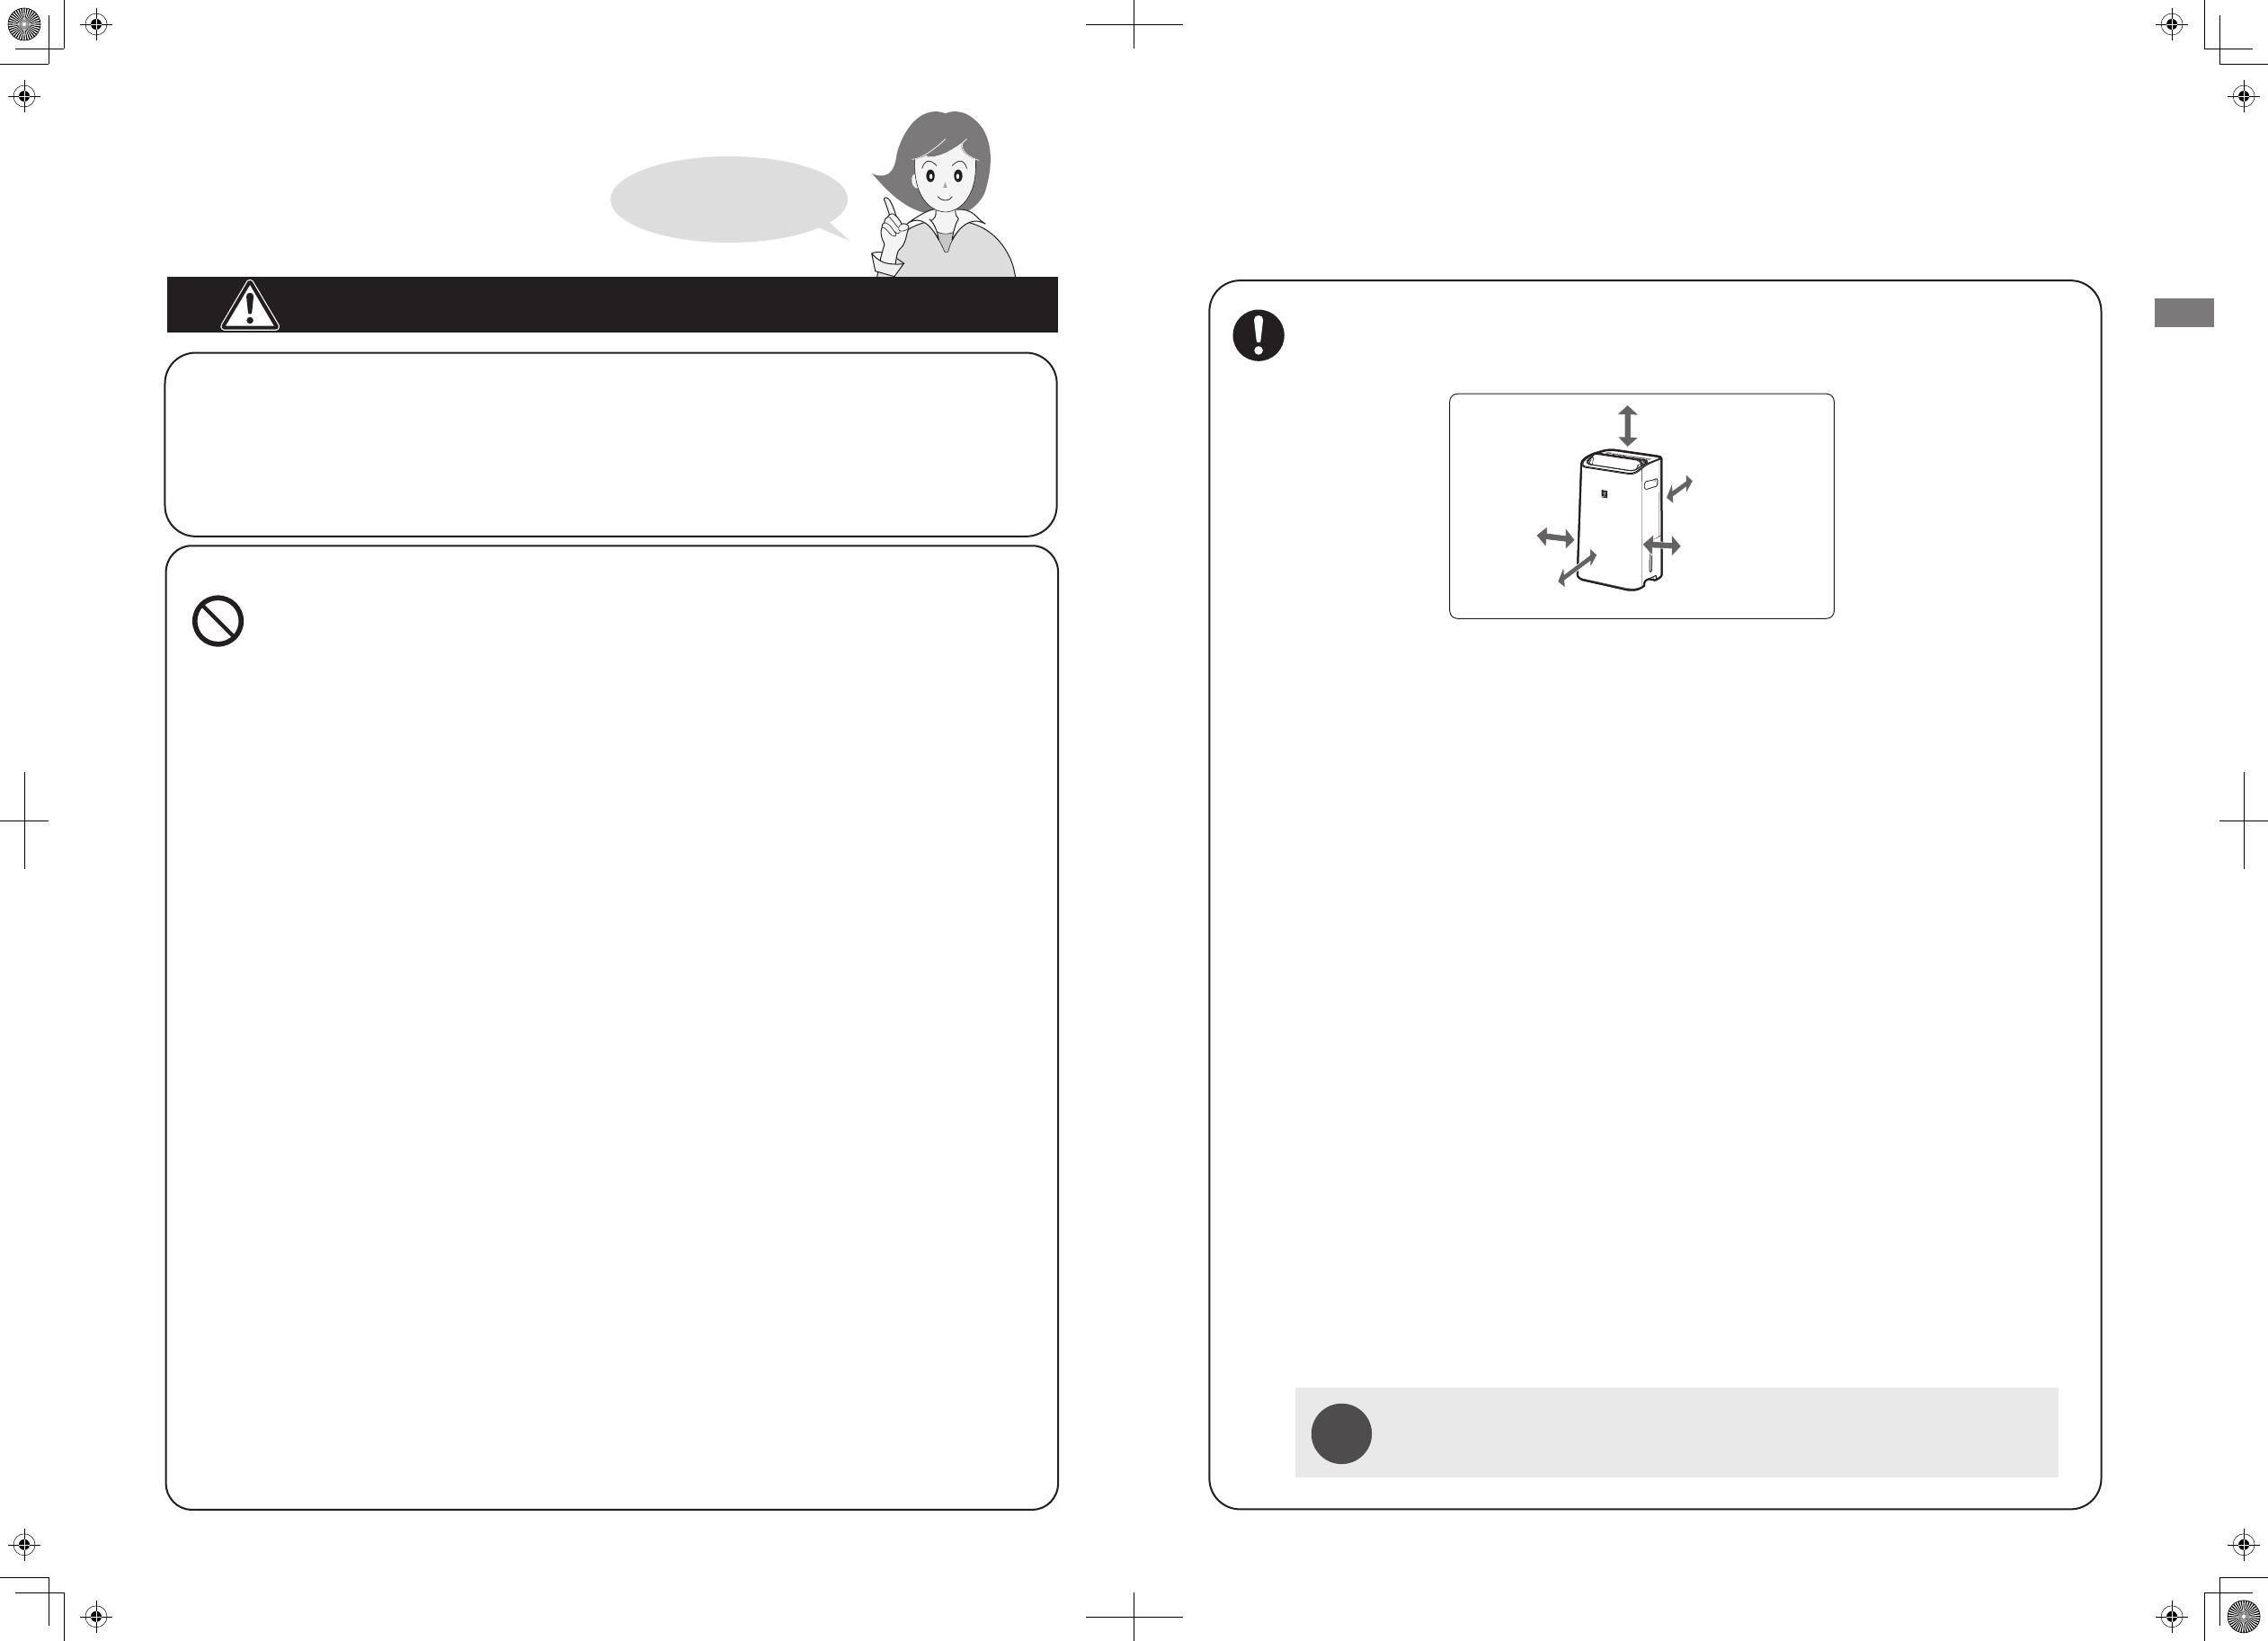
Upper 50cm or more
Front 50cm or more
Sides 20cm or more
Behind 20cm or more
●
Always hold the power plug when unplugging the unit.
(Otherwise, fire, electric shock, short circuit may be caused.)
●
If you are planning not to use the unit for a long time, unplug the power plug from
outlet for safety.
(Otherwise, electric shock, electric leakage or fire may be caused.)
● Always have plenty of room around the main unit.
(Poor ventilation may cause over-heating, fire, and malfunction.)
● Be sure to clean the product, floor and surroundings when using the
product in a same place for a long period of time.
● Before moving the main unit, always stop the operation and dispose the
water in the water tank.
● Operate the unit only on level, stable surfaces.
● Check for bent hose/falling height when conducting continuous drainage
and place the hose where it will securely drain.
● Keep the temperature around the hose above freezing point when using
the drainage hose.
(Inner water may leak in the room and dampen the furniture or may cause
electric shock/leakage, fire.)
● When operating the product together with a burning appliance, be sure
to open the window for ventilation. The product does not remove carbon
monoxide or other harmful substances.
(In case of insufficient ventilation, asphyxia might be caused due to insufficient
oxygen.)
● Do not drag the casters to change the direction of the main unit.
(Otherwise, floor surface or carpet may be damaged.)
● The appliance can be use by children aged from 8 years and above and
persons with reduced physical, sensory or mental capabilities or lack of
experience and knowledge if they have been given supervision or instruction
concerning use of the appliance in a safe way and understand
the hazard
involved. Children shall not play with the appliance. Cleaning and user
maintenance shall not be made by children without supervision.
●
Do not put flammables or lit cigarettes or incenses near the air inlet.
(Otherwise, fire may be caused.)
● Do not wipe with benzene or thinner or apply insecticide.
(Otherwise, crack, electric shock or fire may be caused.)
● If fumigating insecticide is used indoors, its chemical composition will be
accumulated inside the unit that is not in operation. When it is discharged
from the air outlet, it will be harmful to health. After using insecticide,
please ventilate well before operation.
● Do not use the drained water for drinking or feeding.
(Otherwise, health problems may be caused.)
●
Do not use the unit in a tight enclosed space such as closet or in between furniture.
● Do not block the air outlet or air intake.
(Otherwise, air flow will be obstructed, resulting in overheating or ignition.)
●
Do not use on a high place such as on the table.
(When the main unit falls, injury may be caused.)
● Do not sit on or lean on to the product.
(Otherwise, injury, fault or damage may be caused from tumbling.)
●
Do not use the product in a place where it can easily get wet or in the bathroom.
● Do not wash the product directly with water.
● Do not place an object with water such as a vase on top of the main unit.
●
For indoor use only. Do not use the unit under direct sunlight or in any location
exposed to rain and wind.
● Do not leave the unit where oil or flammable gas may leak.
(Otherwise, electric shock, over-heating, electric leakage or fire may be caused.)
● Do not store or move with the main unit down on its side.
(Otherwise, equipment damage or malfunction such as water/electric leakage may be caused.)
● Do not expose the air from this product directly to heating appliances.
(Otherwise, incomplete combustion of heating may be caused.)
● Do not use for storage/special purpose for artworks or academic materials.
(Otherwise, quality degradation of stored materials may be caused.)
●
Do not use for long hours in a room with people.
Heat will generate during “laundry drying" and "dehumidifying".
Increased room temperature and dryness may cause health problems.
Look out when the following type of people is in the room.
(Baby, children, elderly, person who cannot operate this product.)
SAFETY PRECAUTIONS
Power Plug, Power Cord
During Usage
NOTE ● If there is a noise in TV/radio or radio clock does not display the correct time, move the
product away as far as possible.


