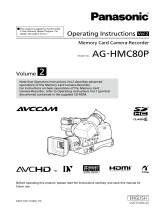
WHT BAL button
(one push) button
WHITE BALANCE
MEMORY switch
4
AUTOMATED FUNCTIONS
WB TEMP SET (white balance temperature set) lets you directly set color temperature
This function enables you to specify the color temperature in numbers, such as 3,200K and 6,500K.
White Balance (WB)
To shoot images in correct colors, you need to adjust your camera so that it can capture a white object as white under lighting
conditions with different color temperatures. At the same time, white balance is sometimes used to shoot something that is not white
as white for dramatic effects.
There are times when the correct white balance cannot
be obtained by designating a color temperature alone,
such as when you are shooting under fluorescent or LED
lights. In such cases, we recommend you also use the
[
WB SHIFT
]
function under the Picture Profile menu.
Selecting WHITE BALANCE MEMORY switch A ( A) saves
a white balance adjustment value in memory A. Choosing
switch B ( B) enables you to store another white balance
adjustment value separately in memory B. Unless you readjust,
the saved adjustment values will be held in memory even when
the power is turned off. We recommend using this feature when
you use ND lters.
One Push White Balance lets you capture
white subjects as white
How to use/operate
1. Push the WHT BAL button on the camera body.
2. Select A ( A) or B ( B) with the WHITE BALANCE
MEMORY switch located on the camera body.
3. Set the correct exposure under the same lighting conditions
as the subject, capture the white subject as large as
possible in the screen, and push the (one push) button.
4. The adjustment value is stored in A or B. The saved
color temperature is displayed on the LCD screen for about
three seconds.
Usage examples
■
When you want to match white balance with other
broadcasting/professional camcorders whose color
temperatures can be congured by entering numbers.
■
When you want to keep the numerical values of color
temperatures as shooting data when the shooting
assignment extends over multiple days, for example.
How to set/operate
1.
[
MENU
]
[
CAMERA SET
]
[
WB PRESET
]
[
WB
COLOR TEMP
]
Exit from the menu system.
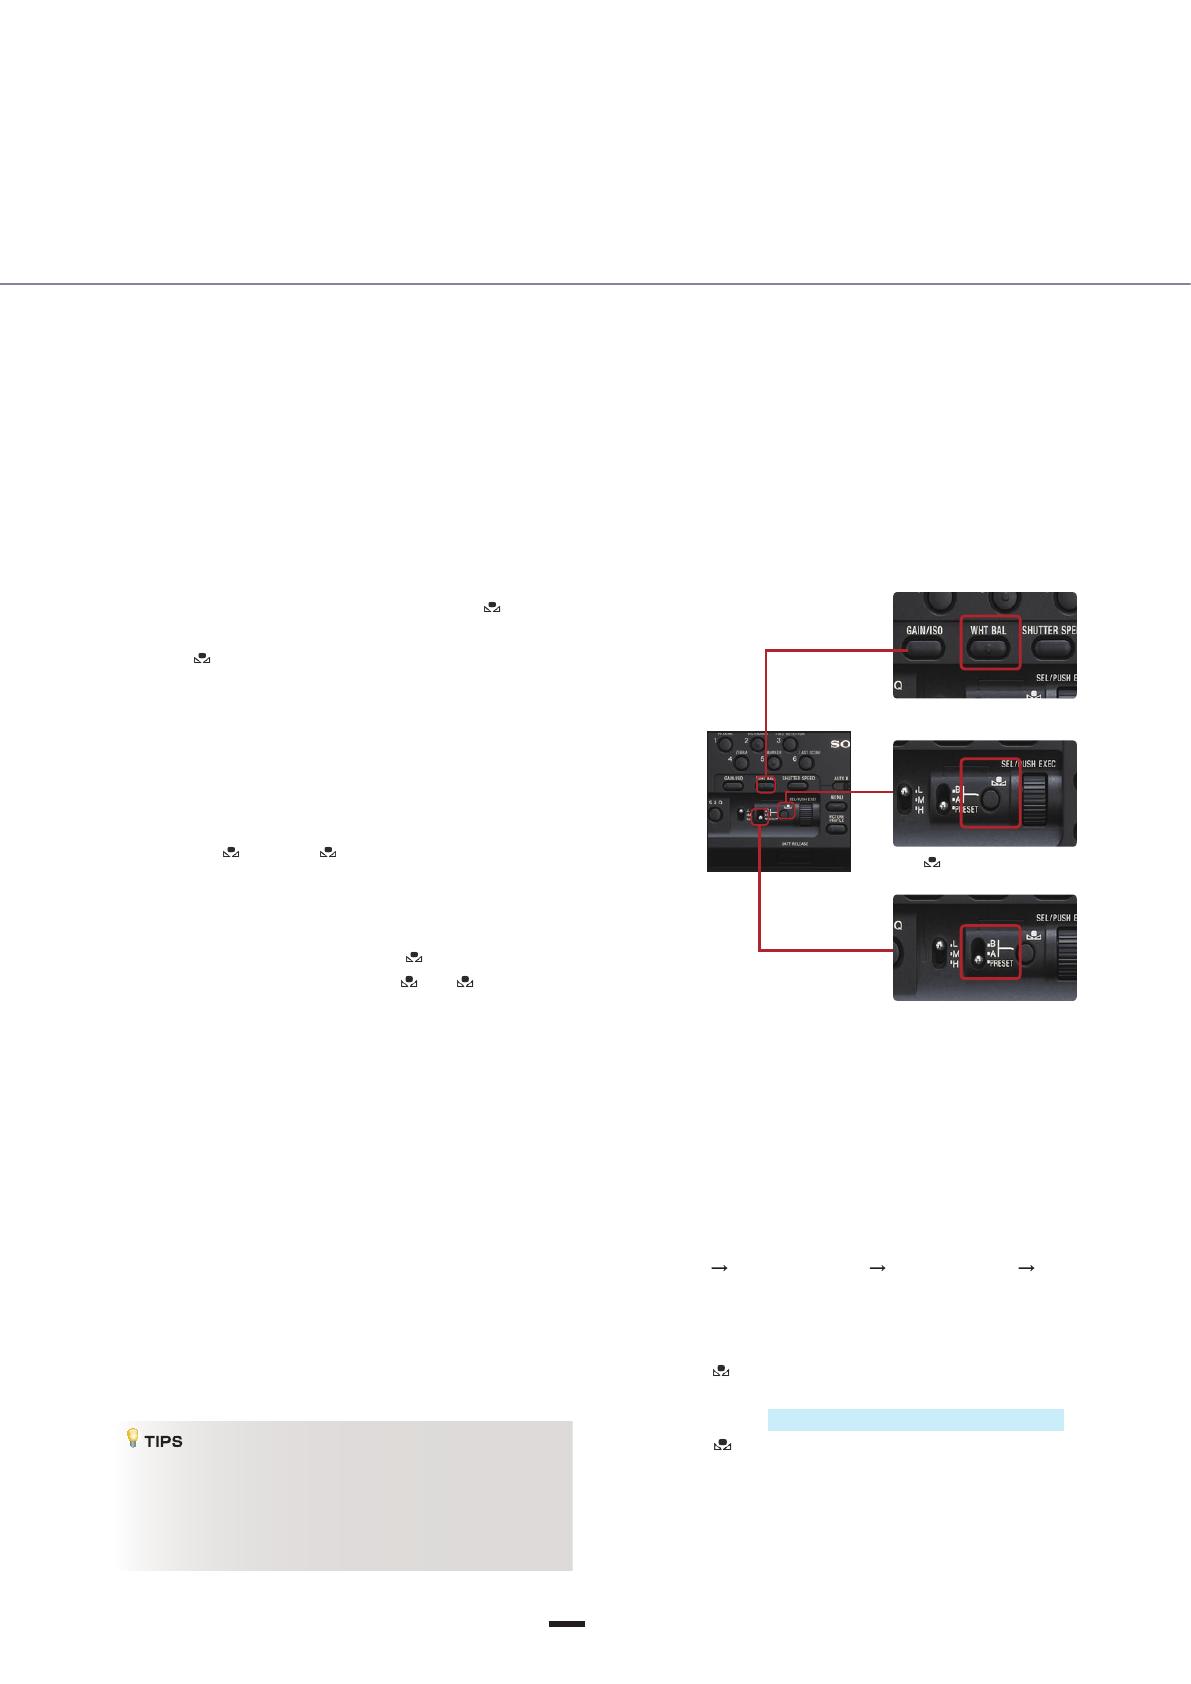
2. Press the WHT BAL button on the side of the camera and set
the memory switch to PRESET.
3. Press the (one push) button to highlight COLOR TEMP on
the display, then use the SEL/PUSH EXEC dial to adjust the
color temperature in the range 2,300 K through 15,000 K.
4. Press the (one push) button or the SEL/PUSH EXEC dial
to enter the new setting.