8
CLEANING
EXTERIOR SURFACES
• Clean the surfaces with a damp cloth. If they are very
dirty, add a few drops of pH-neutral detergent. Finish
off with a dry cloth.
• Clean the door glass with a suitable liquid detergent.
• At regular intervals or in case of spills, remove the
turntable and its support to clean the bottom of the
oven, removing all food residue.
• The grill does not need to be cleaned as the intense
heat burns away any dirt: Use this function on a
regular basis.
ACCESSORIES
All accessories are dishwasher safe with the exception
of the crisp plate.
The crisp plate should be cleaned using water and
a mild detergent. For stubborn dirt, rub gently with
a cloth. Always leave the crisp plate to cool down
before cleaning.
Make sure that the oven has cooled down before
carrying out any maintenance or cleaning.
Do not use steam cleaners.
Do not use wire wool, abrasive scourers or
abrasive/corrosive cleaning agents, as these
could damage the surfaces of the appliance.
TROUBLESHOOTING
Problem Possible cause Solution
The oven does not work Power cut
Disconnection from the
mains
Verify that the mains power supply is
functioning and that the oven is connected
to the electrical outlet
Turn off the oven and restart it to see if the
fault persists.
The oven makes noise, even
when off
Cooling fan
active
Open the door or wait until the cooling
process has finished.
“Err” is shown on the display Software error
Contact you nearest After-sales Service
C
entre and state the letter or number that
follows “Err”.
PRODUCT FICHE
WWW
The product fiche with energy data of this
appliance can be downloaded from our website
www.hotpoint.eu
HOW TO OBTAIN THE USE AND CARE GUIDE
>
WWW
Download the Use and Care Guide
from our website http://www.hotpoint.eu
(you can use this QR code), specifying the
product's commercial code.
> Alternatively, contact our Client After-sales Service
400010856692
Printed in Italy
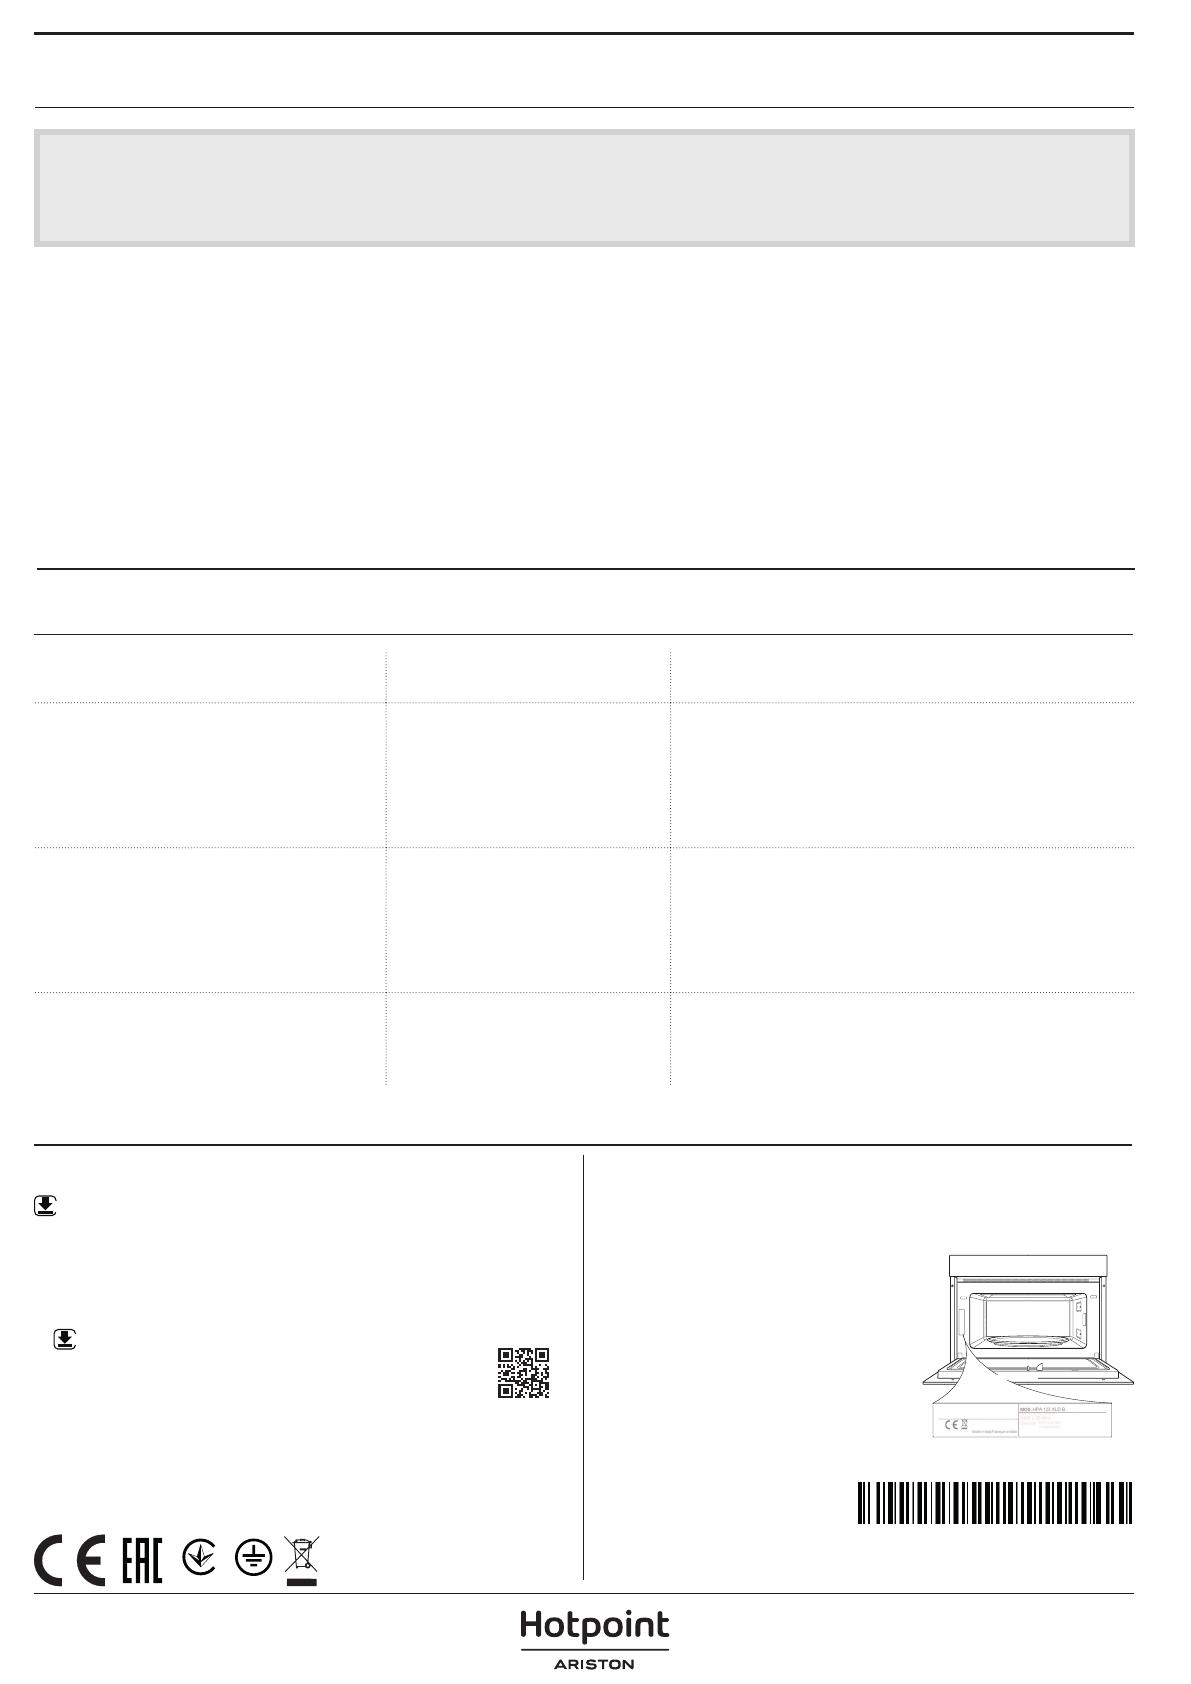
CONTACTING OUR AFTERSALES SERVICE
You can find our contact details in the warranty
manual. When contacting our Client After-sales
Service, please state the codes
provided on your product's
identification plate.
XXX/XXX
XXXXXXXXXXXX
XXXXXXXXXXXX
001


